36
ENGLISH
COVERING ASSEMBLY
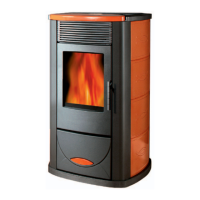
TINY
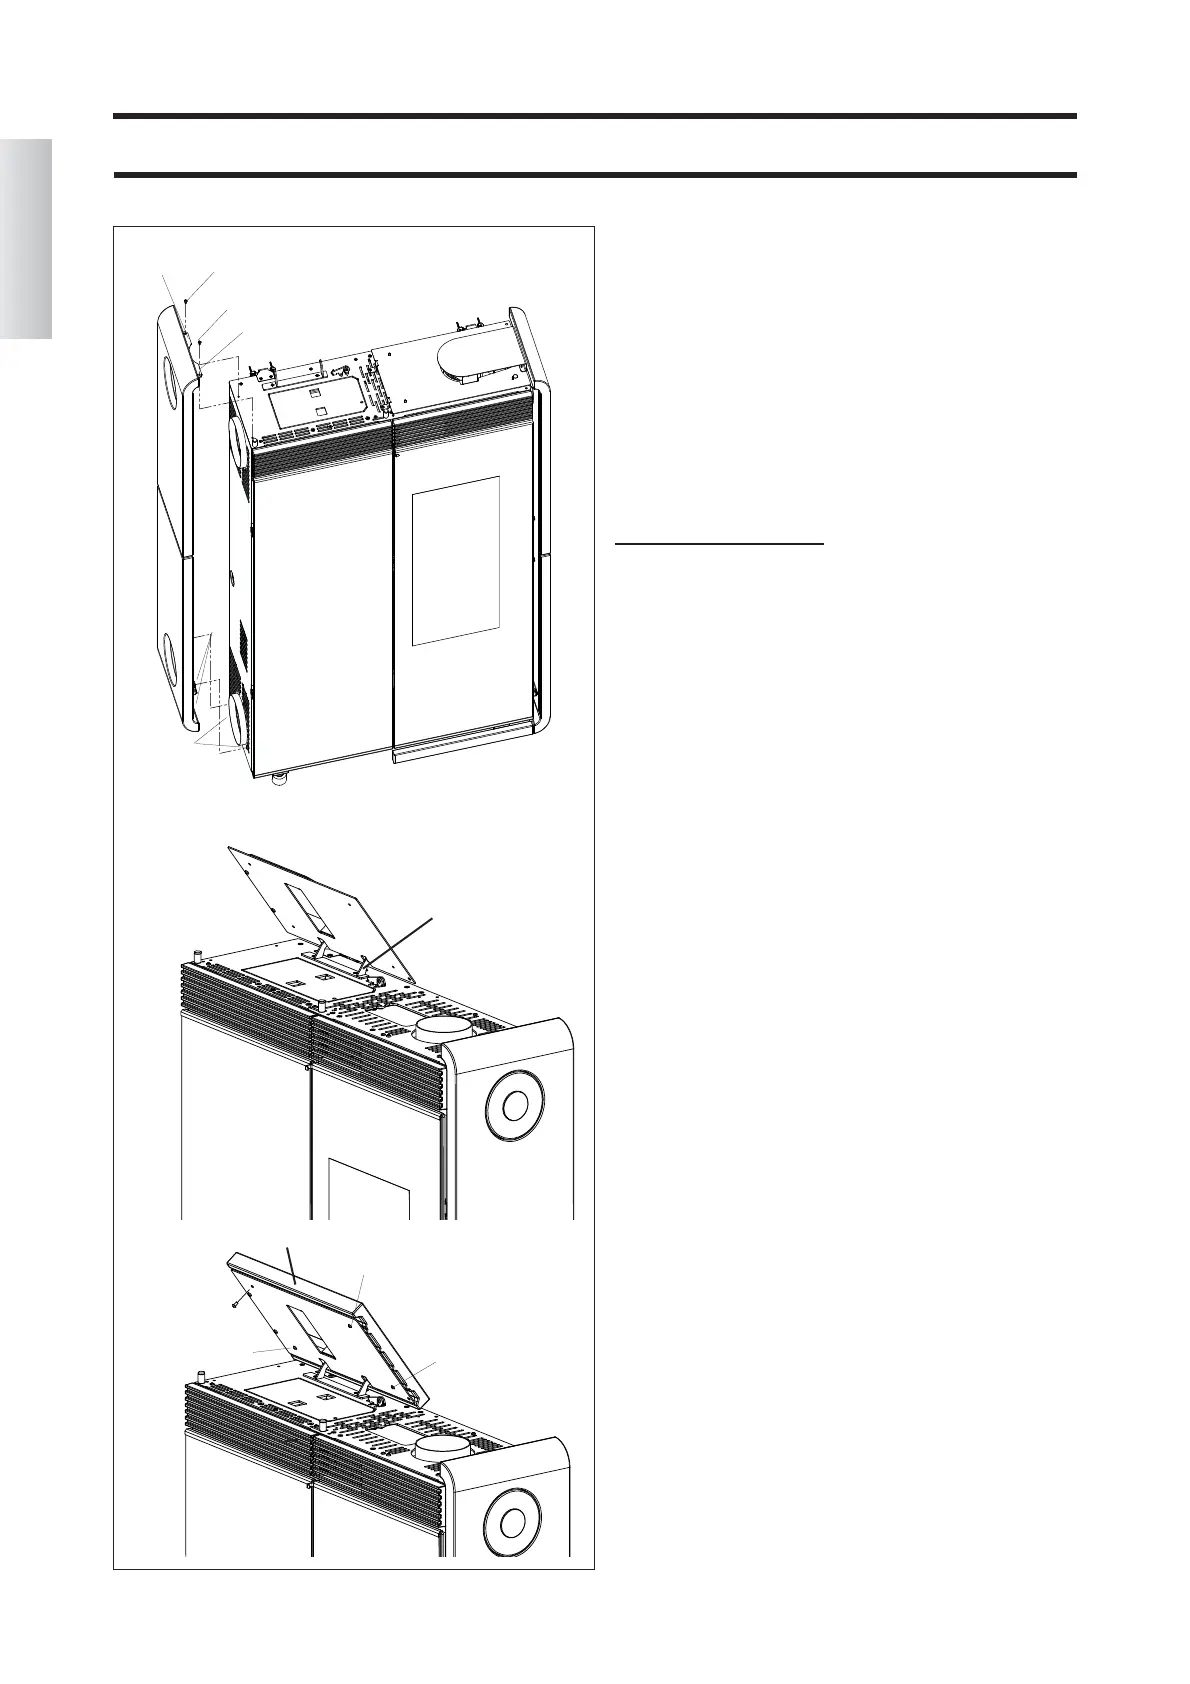
Fig. 6
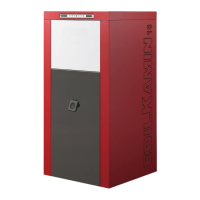
Attach the sheet metal sides (H) (complete with the cera-
mic components) using the self-tapping screws removed
earlier, proceeding as follows:
- fit the metallic brackets (h1) (present at the base of the
internal side) in the pins (h2) that stick out from the sto-
ve's structure;
- make the side adhere to the structure in such a way that
the brackets (h3) adhere to the top;
- secure the side to the top using the screws (h4) through
the holes of the brackets (h3).
LEFT TOP ASSEMBLY
Fig. 7
The left top consists of a painted metal support (P) and a
ceramic component (L-fig.8).
The support (P) is supplied already assembled to the stove
bracket (S).
Fig. 8
Then assemble the ceramic lid cover (L) using the M6 X
8 screws (a1, b1, c1,d1).
ATTENTION!!! Make sure that the ceramic lid (L)
does not rub up against the top during turning and
that, when opened to load pellets that it does not close
by itself, falling.
(L)
(a1)
(b1)
(c1)
(P)
(S)
(H)
(H)
(h1)
(h2)
(h3)
(h4)
(h3)
(h4)
(d1)
Fig.6
Fig. 7
Fig.8