35
ENGLISH
COVERING ASSEMBLY
TINY (the KELLY model comes pre-assembled)
Hardware included:
no. 4 Threaded rod M8
no. 4 Ceramic cap fixing stud
no. 28 M4 x 8 Screws
no. 4 Adjustment pin
no. 2 Brackets for attachment to wall with pins and screws
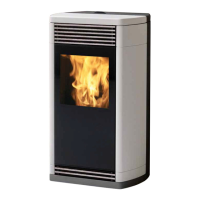
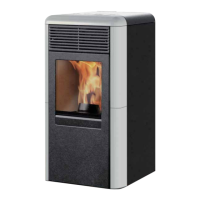
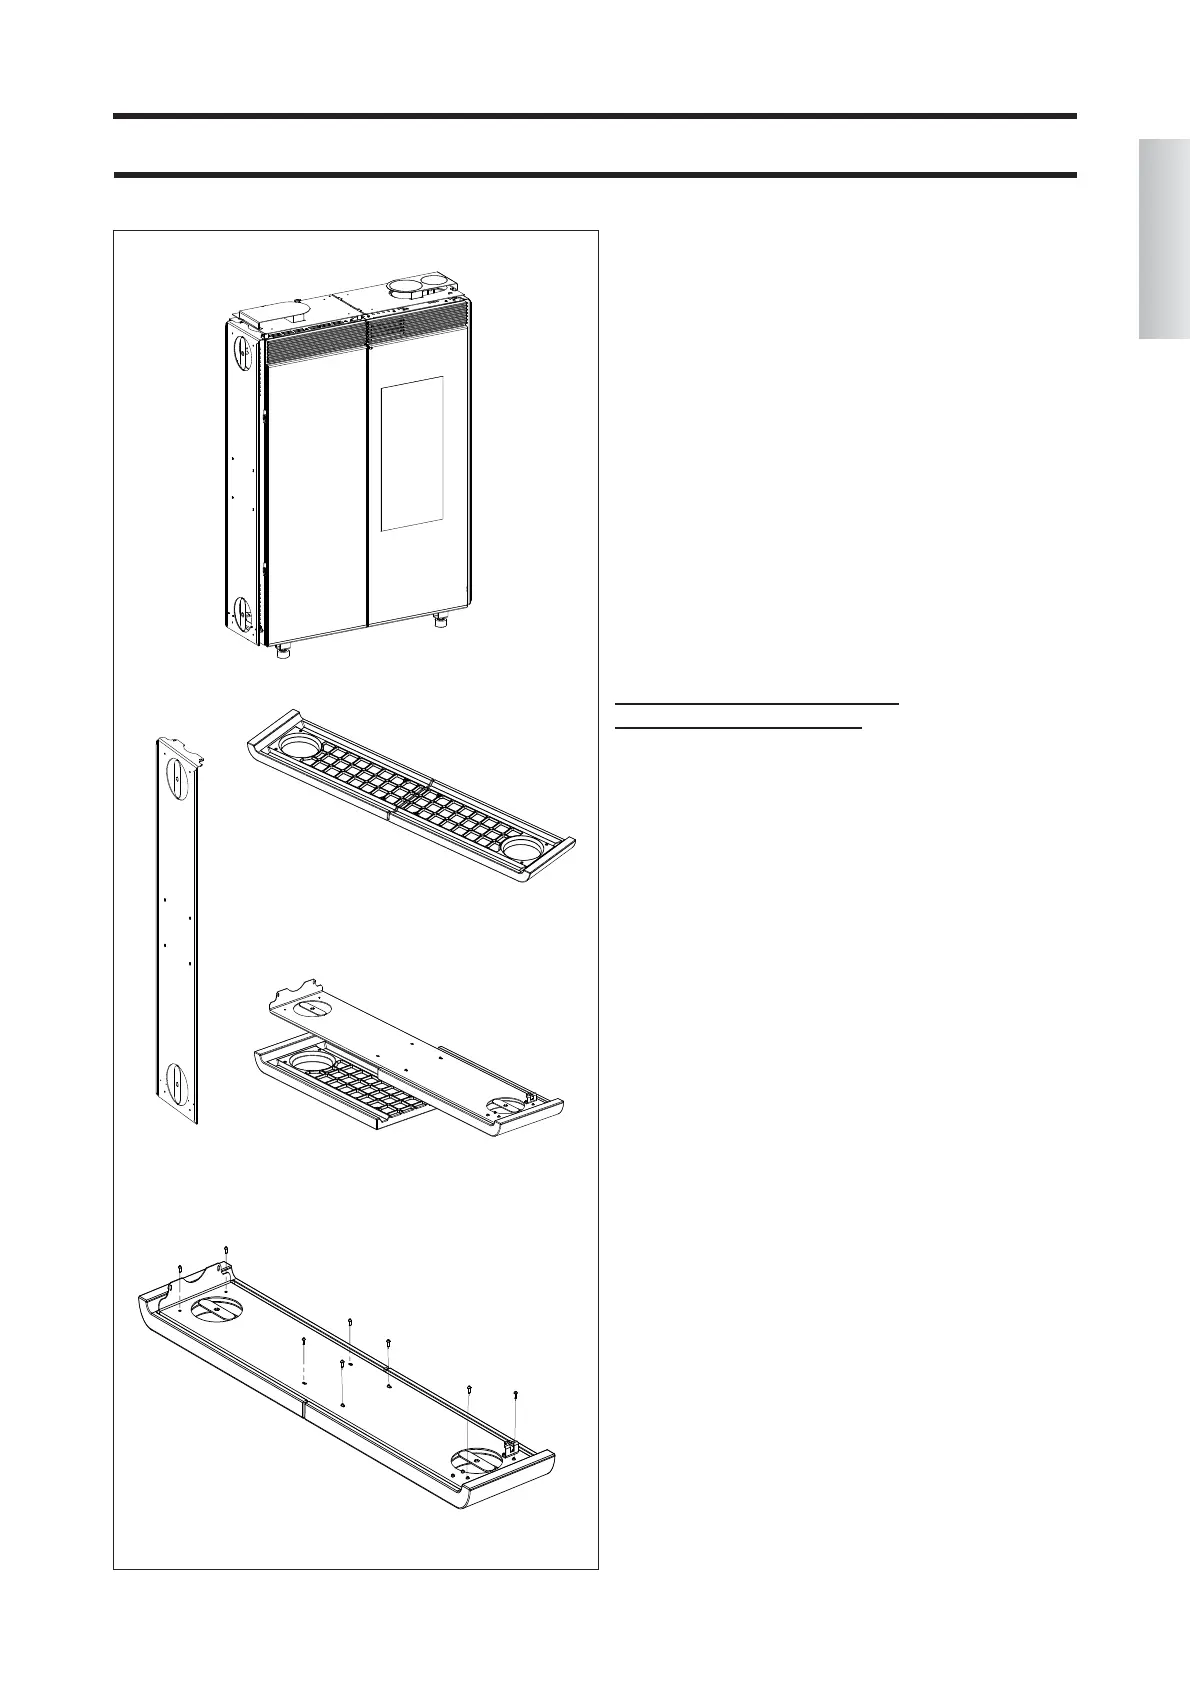
Fig. 1
This figure represents the stove after it has been unpac-
ked.
Note:
The stove is delivered with the metal part of the side
plate coverings already assembled (fig. 2).
The two panels of the ceramic covering (H- fig. 6) must
be assembled as follows:
SIDE COVERING ASSEMBLY:
CERAMIC COMPONENTS
Fig. 3/4
Place a pair of the ceramic components (H -fig. 3) on
large enough surface and place a cloth or similar item
under them to prevent scratching.
Place the metal side (fig. 4) on top after having removed
it from the body of the stove.
Fig. 5
Screw the 8 M4 x 8 (d) screws provided into the relative
bushings on the ceramic components and verify their cor-
rect alignment.
ATTENTION!!! Do not screw using force; work in an
extremely delicate manner otherwise the threaded
inserts may come out of the ceramic side.
Repeat the same step for the second pair of ceramic com-
ponents H.
Fig. 1
Fig. 5
Fig. 2
(d)
Fig. 3
(d)
(d)
(d)
(d)
(d)
(d)
(d)
Fig. 4
H
H
H
H