Using Setup Mode
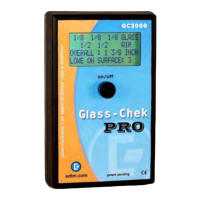
There are various selectable options available in the GC3000 meter. To access these options, you must use Setup Mode.
Push and HOLD DOWN the button to turn on the meter.
Continue to hold the button down as the following two messages are displayed:
Release the button after the following message is displayed:
Navigating Through Setup Mode
After releasing the button (as outlined in the previous step), the following message will briefly appear:
This message explains how to navigate through the menu system in setup mode. When you enter setup mode, a menu
will appear, and a small arrow will be next to one of the options. In the illustration below, the arrow is next to the “MODE”
option.
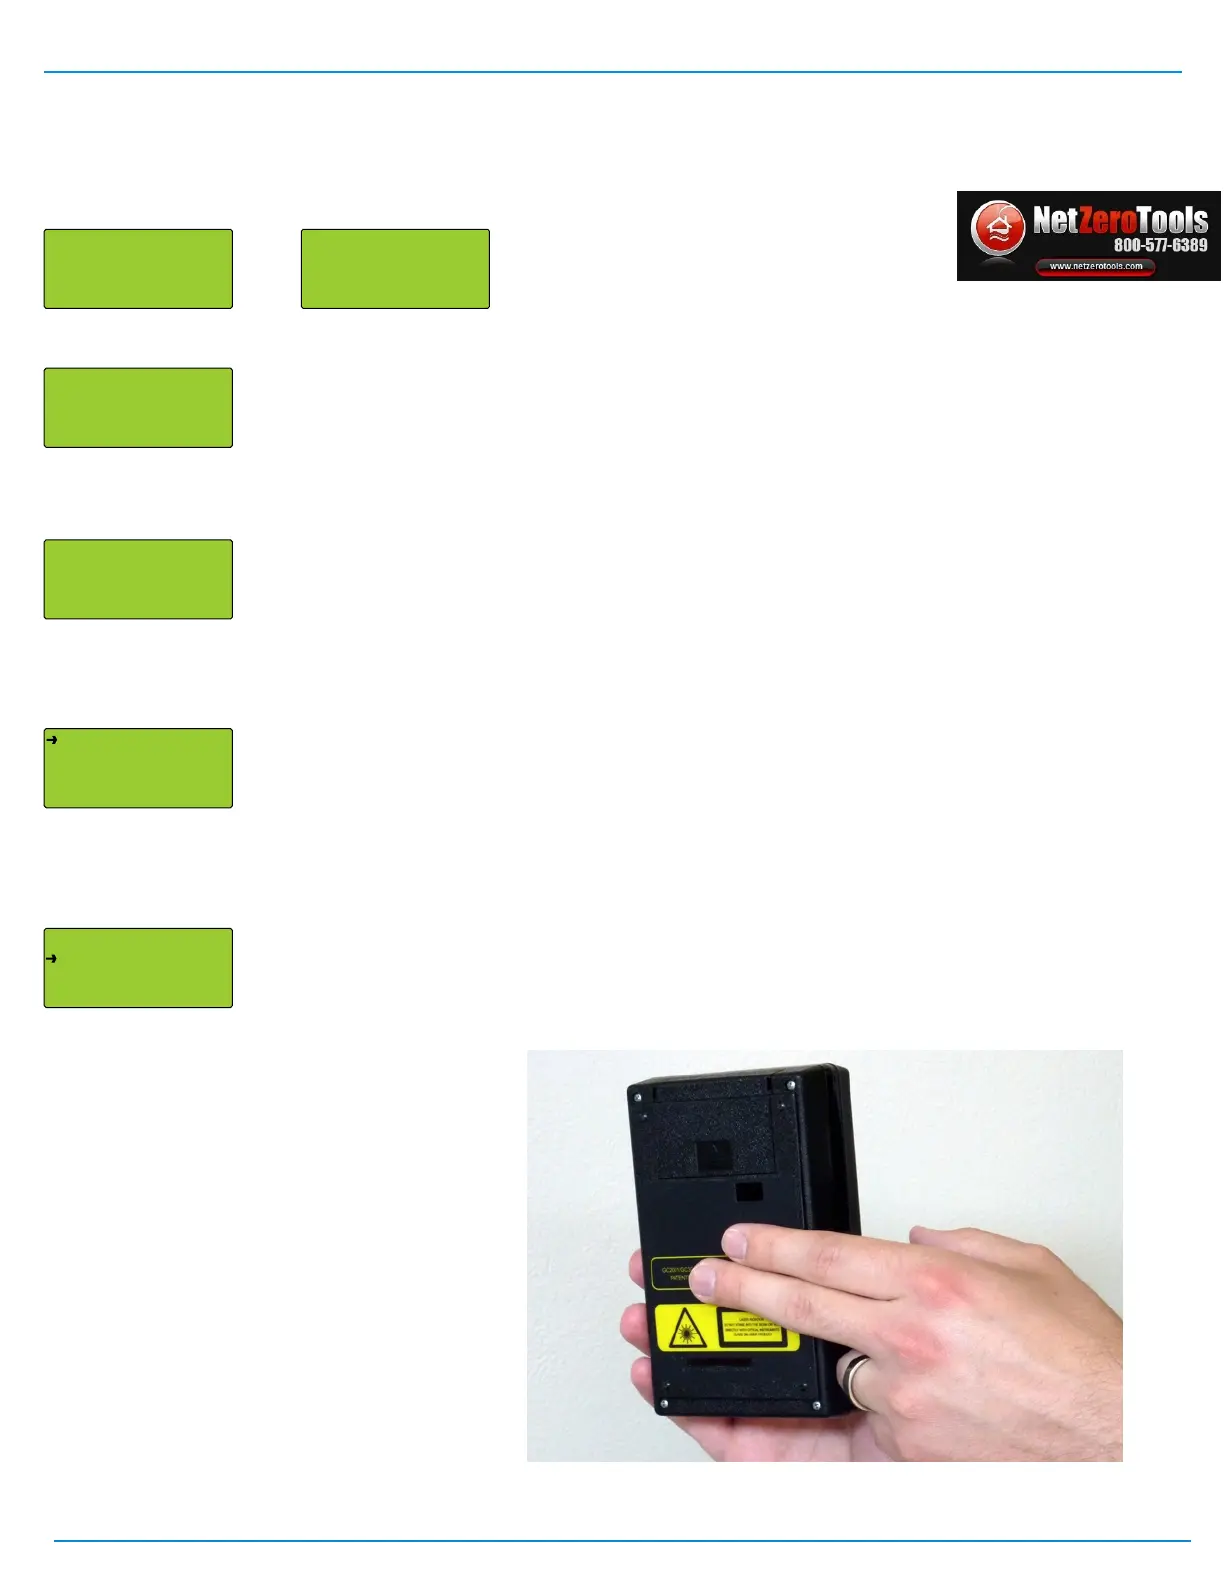
To scroll through the menu, gently touch the back of the meter (see figure 1). To select an option, push the meter’s button.
To exit the menu, touch the back of the meter until the arrow points to “EXIT” and push the button. The following screen
will appear.
CONTINUE TO HOLD
BUTTON TO ENTER MENU
RELEASE BUTTON TO
TAKE READING (#)
GLASS-CHEK PRO
MODEL # GC3000
VER: GC3016###
HOLD BUTTON FOR MENU
ENTERING SETUP MODE
RELEASE POWER BUTTON
TOUCH BACK OF METER
TO SCROLL THROUGH
OPTIONS. PUSH BUTTON
TO SELECT.
MODE: NORMAL
DISPLAY UNITS
LANGUAGE: ENGLISH
EXIT
DO NOT SAVE - EXIT
SAVE CHANGES - EXIT
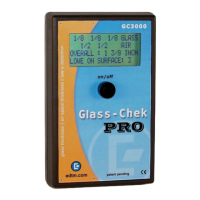
As shown at right, gently touch the back of
the Glass-Chek PRO to scroll through the
menu options. Touching the back of the meter
will advance the arrow to the next line. Do not
hit or tap the meter with excessive force.
Push the meter’s button to make a selection.
Figure 1
Page 1


 To Next Page