D145-45-840
Issue C Original
Instructions
Active Inverted Magnetron Gauge - Electrode Kit
These instructions are applicable to the following: AIM Electrode Kit (Item Number D145-45-802), AIM-SL Electrode Kit (Item Number
D145-48-802).
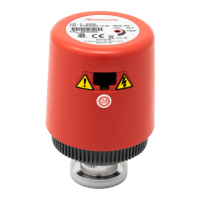
1Dismantle the AIM Gauge
1. Hold the body tube and magnet housing in separate hands.
2. Push the components together and turn the magnet housing anti-clockwise (relative to the body tube) to release the bayonet-type
locking mechanism, then separate the two components keeping their centre lines in-line.
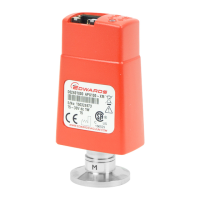
2Dismantle the tube
1. Unscrew and remove the white collar: take care not to bend the protruding anode assembly pin.
2. Remove the anode: keep the centre line of the tube and anode in-line. Ensure that you do not bend the anode pin.
3. Remove the Viton™ 'O' ring.
4. Use circlip pliers to remove the circlip from the other end of the tube.
5. Remove the cathode from the tube.
3 Reassembly
Reassemble the components as described in Section 2 but in the reverse order. Note that:
z A cathode plate is at one end of the cathode tube. This plate should be at the collar end (that is, the opposite end to the
vacuum flange). When you reassemble the AIM Gauge, make sure that the long pin end of the anode enters the centre hole in
the cathode plate.
z Before you screw in the collar, check that the anode pin is central within the line of view through the central hole in the
cathode tube.
z When you fit the new anode assembly, you must check the gaps between the striker plates and the shield and ensure that they
are correctly set as shown in Figure 1 below.
Figure 1 - Striker plate/shield gap settings
Viton™ is a trademark of DuPont Dow Elastomers L.L.C.
1. Striker plate
2. Shield
3. Striker plate (not fitted
on all anode assemblies)
Ipsitech 9000(K)-2008