EFA band saws Operating instructions EN
Running-in marks on carbide
Gap set ex-works 0.6 mm
Turn rods (b) if there are running-in
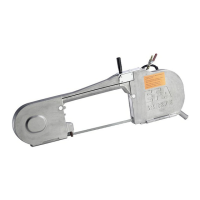
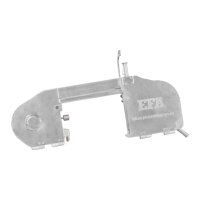
Fig. 7.1 – Saw band change
direction
7 Assembly
Assembly work is only allowed to
be carried out by authorised
specialist personnel.
Wear cut-resistant gloves and
safety shoes during all assembly
work.
Voltage!
Disconnect the device from the
mains prior to performing any
assembly work!
7.1 Saw band change
Danger! Never reach into the cutting edge area of the
running saw band, otherwise you could cut off
limbs!
Important! Only use genuine EFA saw bands!
The band saws have a switch-on safety device, i.e. if one of the
two covers (A) is open, the machine cannot be switched on.
7.1.1 Removal of saw band
Open both covers (A) with tab (B) (covers have
magnetic catch). Loosen the saw band by turning the
torque wrench (C) anticlockwise. The saw band is
now slackened.
Lift up the guide with lever (D) and push the saw
band out of the guides and take it out over the
wheels, see section 7.2 Saw band guide.
7.1.2 Installation of saw band
Place the saw band flush over the wheels with the teeth against the housing; the teeth must be in the
direction of the motor. The set of the teeth must be above the recessed diameter (indentation) of the wheels.
Slightly pretension the saw band using the torque wrench (C).
Push up guide with lever (D), position saw band upright by
hand and insert into guides.
Release lever (D) (automatic working position).
Tension the saw band using the torque wrench (C) until the
torque wrench clicks.
Let the machine run for a short time, the saw band will pull
itself to the correct position on the wheels.
Then retighten the saw band with a torque wrench (C).
The tooth tips of the saw band are hardened and therefore
cannot be resharpened.
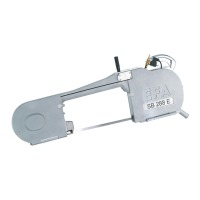
7.2 Saw band guide
The band saws have two identical saw band guides, these are an
important part of the band saw and must be cleaned daily, checked
and replaced in time when worn.
Lever D:
top = working position
bottom = guide released for
changing saw band
Fig. 7.2 – Saw band guide