EasyManua.ls Logo

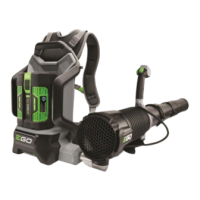
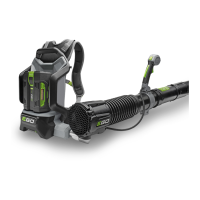
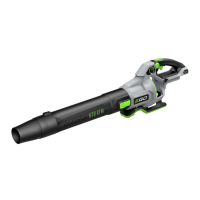
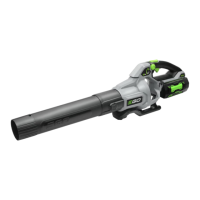
EGO LB6000 User Manual

EGO LB6000
63 pages
To Next Page IconTo Next Page
Page #1 background imageLoading...
Page #1 background image
REPAIR GUIDELINE
Blower_LB6000
Version: 2
Revise Date: 2019/3/1

Questions and Answers:

EGO LB6000 Specifications

General IconGeneral
BrandEGO
ModelLB6000
CategoryBlower
LanguageEnglish

Summary

Troubleshooting

Blower Not Turning On

Diagnosing issues when the blower fails to power on, covering PCB and motor problems.

Inoperable Switch Issues

Resolving problems with the switch functionality, such as it being stuck in the ON position.

Control Performance Issues

Troubleshooting control knob adjustments not affecting blower performance or output.

How to disassemble the blower

Initial Housing Removal

Steps to stop the motor, remove the battery, and loosen screws to detach the right housing.

PCBA and Motor Testing Procedures

Procedures for testing the PCBA (fuse, MOSFET) and motor assembly for faults.

How to replace the PCBA

PCBA Removal and Disconnection

Disconnecting connectors and removing the PCBA from the blower assembly.

PCBA Reassembly Steps

Guiding through reassembling the blower after PCBA replacement, including connecting cables and housings.

How to replace the switch assembly

Handle Housing Disassembly

Disassembling the handle housing by removing screws and disconnecting the switch connector.

Switch Assembly Reinstallation

Reinstalling the switch assembly and reassembling the handle housing with trigger and boost button.

How to replace the motor and ducted assembly

Ducted Assembly Separation

Separating the ducted assembly and bellows, and disassembling the fan baffle.

Bellows and Lock Ring Replacement

Procedures for replacing the bellows and securing it with the lock ring and screw.

Connecting Tube and Ducted Assembly Integration

Steps to connect the connecting tube to the bellows and then attach the ducted assembly.

How to replace the connecting lever

Initial Lever Disassembly

Separating the support from the connecting lever and removing the holding ring.

Harness and Housing Separation

Detaching the harness from the rear housing and separating the rear housing from the frame.

Lever and Switch Box Reassembly

Reassembling the lever, switch box, springs, and covers into the front housing.

Related product manuals