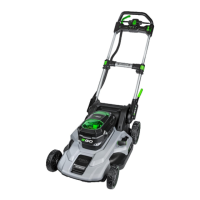
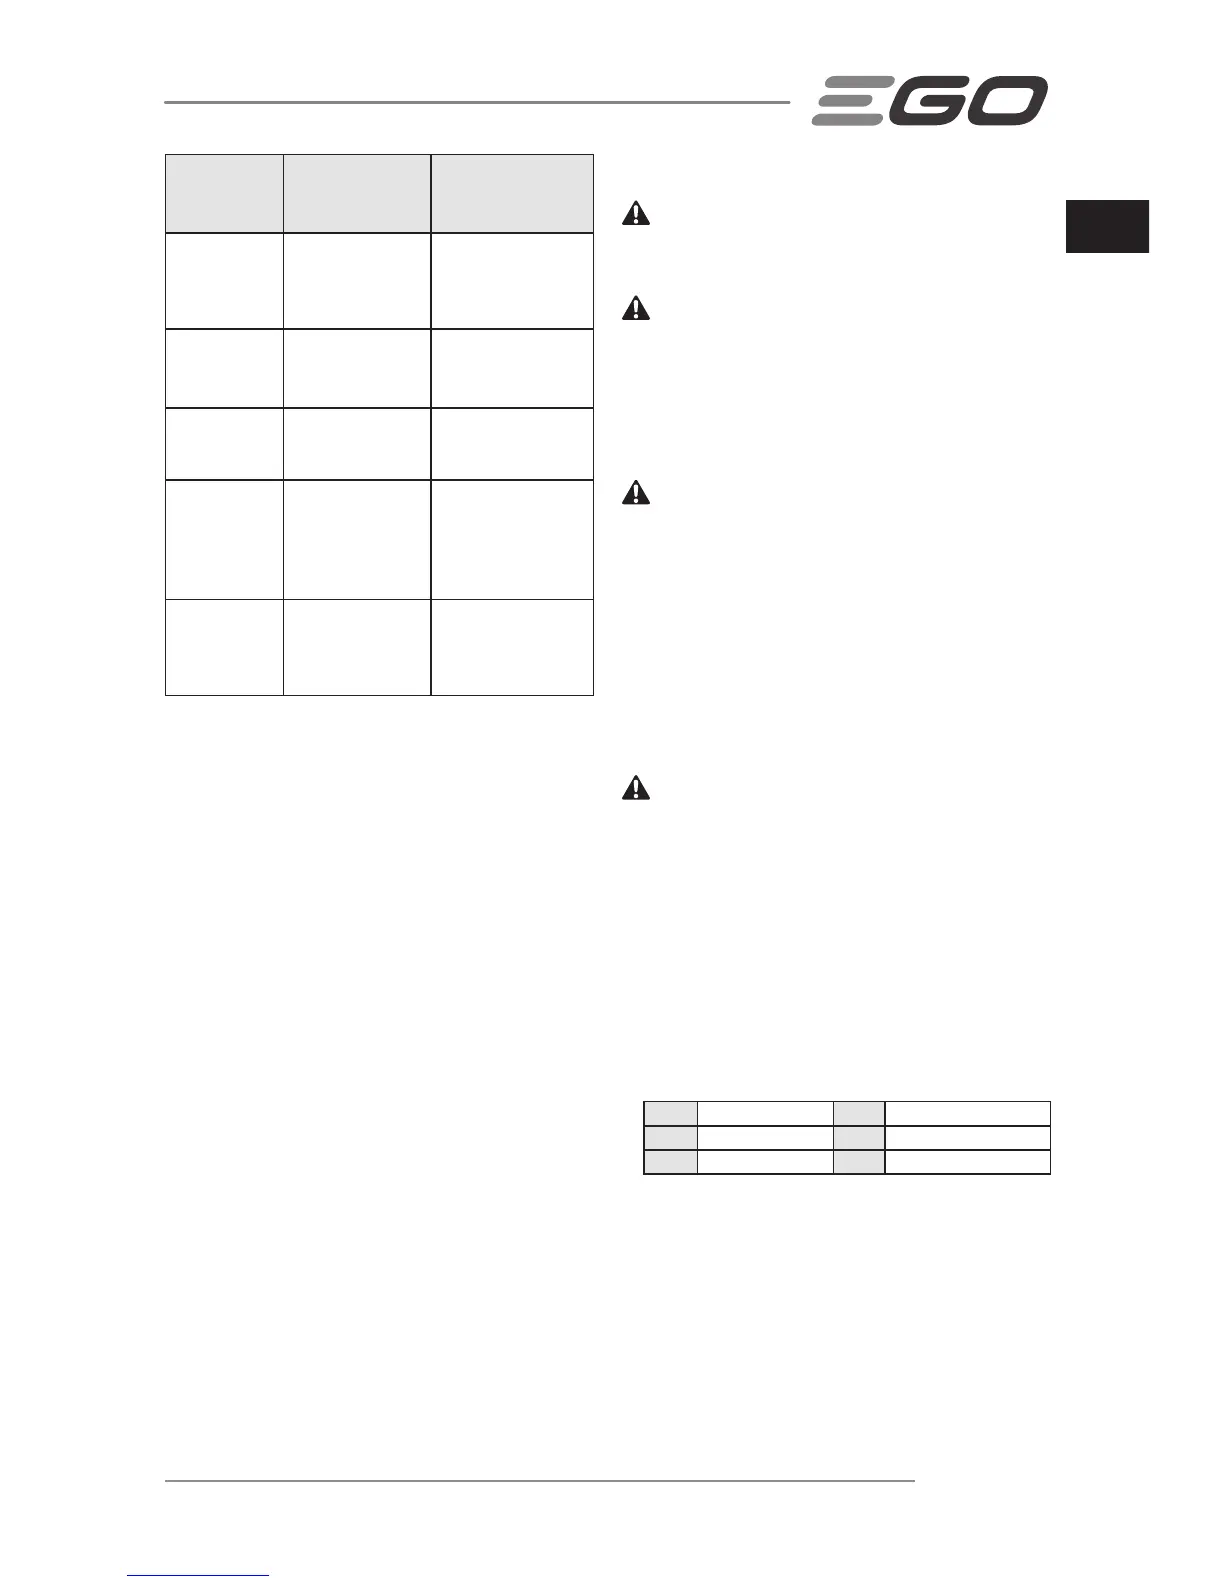
Power
Indicator on
Mower
Meaning Action
Shining green
Mower is working
properly; battery
has at least 15%
of its charge
N/A
Shining red Low battery
Stop the mower and
charge the battery
pack
Flashing red
The battery is
nearly depleted
Stop the mower and
charge the battery
pack
Shining
orange
The mower or the
battery pack is
overheated
Remove the battery
from the mower,
move them to the
shade and cool them
at least 15 minutes
Flashing
orange
The mower is
overloaded
Slow down your
pace or raise up
the cut height to
decrease the load
MOWER OVERLOAD PROTECTION
To prevent damage due to overload conditions, do not try
to cut too much grass at one time.
Your mower has built-in overload circuit protection.
When the mower is overloaded, the power indicator on
the mower will blink orange. The mower can endure a
short time of overload before turning itself off. You can
slow your speed to reduce the load or raise the cutting
height of the mower; otherwise the protection circuit will
automatically turn off the mower. Release the bail handle,
wait for a few seconds and try again.
BATTERY HIGH TEMPERATURE PROTECTION
The battery pack will generate heat during operation. The
heat dissipates more slowly in hot weather. If the battery
temperature exceeds 70°C during operation, the protec-
tion circuit will immediately turn off the mower to protect
the battery pack from damage. The power indicator on
the mower will shine orange. Release the bail handle, wait
until the battery pack cools down to approximately 67°C ,
then restart the mower.
MAINTENANCE
WARNING: To avoid serious personal injury, always
remove the safety key and battery pack from the mower
before cleaning or performing any maintenance.
WARNING: When servicing, use only identical
replacement parts. Use of any other parts may create
a hazard or cause product damage. To ensure safety
and reliability, all repairs and replacements should be
performed by a qualied service technician.
CLEANING THE MOWER
WARNING: To reduce the risk of electric shock, do not
expose the mower to water. Always remove the safety key
and battery pack when servicing or transporting the mower.
The underside of mower deck should be cleaned after
each use, as grass clippings, leaves, dirt and other debris
will accumulate.
Remove any build-up of grass and leaves on or around
the motor cover (do not use water). Wipe the mower clean
with a dry cloth.
REMOVING/INSTALLING THE BLADE
WARNING: Always protect your hands by wearing
heavy gloves or wrapping the cutting edges with rags or
other materials when performing any maintenance on the
mower blade. Always remove the safety key and battery
pack when servicing or transporting the mower.
◾ To Remove the Blade (Fig. V)
◾ To Install the Blade
Following the assembly sequence in Fig. W, with the fan
blade towards deck and the bulge on the blade towards
outside, align the through holes in the fan with the holes in
the blade (Fig. X) and then tighten the blade as Fig. Y shown.
Fig. W parts description see below:
W-I Fan W-4 Bolt
W-2 Inner Flange W-5 Blade
W-3 Outer Flange W-6 Blade Bulge
NOTICE: The recommended torque for tightening the
blade bolt is 49-59Nm.
STORAGE THE MOWER
◾ Remove the battery pack from the mower and store it
in a cool, dry and clean location. Do not store it next to
corrosive materials, such as fertilizer or rock salt.
 Loading...