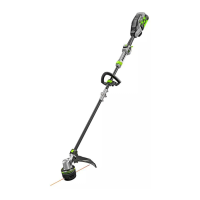
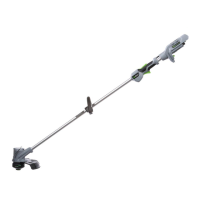
56-VOLT LITHIUM-ION CORDLESS BRUSHLESS STRING TRIMMER — ST1620/ST1620-FC16
MOUNTING AND ADJUSTING THE
FRONT HANDLE
1. Loosen and remove the quick-
release lever and wing nut from the
front handle (Fig. 6).
2. Push the front handle onto the shaft
within the mounting zone between
the height-locking clamp and the
hinge (Fig. 7).
3. Insert the clamping block into the
handle slot (Fig. 8).
4. Mount the quick-release lever and pre-tighten the wing nut. Make sure that the
front handle is positioned upwards and points toward the top of the rear handle
(Fig. 9).
5. Pull the quick-release lever up to move/rotate the front handle to a comfortable
operating position (Fig. 10).
NOTICE: The front handle should be positioned on the shaft only within the mounting
zone (Fig. 10).
6. Engage the quick-release lever to secure the front handle in place.
WARNING:
Never use the trimmer without the front handle securely attached.
7 8
Clamping Block
9
Quick-release Lever
Wing Nut
10
Height-Locking Clamp
Mounting Zone
Hinge
6
Clamping Block
Wing Nut
Quick-release
Lever
Front Handle
 Loading...