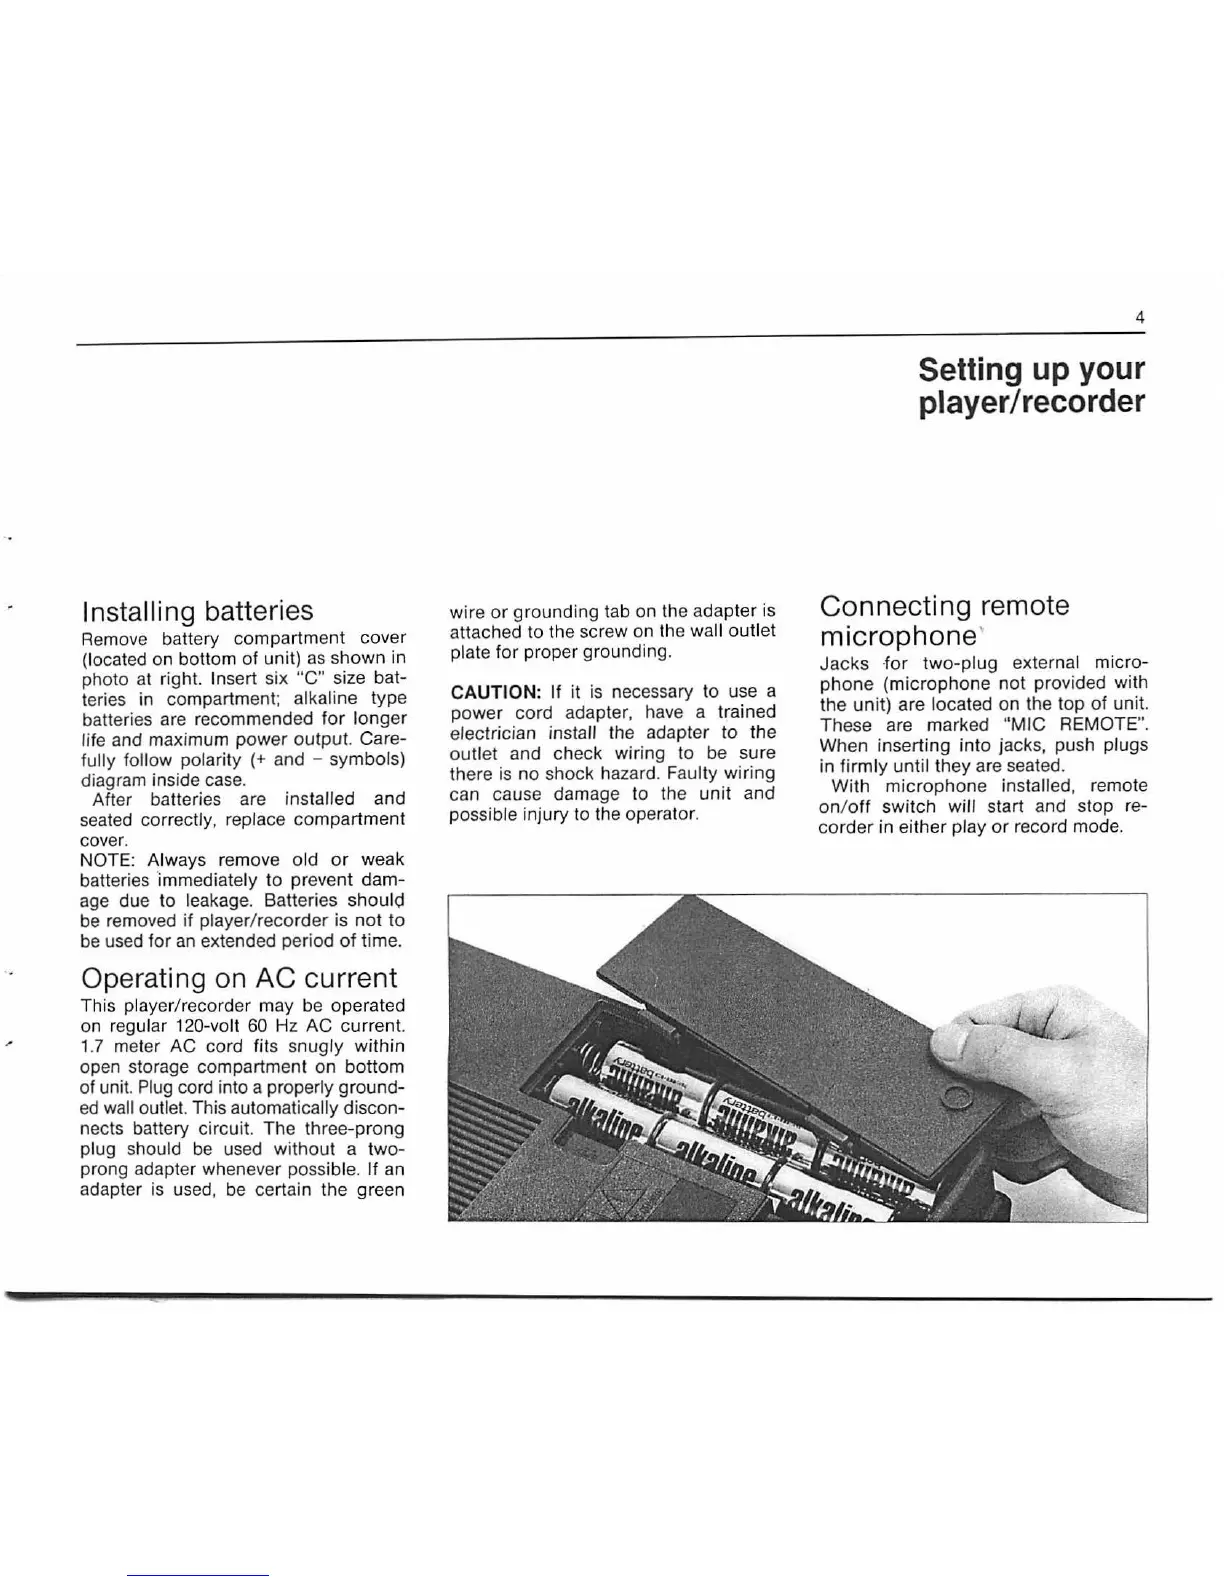
Installing batteries
Remove battery compartment cover
(located on bottom of unit)
as
shown in
photo at right. Insert six
"C"
size bat-
teries in compartment;
alkaline type
batteri
es
are recommended for longer
life and maximum power output. Care-
fully follow
polarity (+ and - symbols)
diagram inside
case.
After batteries are installed and
seated correctl
y,
replace compartment
cover.
NOTE: Always
rem
ove old
or
weak
batteries 'immediately to prevent dam-
age due to leakage. Batteries
shoulc;l
be
removed
if
player/recorder is not
to
be
used
for
an
extended period
of
time.
Operating on AC current
This player/recorder may
be
operat
ed
on
r
eg
ular 1
20
-
vo
lt
60
Hz AC curr
en
t.
1.7
meter AC cord fits snu
gly
within
open storage compartment on bottom
of unit.
Plug
cord into a properly ground-
ed
wall outlet. T
his
automatically discon-
nects battery circuit. The three-prong
plug should
be
used without a tw
o-
prong adapter whenever possible.
If
an
adapter
is
used,
be
certain the green
w
ir
e
or
ground ing tab on the adapter is
a
tt
ached to the screw on the wall outlet
plate for proper grounding.
CAUTION: If it
is
necessary
to
use a
power cord adapter, have a trained
electrician install the adapter to the
outlet and check wiring
to
be
sure
there
is
no shock hazard.
Fau
lty wiring
can cause damage to the unit and
possible
in
jury to the operator.
4
Setting up your
player
I recorder
Connecting remote
microphone'
Jacks ·
for
two-plug external micro-
phone (microphone not provided with
the unit) are
located on the top of uni
t.
These are marked "MIC REMOTE
".
When inserting into jacks, push plugs
in firmly until they are seated.
With microphone installed, remote
on/
off
switch will start and stop re-
corder in eith
er
play
or
record mode.