EN
- 12 -
that the perforations in the abrasive paper
coincide with the orbital plate.
•
To remove the abrasive paper, simply pull it
off.
6. Operation
6.1 Charging the Lithium-Ion battery (not
included)
The corresponding instructions can be found
in the original operating instructions for your
charger.
6.2 Battery capacity indicator (Fig. 5 / item 6)
Press the battery capacity indicator switch (7).
The battery capacity indicator (6) shows the
charge status of the battery using 3 LEDs.
All 3 LEDs lit:
The battery is fully charged.
2 or 1 LED(s) lit:
The battery has an adequate remaining charge.
1 LED fl ashing:
The battery is empty, recharge the battery.
All LEDs fl ashing:
The temperature of the battery is too low. Remove
the battery from the device and leave it at room
temperature for a day. If the error occurs again,
this means that the battery has been completely
depth-discharged and is defective. Remove the
battery from the device. Never use or charge a
defective battery.
6.3 Switching on and off (Fig. 6/Item 1)
•
To switch on the equipment, move the switch
(1) from “0” to “1”.
•
To switch off the equipment, move the switch
(1) from “1” to “0”.
6.4 Speed controller (Fig. 7/Item 3)
You can select the speed by turning the speed
controller (3).
Plus direction: Higher speed
Minus direction: Lower speed
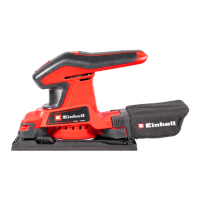
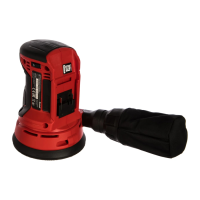
6.5 Working with the Random Orbit Sander
•
Place the whole surface area of the sanding
disk on the material.
•
Switch on the machine and move it with
gentle pressure over the workpiece, making
circular or transverse and linear movements.
•
Use a coarse grit for coarse sanding and
a finer grit for finish sanding. You can find
the best grit size for the job by carrying out
sanding tests.
Caution!
The dusts which are formed while the equipment
is being used may be a health hazard:
•
Always wear safety goggles and a dust mask
during sanding work.
•
All persons who work with the equipment or
enter the workplace must wear a protective
dust mask.
•
Eating, drinking and smoking are prohibited
at the workplace.
•
Paints containing lead are not allowed to be
used!
7. Cleaning and maintenance
HAZARD!
Always take the battery out of the equipment
before starting any cleaning work.
7.1 Cleaning
•
Keep all safety devices, air vents and the
motor housing free of dirt and dust as far as
possible. Wipe the equipment with a clean
cloth or blow it down with compressed air at
low pressure.
•
We recommend cleaning the equipment
immediately each time after use.
•
Clean the equipment regularly with a damp
cloth and some soft soap. Do not use
cleaning agents or solvents; these may
be aggressive to the plastic parts in the
equipment. Ensure that no water can get into
the interior of the equipment. The ingress of
water into an electric power tool increases the
risk of an electric shock.
7.2 Maintenance
There are no other parts inside the equipment
which require maintenance.
Anl_TE_RS_18_Li_USA_SPK7.indb 12Anl_TE_RS_18_Li_USA_SPK7.indb 12 26.04.2022 15:05:3226.04.2022 15:05:32
 Loading...

