3 of 16
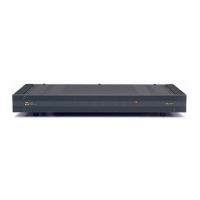
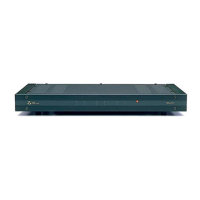
CHECK/UPDATE THE S1616A FIRMWARE
IMPORTANT! Verify that the S1616A firmware on all chassis is one of the supported versions
listed in the document header above.
1. Connect a USB cable from your PC to the rear USB mini port on
the S1616A.
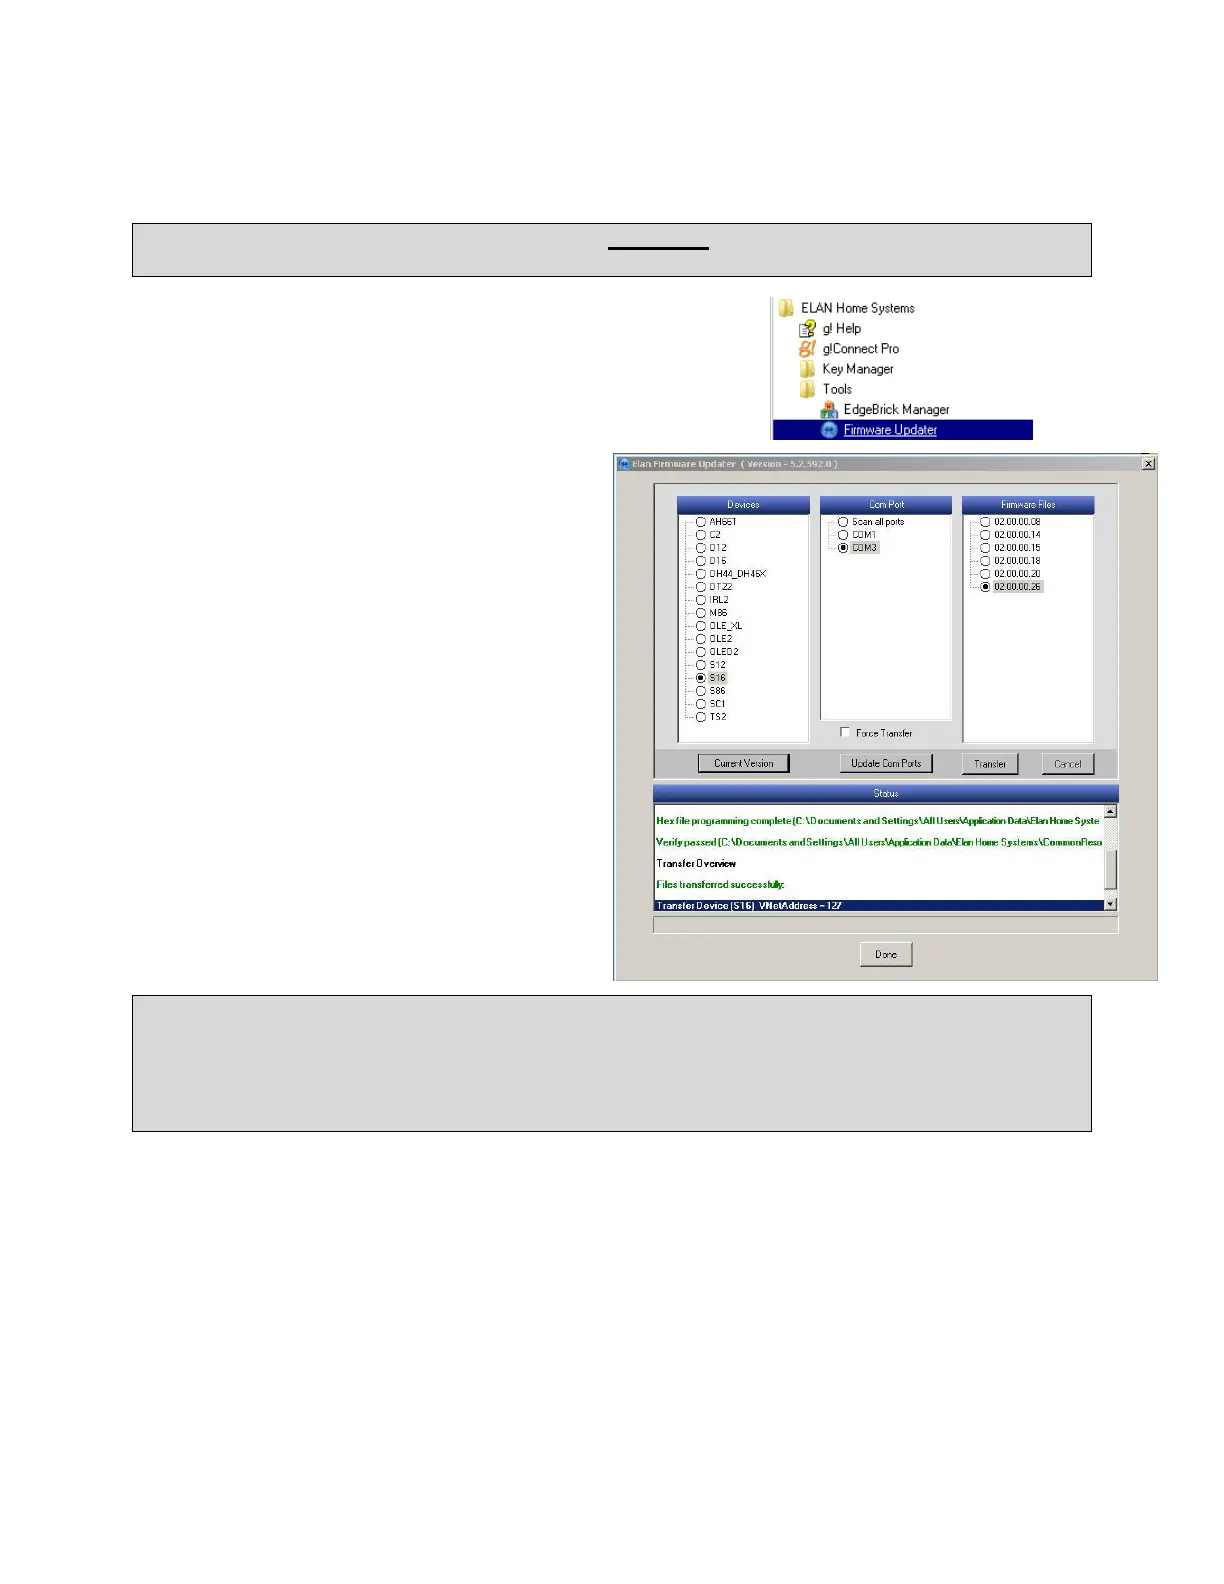
2. Start the ELAN Firmware Updater by selecting it from your start
button menu and navigating to it via the All Programs browser.
3. Click the Update Com Ports button.
4. To check the firmware: select the device as
an S1616A and click the Current Version
button. The application will search the com
ports for the S1616A then report the current
version of that chassis. If the firmware is
supported then remove the USB cable.
5. If the firmware needs to be updated: select
the device as an S1616, select the COM Port,
and the proper firmware version then click the
Transfer button. Wait for the transfer to
complete and state that it was successful as
shown in the screen on the right.
6. Remove the USB cable.
Important: After updating the firmware and Prior to writing the S1616A configuration from
configurator to the S1616, all S1616s MUST be Factory Defaulted.
This procedure WILL reset the Unit IDs of all S1616 chassis to 1. In a multiple chassis installation.
The Unit IDS will need to be reset to their correct values in order for the system to function
correctly. Failure to do this will result in severe control and programming issues with the S1616
FACTORY DEFAULT PROCEDURE (FIRMWARE 2.0.2.2)
1. Power up the S1616A
2. Press an hold MENU button (about 5 seconds) until the System Status screen appears
3. Press and release the MENU button until the Utility menu appears
4. Press and release the CHANNEL button until the Restore Defaults option is displayed
5. Press and release the Arrow keys to select the appropriate Default options
6. Press the CHANNEL button to select the desired option
7. Use the Arrow keys to select Restore (or Cancel)
8. Press the CHANNEL button to set the unit to Factory Default condition. Rebooting will be displayed
and then the ELAN boot screen.
 Loading...