6-4
GETTING STARTED
WATER SYSTEM
Your new Xplore caravan is fitted with a Whale
pressurized water system using a submersible
water pump.
To achieve the best performance from your
water system please follow the setting up your
water system instructions each time you connect
the submersible pump to your caravan.
Setting Your Water System On Your New
Xplore Caravan
1. Ensure all the taps within your caravan are
in the closed position.
2. Switch on the master 12V switch within
your caravan.
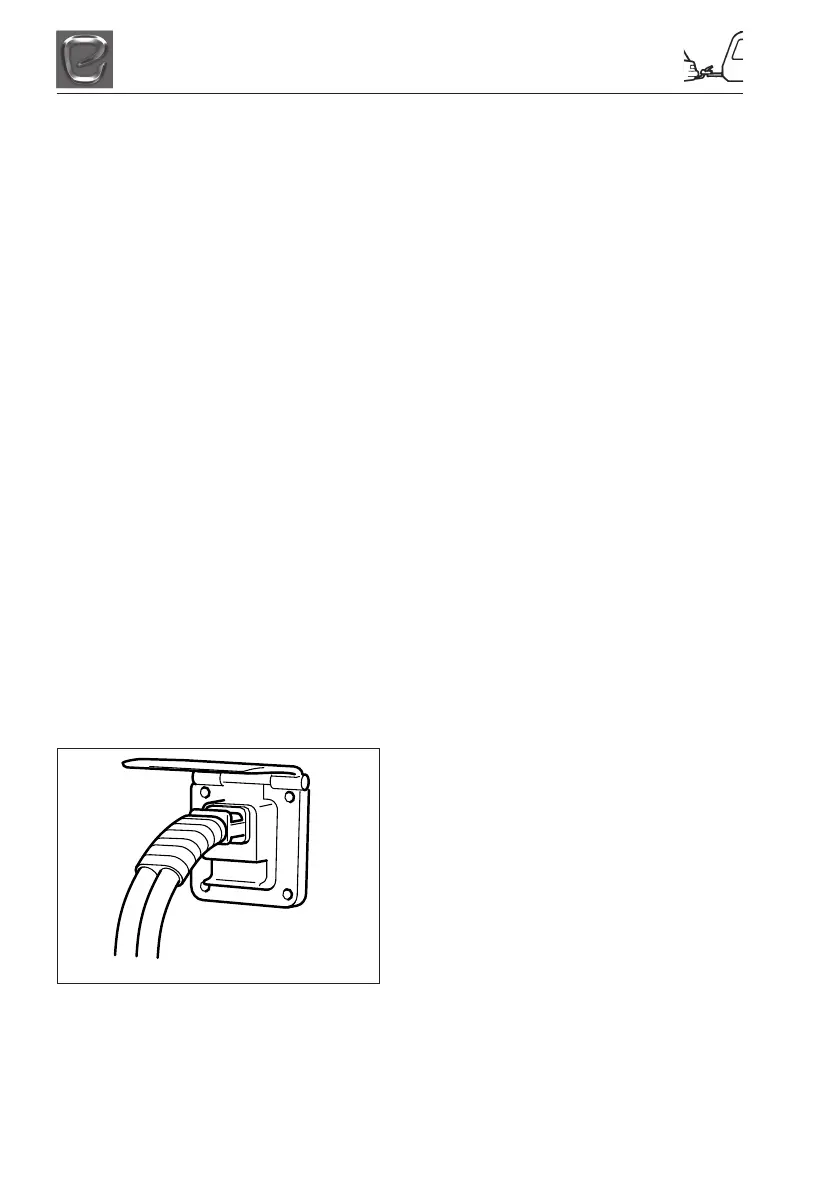
3. Insert the submersible pump provided
within your kit box into your water
container (not provided) and connect the
pump outlet to the inlet on the caravan
(Figure 1) and switch on the pump switch.
4. Using the farthest away tap from the pump,
open on HOT (pump LED on control panel
should illuminate) and allow air to expel
from the tap. Wait for water to flow
smoothly. Close tap, the pump LED should
go out.
Repeat step 4 for the 2nd furthest tap.
Repeat step four for all the cold taps.
Your system is now purged and primed
ready for use.
Draining Down Your Water System
(i) It is essential that you drain down your
caravan water system when it is not in use.
This is most important during winter
months to protect against frost damage.
(ii) Disconnect the water pump and switch off
power supply.
(iii) Remove the water heater fuse from the
switch spur and store in a safe place.
(iv) Open the safety drain valve on the water
heater located next to the water heater.
(v) Open all taps and remove all plugs from
sinks and showers. Lever operated taps
should have the lever put into the up and
central position.
(vi) Open the drain outlets on the outside of
your caravan.
(vii) If an onboard water tank is fitted ensure
that the drain tap on the tank is open.
(viii) Adjust the level of the caravan to ensure
that the drain outlet is at the lowest point
of the caravan. This will aid the flow of water
to ensure all water is drained off.
(ix) After 30 minutes level the caravan and
prepare it for storage if necessary.
Fig 1




 To Next Page