13
SETTING THE CLOCK
When the microwave oven is switched on, the screen will display "0:00", and
the microwave will bleep once.
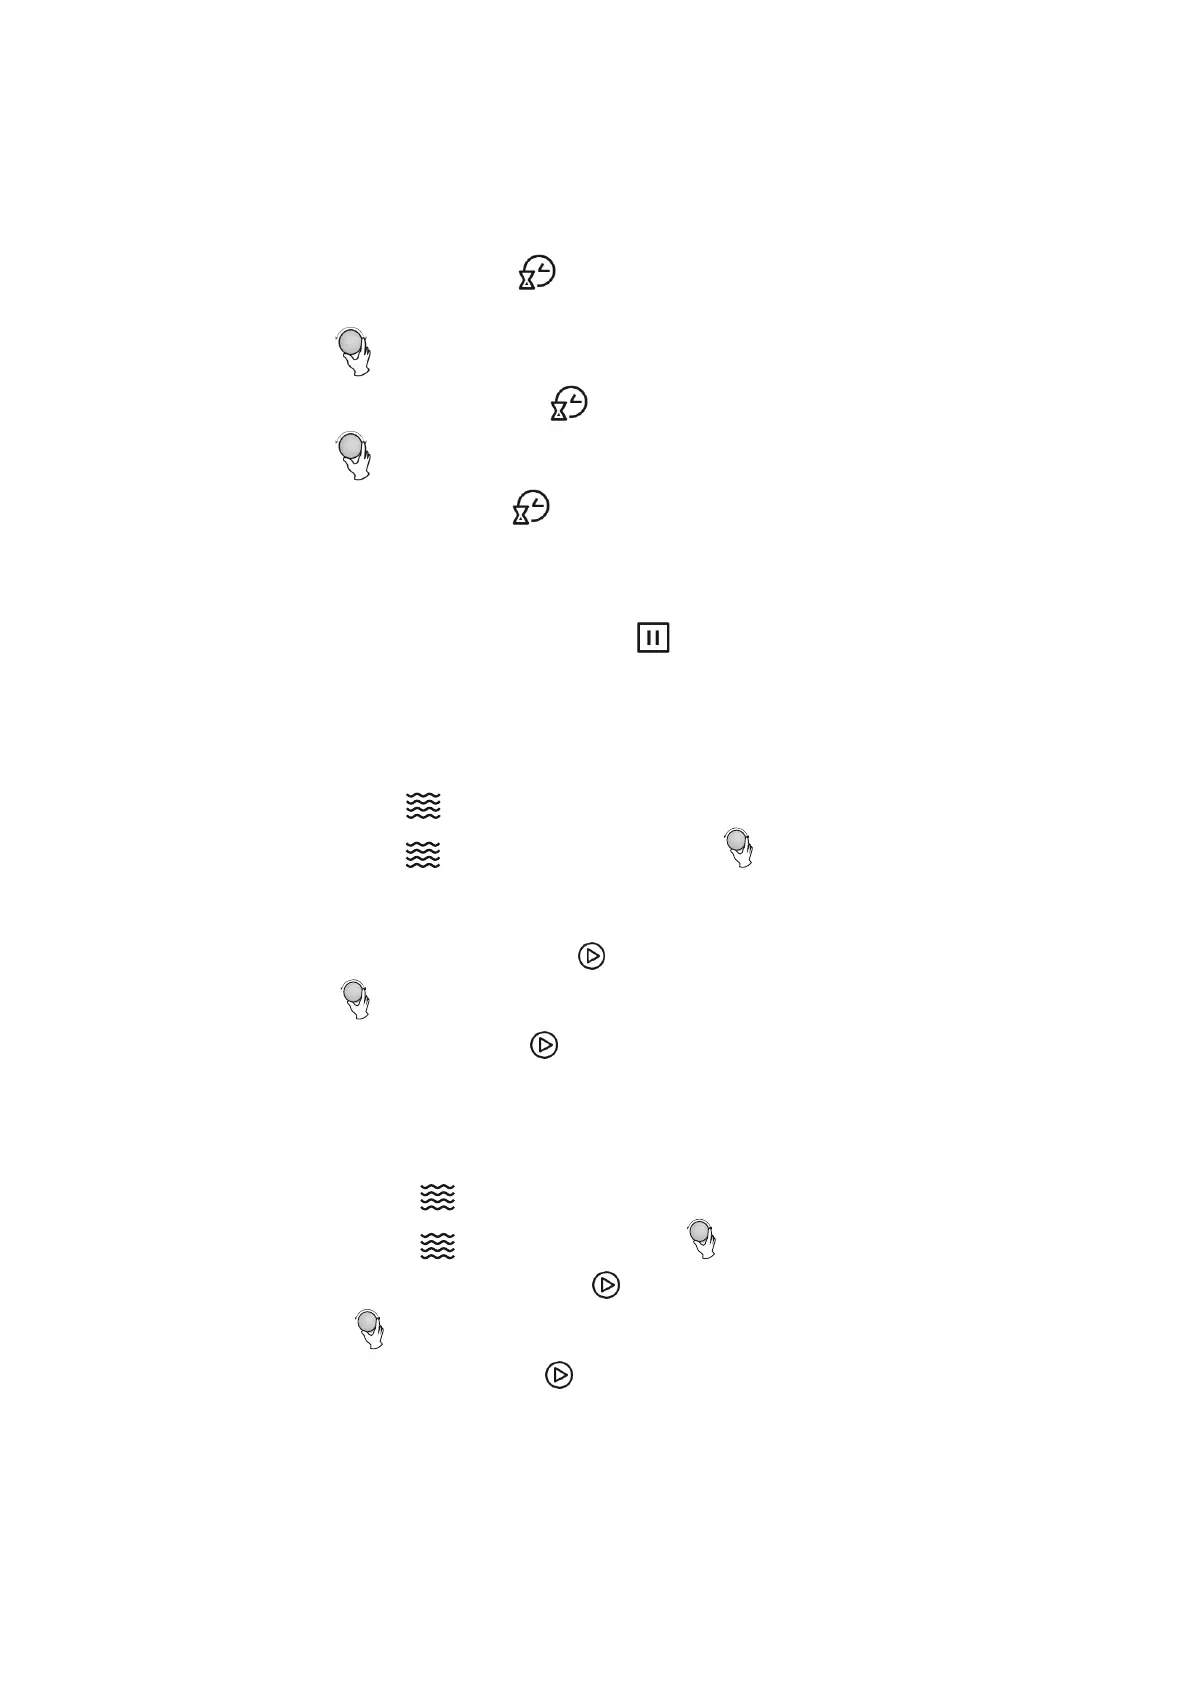
1) Press “Kitchen Timer/Clock” twice to select the clock function, the hour
figures will flash.
2) Turn the dial to adjust the hour value, this should be between 0--23.
3) Press the “Kitchen Timer/Clock” and the minute figures will flash.
4) Turn the dial to adjust the minute value, this should be between 0--59.
5) Press “Kitchen Timer/Clock” to finish setting the time. ":" will flash, and the
time will light.
Note: 1) The clock will only function after the time has been set.
2) While setting the clock, if Stop/Clear is pressed, the clock will not
be set, and the above steps would need to be repeated.
MICROWAVE COOKING
1) Press “Microwave” once, the screen will display "P100".
2) Press “Microwave” repeatedly or turn the dial to select the desired
power level. "P100", "P 80", "P 50", "P 30", "P 10" will display for each
additional press.
3) Press “Start/+30 seconds/Confirm” to confirm the power level
4) Turn the dial to set the cooking time between 0:05 to 95:00.
5) Press “Start/+30Sec./Confirm" again to start cooking.
Example: If you want to use 80% microwave power to cook for 20 minutes, you
can operate the oven as the following steps.
1) Press “Microwave” once, the screen will display "P100".
2) Press “Microwave” again or turn the dial to choose 80% power.
3) Press “Start/+30 seconds/Confirm” to confirm the power level.
4) Turn the dial to adjust the cooking time until the oven displays "20:00".
5) Press "Start/+30Sec./Confirm" to start cooking.
 Loading...