FADEOUT MODE
1. Fadeout mode is entered when the display flashes F.
When in Fadeout mode, turn the LOOP knob to select fadeout times from
between 0-9, where a value of ‘0’ disables fadeout. The numerals in the
range 0-9 do not represent actual seconds. Instead, each numeral identifies
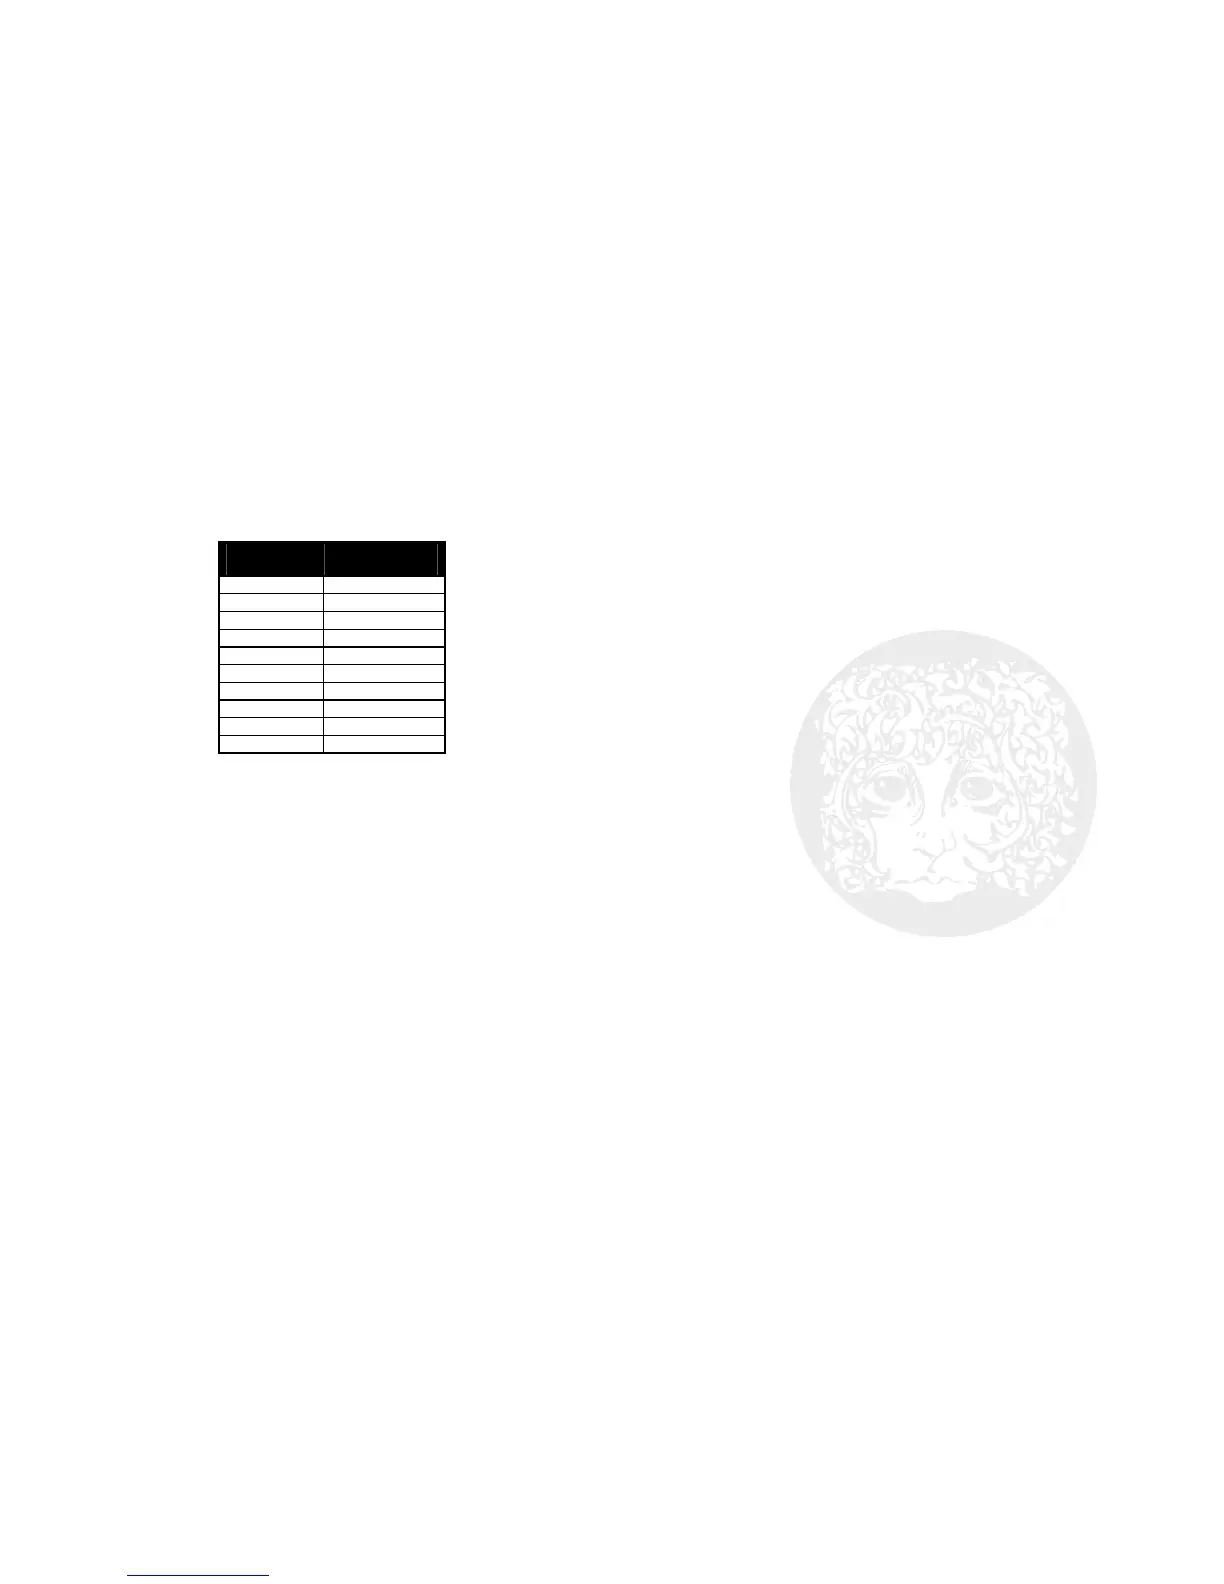
a specific Fadeout time as indicated in the following chart:
Fadeout
Value
Fadeout
Time (sec)
0 0
1 1
2 3
3 6
4 10
5 15
6 20
7 30
8 45
9 60
2. A fadeout sequence is started by selecting a value from 1-9 and stopping
loop playback via the LOOP or STOP/FX footswitch.
3. The PLAY LED flashes quickly during the entire fadeout sequence. When the
fadeout sequence is complete, the PLAY LED remains off and playback is
stopped.
4. An active fadeout sequence can be canceled at any time by pressing the
LOOP footswitch to resume playback, or by pressing the STOP/FX footswitch
to stop playback early.
10
LOOPING ORDER
Establish a Workflow – Think about the looping order that suits your
workflow. Or, simply experiment with the two options for looping order that are
set in the following manner:
To initialize REC/PLAY/DUB mode:
1. Unplug the power jack.
2. Simultaneously plug in the power jack while holding down the REVERSE
button for three seconds.
3. The digit display will show the sequence “o – o – 1 – 1”
4. The power on cycle will continue as usual.
To initialize REC/DUB/PLAY mode:
1. Unplug the power jack.
2. Simultaneously plug in the power jack while holding down the ½ SPEED
button for three seconds.
3. The digit display will show the sequence “o – o – 2 – 2”
4. The power on cycle will continue as usual.
FACTORY RESTORE
To initialize a Factory Restore:
1. Unplug the power jack.
2. Simultaneously plug in the power jack while holding down the LOOP
footswitch for three seconds until the REC, PLAY, and MEM LEDs begin to
flash together.
3. Once all three LEDs start blinking you can release the footswitch at any
time. All three LEDs will continue to flash for about one second until the
Factory Restore process is complete.
4. After the process is complete, Loop-select mode is entered with LOOP 0 as
the default bank, fadeout disabled, all effects off, and STOP mode enabled.
5. Note: All Loop audio is erased during Factory Restore, and the process
cannot be undone.
- CHANGING THE BATTERY -
To change your 9V battery, remove the four screws on the bottom of the 720.
Take off the bottom plate and change the battery. Do not touch the circuit board
while the bottom plate is off or you risk damaging a component.
Typical current draw from the Stereo Looper 720 is 60mA, which gives about 8
hours of operation on a single, high-quality alkaline battery.
Email us at info@ehx.com