19
COOKING WITH YOUR TIMER
Cancelling the cooking time
1. To cancel, press the – button and count back to “0.00”. The cook symbol and the word
“AUTO” will no longer be displayed.
Activating the child-proof lock
1. Press the – and + buttons together and hold down for approximately 6 seconds until “On”
appears on the display. This indicates that the oven can still be turned on at present.
NOTE: The child-proof lock cannot be activated if a cooking time has been set.
2. While “On” is displayed press the + button. “OF” and the key symbol will then be displayed.
This indicates that the oven power has been turned off. After approximately 5 seconds the
current time of day will appear next to the key symbol and the child-proof lock is activated.
NOTE: A cooking time can be set and will appear to function as normal, however the oven will
not heat up.
Deactivating the child-proof lock
1. Press the – and + buttons together and hold down for approximately 6 seconds until “OF”
appears.
2. While “OF” is displayed press the + button. The display will show “On” and the key symbol
will disappear. This indicates that the oven can now be turned on. After approximately 5
seconds, the current time of day will reappear and the child-proof lock is deactivated.
3 button programmable timer
General features
Your 3 button programmable timer has the following features:
• Timer – your 3 button programmable timer allows you to set a
countdown time that will beep when the set time has elapsed.
• Cooking time – You can set a cooking time. A timer will count
down the preset cooking time, beep when the time has
elapsed and turn the appliance off.
• End cooking time – you can set a cooking finish time. A timer will count down the preset
cooking time, beep when the finish time has been reached and turn the appliance off.
• Delayed start cooking time – You can combine the cooking time and stop cooking time to
switch the oven on and off at a specific time during the day.
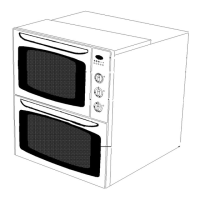
NOTE: Your 3 button programmable timer only operates with your main/top oven.
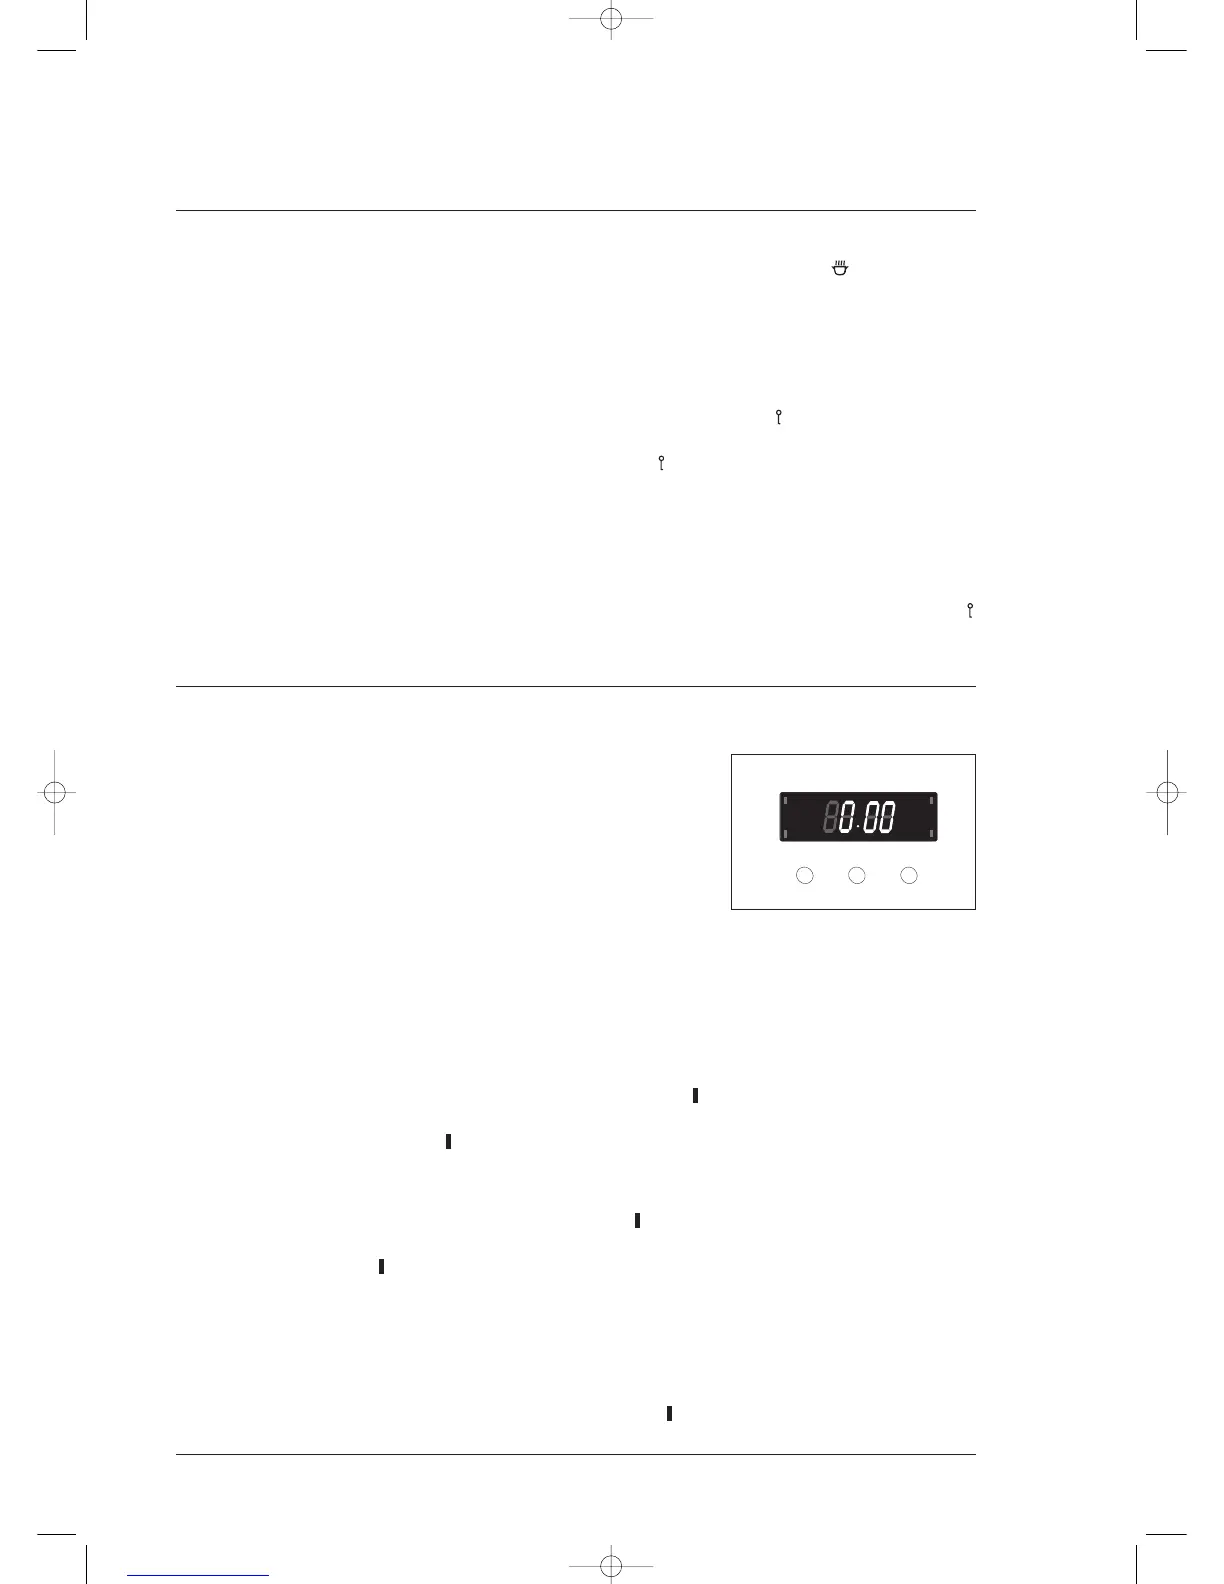
Setting the time of day
You must set the time of day before you can operate your appliance. When power is supplied to
your oven “12.00” will be displayed and the “clock indicator” will flash.
1. To set the time of day in hours and minutes, press the – or + buttons. 5 seconds after the last
change, the “clock indicator” will disappear, confirming the time has been set.
NOTE: The clock has a 24-hour display.
Setting the timer
1. Press the “mode” button until the “timer indicator” begins flashing.
2. Set the countdown time you want by using the – and + buttons. 5 seconds after the last change
the “timer indicator” will stop flashing, confirming the timer has been set.
3. To stop the beeper, press any button.
Setting the cooking time
1. Check the clock displays the correct time of day.
2. Select the desired oven function and temperature. The oven indicator light will glow and the
heating source will come on.
3. Press the “mode” button until the “cooktime indicator” begins flashing.