Do you have a question about the Electrolux EIFLS60JIW1 and is the answer not in the manual?
Explains safety symbols like WARNING and CAUTION used in the manual.
Provides essential steps to take if gas is detected in the vicinity.
Lists tools and materials needed before beginning the installation process.
Details circuit, power supply, and outlet specifications for safe operation.
Specifies faucet type, pressure, and distance for proper water connections.
Outlines drain capacity, pipe diameter, and required standpipe height.
Emphasizes the necessity of proper grounding for electrical safety.
Specifies minimum clearances for alcoves, under counters, and closets.
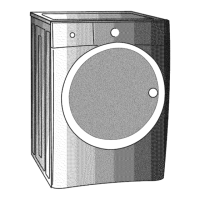
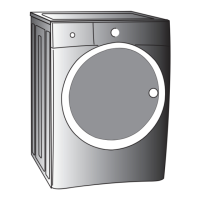
Provides diagrams and measurements for washer dimensions in various configurations.
Instructions for removing foam packaging and protecting the floor during unpacking.
Lists items to remove and save, such as shipping fork, spacers, clamps, and bolts.
Guides on inserting provided hole plugs into the washer's back panel.
Steps to ensure the washer is level for stability and optimal performance.
Details on connecting hot and cold water supply hoses to the washer.
Covers attaching the drain hose and plugging the power cord into a grounded outlet.
Guides through running a diagnostic cycle to verify proper installation.
Pre-requisites and safety precautions before reversing the door swing.
Steps to remove the door trim ring and detach the door from its hinges.
Instructions to detach the hinge assembly from the washer's front panel.
Steps to remove the door lock mechanism from the front panel.
Instructions for reinstalling the door lock assembly onto the front panel.
Steps to reattach the hinge assembly to the washer's front panel.
Instructions for removing the door striker plate from the door frame.
Steps to remove the latch indicator from the door.
Instructions for removing the hole plug from the door.
Steps to reinstall the latch indicator into the opposite hole.
Instructions for reattaching the striker plate to the door frame.
Steps to reinstall the hole plug into the opposite hole.
Steps to reattach the entire door assembly to the hinges.
Instructions for orienting and reinserting the trim ring cover plate.
Steps to correctly install the trim ring onto the door.
Instructions for reinstalling the trim plug with its screw.
Lists optional accessories such as storage pedestals and installation kits.
| Brand | Electrolux |
|---|---|
| Model | EIFLS60JIW1 |
| Type | Front Load Washer |
| Loading Type | Front Load |
| Capacity | 4.4 cu. ft. |
| Color | White |
| Width | 27 inches |
| Depth | 32 inches |
| Steam Function | Yes |
| Sanitize Cycle | Yes |
| Energy Star Certified | Yes |
| Spin Speed | 1300 RPM |
| Height | 38 inches |