3. Open the oven door and put the
connector (B) into the outlet valve
(A).
4. Push the connector again and again
to empty the water tank.
The water may remain inside after
the Tank Empty indicator is on.
Wait until the water flow from the
water outlet valve stops.
5. Remove the connector from the valve
when the water stops flowing.
Do not use the drained water
to fill the water tank again.
6. CLOCK FUNCTIONS
6.1 Clock functions table
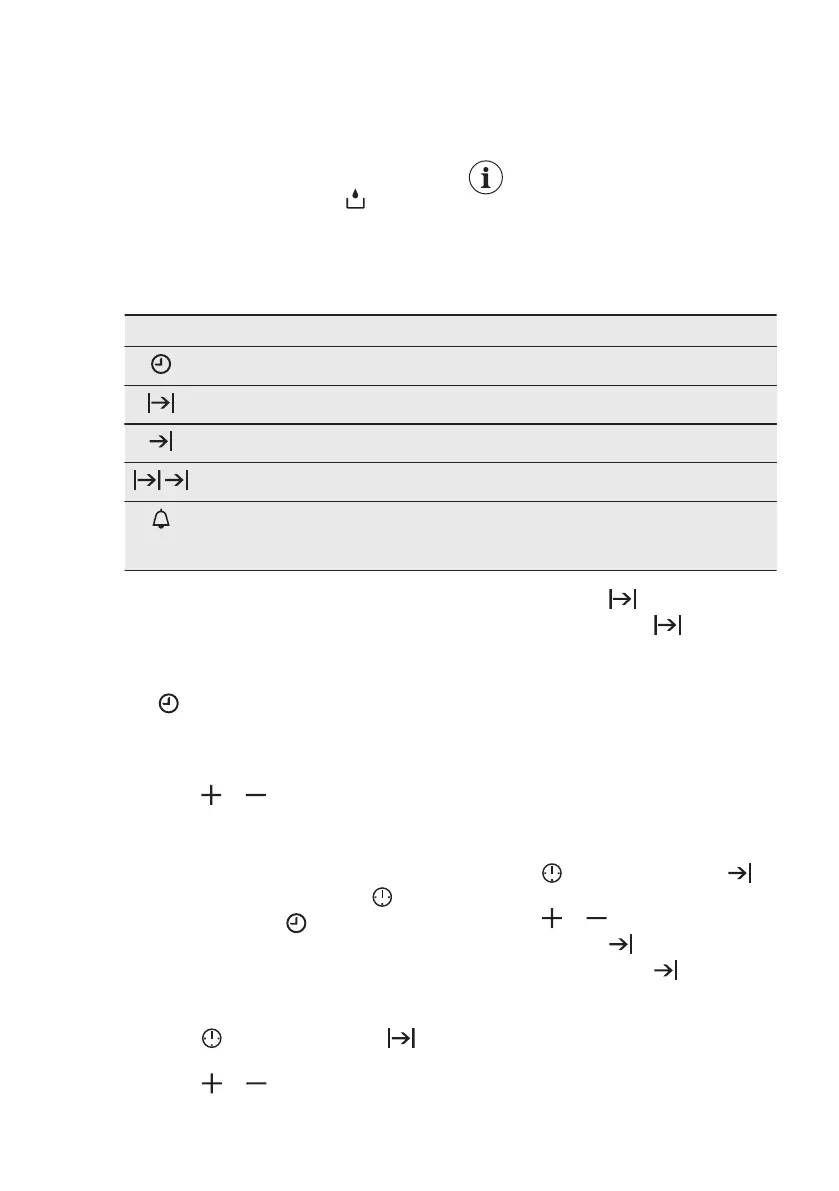
Clock function Application
TIME OF DAY To set, change or check the time of day.
DURATION To set how long the appliance operates.
END To set when the appliance deactivates.
TIME DELAY To combine DURATION and END function.
MINUTE MIND‐
ER
To set countdown time. This function has no effect on
the operation of the appliance. You can set the MINUTE
MINDER at any time, also when the appliance is off.
6.2 Setting the time. Changing
the time
You must set the time before you
operate the oven.
The
flashes when you connect the
appliance to the electrical supply, when
there was a power cut or when the timer
is not set.
Press the
or to set the correct
time.
After approximately five seconds, the
flashing stops and the display shows the
time of day you set.
To change the time of day press
again and again until starts to flash.
6.3 Setting the DURATION
1. Set an oven function and
temperature.
2. Press again and again until
starts to flash.
3. Press or to set the DURATION
time.
The display shows .
4. When the time ends, flashes and
an acoustic signal sounds. The
appliance deactivates automatically.
5. Press any button to stop the acoustic
signal.
6. Turn the knob for the oven functions
and the knob for the temperature to
the off position.
6.4 Setting the END
1. Set an oven function and
temperature.
2. Press again and again until
starts to flash.
3. Press or to set the time.
The display shows
.
4. When the time ends, flashes and
an acoustic signal sounds. The
appliance deactivates automatically.
5. Press any button to stop the signal.
6. Turn the knob for the oven functions
and the knob for the temperature to
the off position.
www.electrolux.com10