Do you have a question about the Electrolux EOF3H40X and is the answer not in the manual?
Safety guidelines for children and vulnerable individuals.
General safety rules for operating the appliance.
Instructions and warnings related to appliance installation.
Important electrical connection safety and procedures.
General usage warnings and guidelines.
Instructions and diagrams for installing the oven into cabinetry.
Steps to securely fix the oven within the cabinet.
Steps to perform before using the oven for the first time.
Guide on selecting and setting heating functions for cooking.
Detailed descriptions of various heating functions and their applications.
Common problems and their solutions.
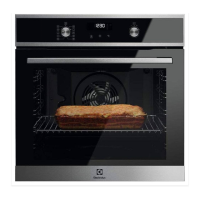
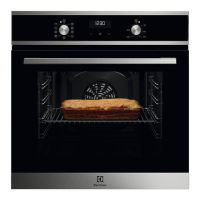
This document is a user manual for an Electrolux oven, model EOF3H40X, providing comprehensive information on its safe installation, operation, maintenance, and energy efficiency.
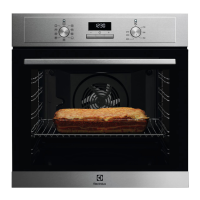
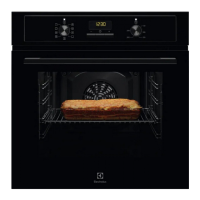
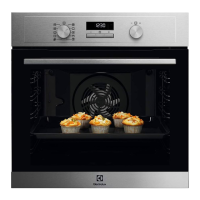
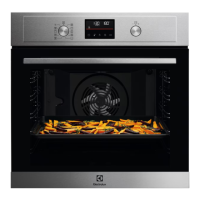
The Electrolux EOF3H40X oven is designed for cooking purposes in a single household domestic indoor environment. It features various heating functions to cater to different cooking needs. The "Off position" turns the oven off. The "Light" function turns on the internal lamp. "True Fan Cooking" allows baking on up to three shelf positions simultaneously and is suitable for drying food; for this function, the temperature should be set 20-40°C lower than for conventional cooking. "Moist Fan Baking" is an energy-saving function where the cavity temperature may differ from the set temperature, and heating power might be reduced. "Bottom Heat" is ideal for baking cakes with a crispy bottom and preserving food. The "Grill" function is for grilling thin pieces of food and toasting bread, while "Fast Grilling" is for grilling large quantities of food. "Turbo Grilling" is used for roasting large meat joints or poultry with bones on one shelf position, and for making gratins and browning. The "Pizza Function" is designed for baking pizza, providing intensive browning and a crispy bottom. "Conventional Cooking / Aqua Clean" is for baking and roasting food on one shelf position, with the "Aqua Clean" feature detailed in the care and cleaning section. The oven is equipped with an electric cooling system that operates automatically to keep the oven surfaces cool during operation and continues to run until the oven cools down after being turned off. A safety thermostat is included to prevent dangerous overheating by interrupting the power supply and automatically restarting when the temperature drops.
The oven features a control panel with a knob for heating functions, a power lamp/symbol, a display, a control knob for temperature, and a temperature indicator/symbol. It also includes a heating element, an internal lamp, a fan, a cavity embossment for the Aqua cleaning container, removable shelf supports, and multiple shelf positions.
The oven's control panel includes retractable knobs for selecting heating functions and temperature. To use a knob, it must be pressed to extend it. Sensor fields/buttons are used to set the time and clock functions. The display shows the time and timer information.
Before first use, the oven should be preheated to maximum temperature for specific functions (1 hour for one function, 15 minutes for two others) to eliminate any initial odors or smoke, ensuring the room is ventilated. All accessories and removable shelf supports must be removed and the oven cleaned with a soft cloth, warm water, and mild detergent before this preheating.
Setting a heating function involves turning the knob for heating functions and then the control knob to select the desired temperature. After cooking, both knobs should be turned to the off position.
Clock functions include "Time of Day" to set, change, or check the current time, "Duration" to set how long the oven operates, and "Minute Minder" for a countdown that does not affect oven operation. The "Time of Day" flashes when the oven is first connected or after a power cut, and is set using the + and - buttons. "Duration" requires setting an oven function and temperature, then using the + and - buttons to set the cooking duration. The oven turns off and an audible signal sounds when the set time ends. "Minute Minder" is set using the + and - buttons, and a signal sounds when the countdown finishes. All clock functions can be cancelled by pressing and holding the relevant button until the symbol stops flashing.
Accessories include a wire shelf for cookware, cake tins, and roasts, a grill-/roasting pan for baking, roasting, and collecting fat, and an extra deep pan for dishes like moussaka. The wire shelf and deep pan are inserted between the guide bars of the shelf support, with the wire shelf's feet pointing down. Small indentations on the shelf supports act as anti-tip devices, and a high rim on the shelf prevents cookware from slipping.
For optimal cooking results, the manual provides hints and tips, including recommendations for baking cakes (not opening the door too early, leaving an empty level between two baking trays), cooking meat and fish (using a deep pan for fatty foods, adding water to prevent smoke, resting meat before carving), and general cooking times which depend on food type, consistency, and volume. For "Moist Fan Baking," dark and non-reflective tins and containers are recommended for better heat absorption.
Regular cleaning is essential to prevent the deterioration of surface materials. The oven should be cleaned with a moist soft cloth and neutral detergents, avoiding abrasive products, solvents, or metal objects. If using an oven spray, safety instructions on its packaging should be followed.
The "Aqua Clean" procedure uses humidity to remove fat and food particles. It involves pouring 300 ml of water into the cavity embossment, setting the oven to 90°C for 30 minutes, then turning it off and drying the cavity with a soft cloth once it's cold.
Shelf supports are removable for easier cleaning of the oven cavity. To remove them, pull the front and then the rear end of the support away from the side walls. Installation is done in the reverse sequence.
The oven door has two glass panels that can be removed for cleaning. The process involves opening the door fully, lifting the latches until they click, closing the door halfway to remove it from its seat, and placing it on a soft cloth. The door trim is then pushed inwards to release the clip seal and removed. Finally, the glass panel is carefully pulled out. The glass panels should be cleaned with water and soap and dried carefully, but not in a dishwasher. The screen-printing zone of the internal glass panel must face inwards during reinstallation.
The internal lamp can be replaced. Before replacement, the oven must be turned off and allowed to cool, and disconnected from the mains. A cloth should be placed at the bottom of the cavity. The glass cover is turned to remove it, cleaned, and then a suitable 300°C heat-resistant lamp is installed, followed by the glass cover. Halogen lamps should always be handled with a cloth to prevent grease residue.
In case of troubleshooting, common issues like a damaged door gasket, the display showing "12.00" (indicating a power cut), or a non-working lamp (burnt out) are addressed, with instructions to contact an Authorized Service Centre for more complex problems.
The manual also provides energy-saving tips, such as keeping the oven door closed during operation, ensuring the door gasket is clean and well-fixed, using metal cookware, avoiding preheating when possible, keeping baking breaks short, using fan cooking functions, and utilizing residual heat by turning off the oven 3-10 minutes before the end of cooking.
| Oven size | Medium |
|---|---|
| Oven type | Electric |
| Top heating | Yes |
| Number of ovens | 1 |
| Convection power | 2400 W |
| Total oven power | 2790 W |
| Microwave cooking | - |
| Oven net capacity | 72 L |
| Top heating power | 1000 W |
| Oven thermostat range | 50 - 275 °C |
| Total oven(s) interior capacity | - L |
| Cord length | 1.6 m |
| Noise level | 53 dB |
| Control type | Buttons, Rotary |
| Display type | LED |
| Product color | Black, Stainless steel |
| Appliance placement | Built-in |
| Effective tray surface area | 1424 cm² |
| Timer type | Digital |
| Wi-Fi controlled | No |
| AC input voltage | 220 - 240 V |
| Energy consumption (conventional) | 0.93 kWh |
| Energy consumption (forced convection) | 0.81 kWh |
| Lamp type | Halogen |
| Lamps quantity | 1 lamp(s) |
| Depth | 568 mm |
|---|---|
| Width | 594 mm |
| Weight | 28800 g |
| Installation compartment depth | 550 mm |
| Installation compartment width | 560 mm |
| Installation compartment height | 600 mm |