4
Unpacking and assembly /
Charging station /
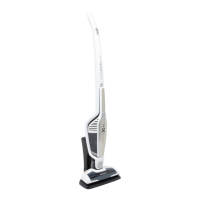
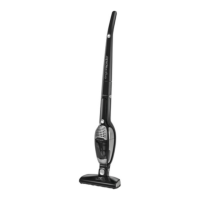
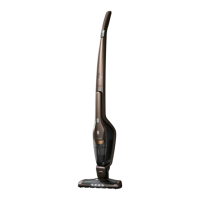
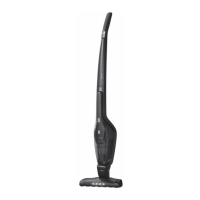
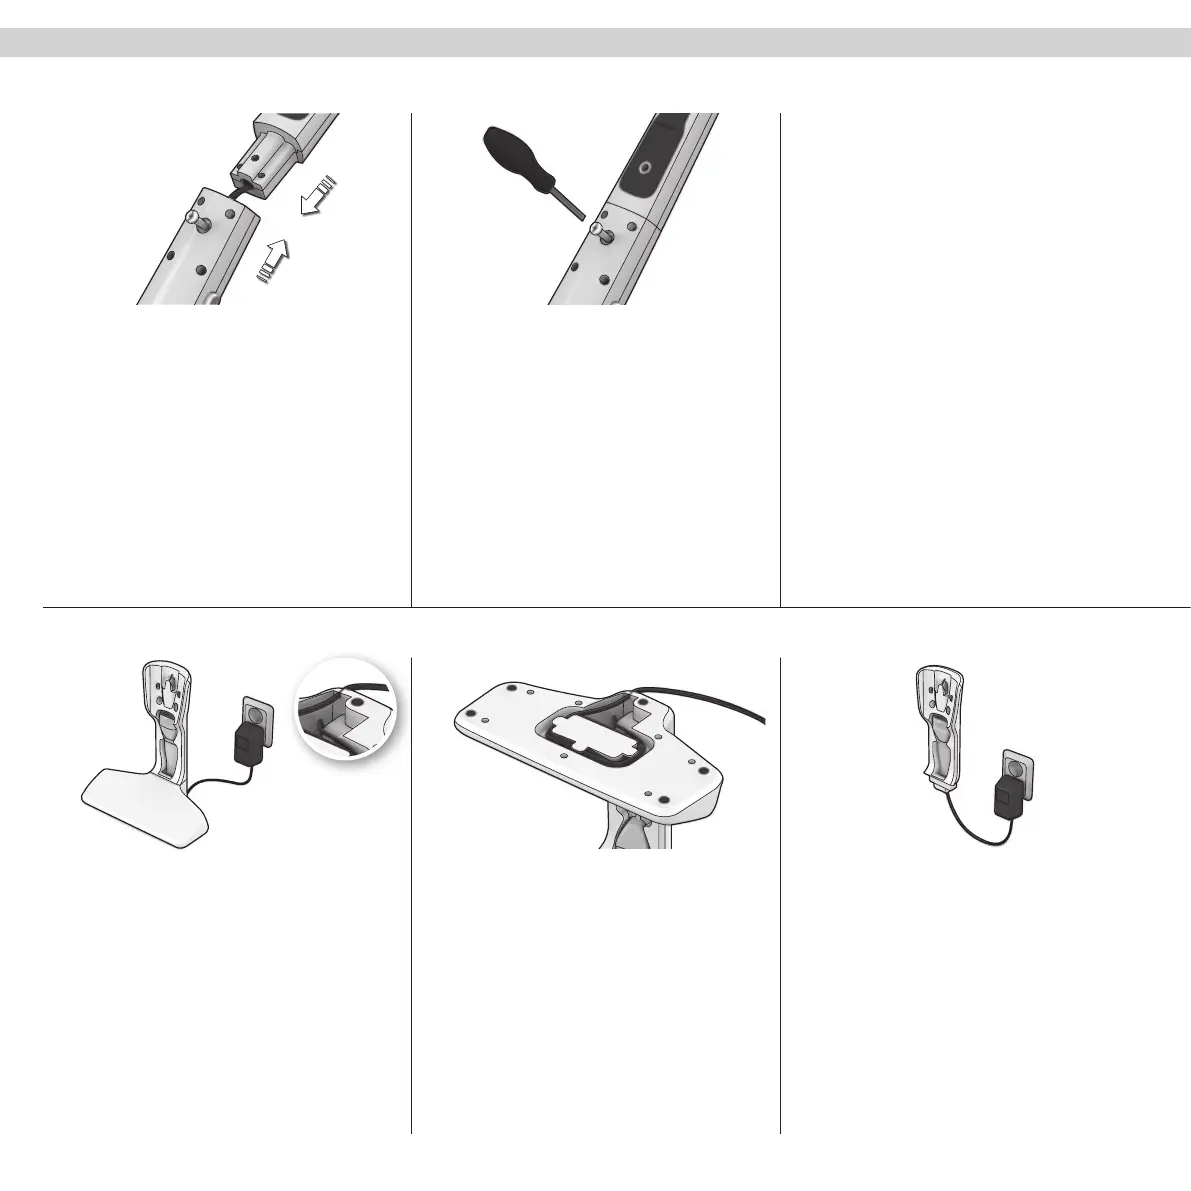
1. Check that all parts are in the box. Fit the handle
by carefully inserting it into the lower main body.
Make sure that the cable does not jam.
2. Secure the handle by tightening the locking screw
supplied. Use a screwdriver or a coin.
1. Position the charging station well away from
heat sources, direct sunlight or wet places. Insert
the adaptor into the mains and connect it to the
charging station.
2. On the bottom of the charging station there is a
hollow space where unused cable can be wound.
3. The wall unit can also be mounted on a wall.
Separate it from the fl oor unit. Always ensure that
the wall can withstand the weight of Ergorapido.
Unpacking and assembly /
포장풀기와 조립하기 /
충전대 /
1. 상자에 모든 부품이 들어 있는지 확인하십시오.
핸들을 하단 본체에 조심스럽게 삽입하여
맞춥니다. 케이블이 엉키지 않았는지 확인합니다.
2. 제공된 잠금 나사를 조여 핸들을 고정합니다.
스크류 드라이버 또는 동전을 사용하십시오.
1. 충전대를 열원 근처, 직사광선이 비치는 곳 또는
축축한 곳에 두지 마십시오. 어댑터를 본체 소켓에
삽입하고 충전대에 연결합니다.
2. 충전대 아래에는 불필요한 케이블을 감아둘 수
있는 빈 공간이 있습니다.
3. 벽걸이용 충전대도 벽에 설치할 수 있습니다.
바닥용 충전대에서 벽걸이용 충전대를 분리합니다.
벽이 Ergorapido의 무게를 지탱할 수 있는지 항상
확인하십시오.
포장풀기와 조립하기 /
開梱と組立
充電台
1. 箱の中にすべてのパーツが含まれていることを確
認します。 ハンドルを本体の下部に注意深く挿入
して、はめ込みます。 ケーブルをはさまないよう
にしてください。
2. 固定ネジをきつく締めて、ハンドルを固定しま
す。 ドライバまたはコインを使用します。
1. 充電台を設置します。熱源の近くや、直射日光の
当たる場所、濡れた場所には設置しないでくださ
い。 アダプタをコンセントに差し込み、充電台に
接続します。
2. 充電台の底面に、使用しないケーブルを巻き取っ
て収納できるスペースがあります。
3. 壁掛け用ユニットを使って、充電台を壁に掛ける
こともできます。 床用ユニットから壁掛け用ユニ
ットを取り外します。 壁が Ergorapido の重量に
耐えられることを必ず確認してください。
開梱と組立