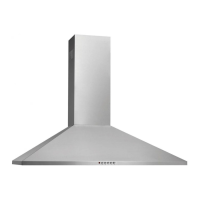
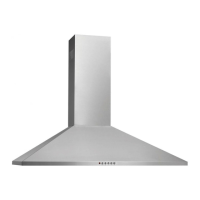
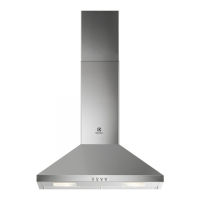
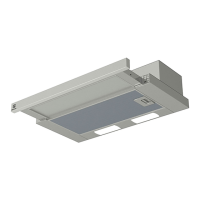
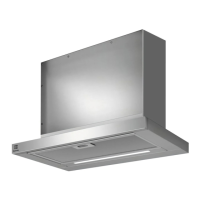
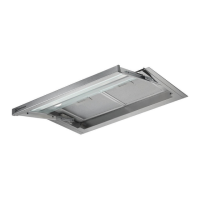
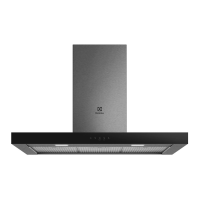
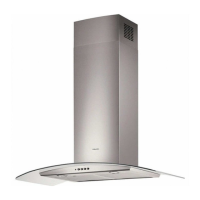
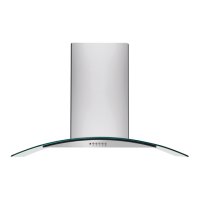
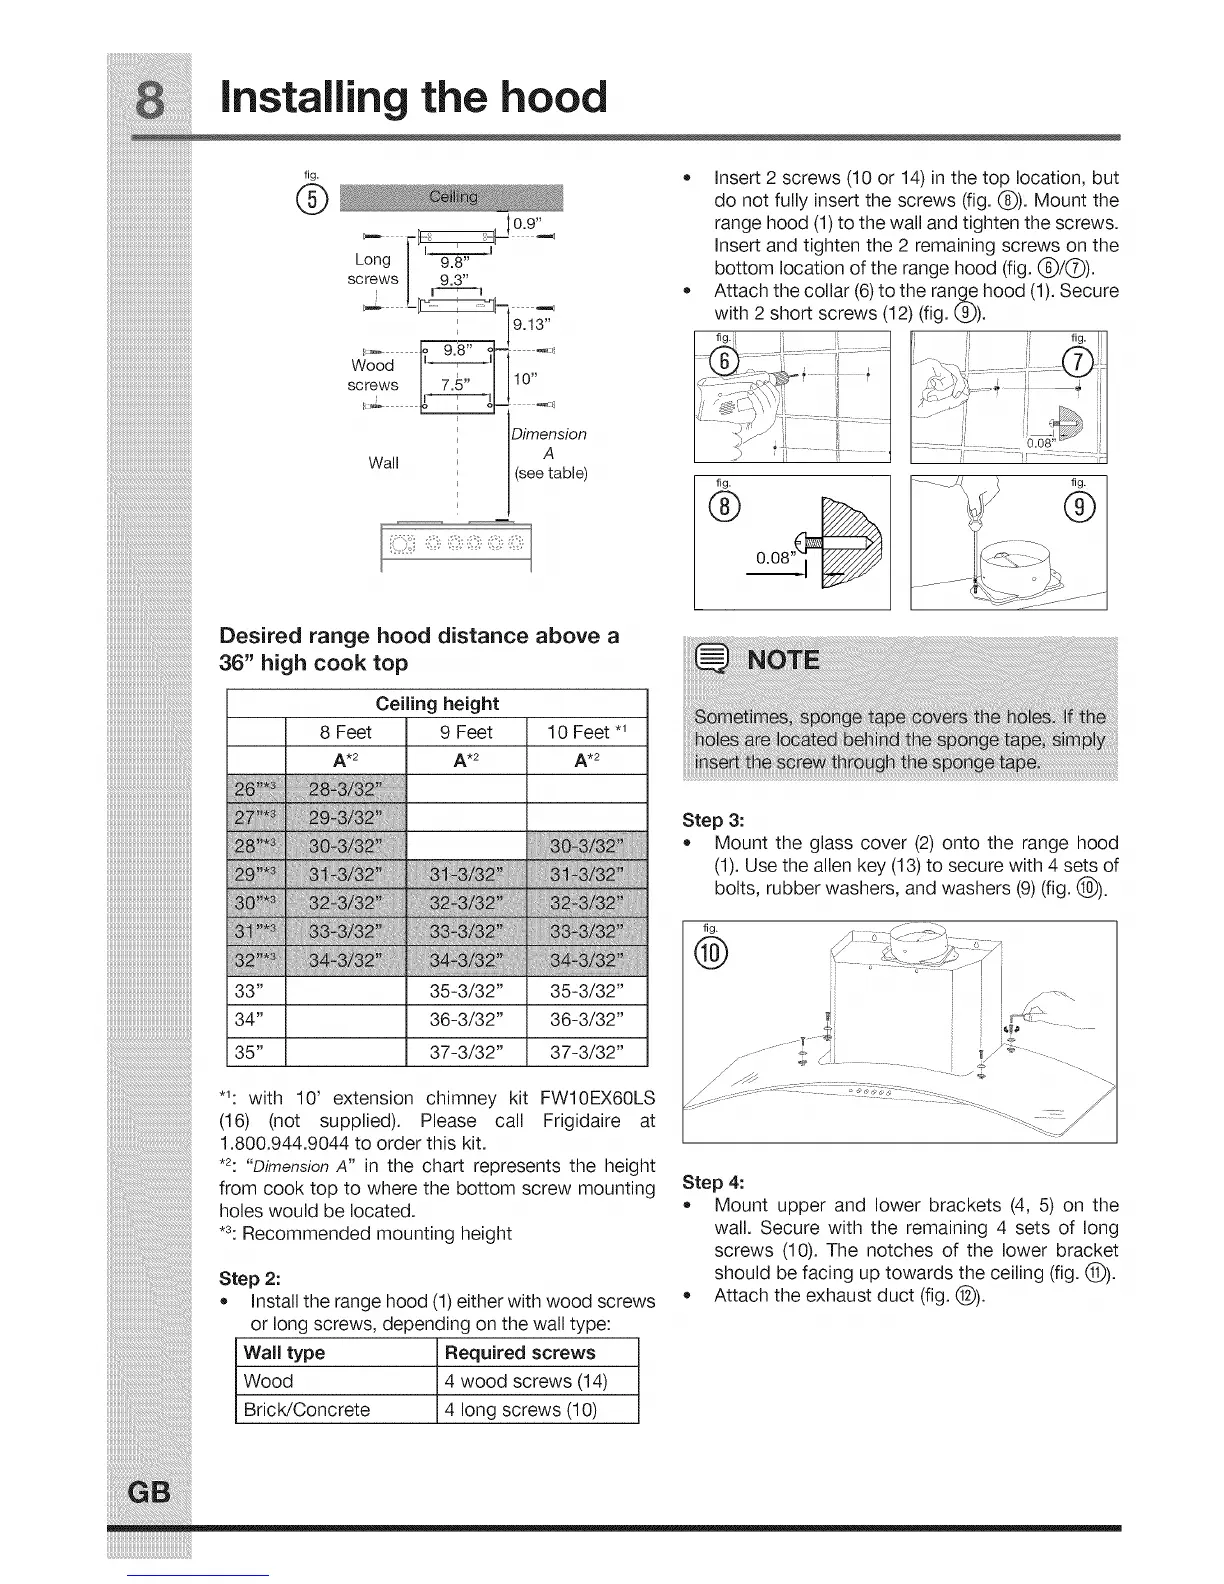
Installing the hood
._k • Insert 2 screws (10 or 14) in the top location, but
(,_ do not fully insert the screws (fig. (_)). Mount the
_. ._10.9" range hcod (1)to t he wall and tighten the screw s.
_ _=_-_ _ , , ,
. [_ _ ,,, _ Insert and t_ghten the 2 remaining screws on the
Long _ | 9.8 bottom location of the range hood (fig. (_)/O).
_,_vv_ ! r_--'_ ' _ • Attach the collar (6)to the range hood (1). Secure
-[1_ i _1J-_9_1_,, with 2 short screws (12)(fig. (_)).
_--_-__ .., _. I
_ _'_- _r= _ ,' i i _Jil
Wood _ _...... J - ...... !:
Dimension i I / Iil
(see table) fig. fig.
® ®
Desired range hood distance above a
36" high cook top
Ceiling height
8 Feet 9 Feet 10 Feet *_
A,2 A,2 A,2
*_: with 10' extension chimney kit FW10EX60LS
(16) (not supplied). Please call Frigidaire at
1.800.944.9044 to order this kit.
,2: "DimensionA" in the chart represents the height
from cook top to where the bottom screw mounting
holes would be located.
,3: Recommended mounting height
Step 2:
Install the range hood (1) either with wood screws
or long screws, depending on the wall type:
Wall type Required screws
Wood 4 wood screws (14)
BricWConcrete 4 long screws (10)
Step 3:
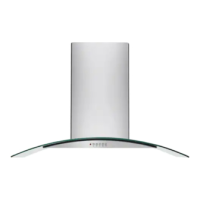
Mount the glass cover (2) onto the range hood
(1). Use the allen key (13) to secure with 4 sets of
bolts, rubber washers, and washers (9) (fig. (_)).
fig.
®
Step 4:
Mount upper and lower brackets (4, 5) on the
wall. Secure with the remaining 4 sets of long
screws (10). The notches of the lower bracket
should be facing up towards the ceiling (fig. @).
Attach the exhaust duct (fig. @).