CCoommppoonneenntt TTeeaarrddoowwnn
4-9
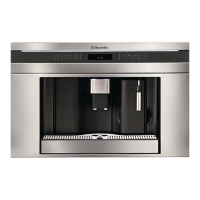
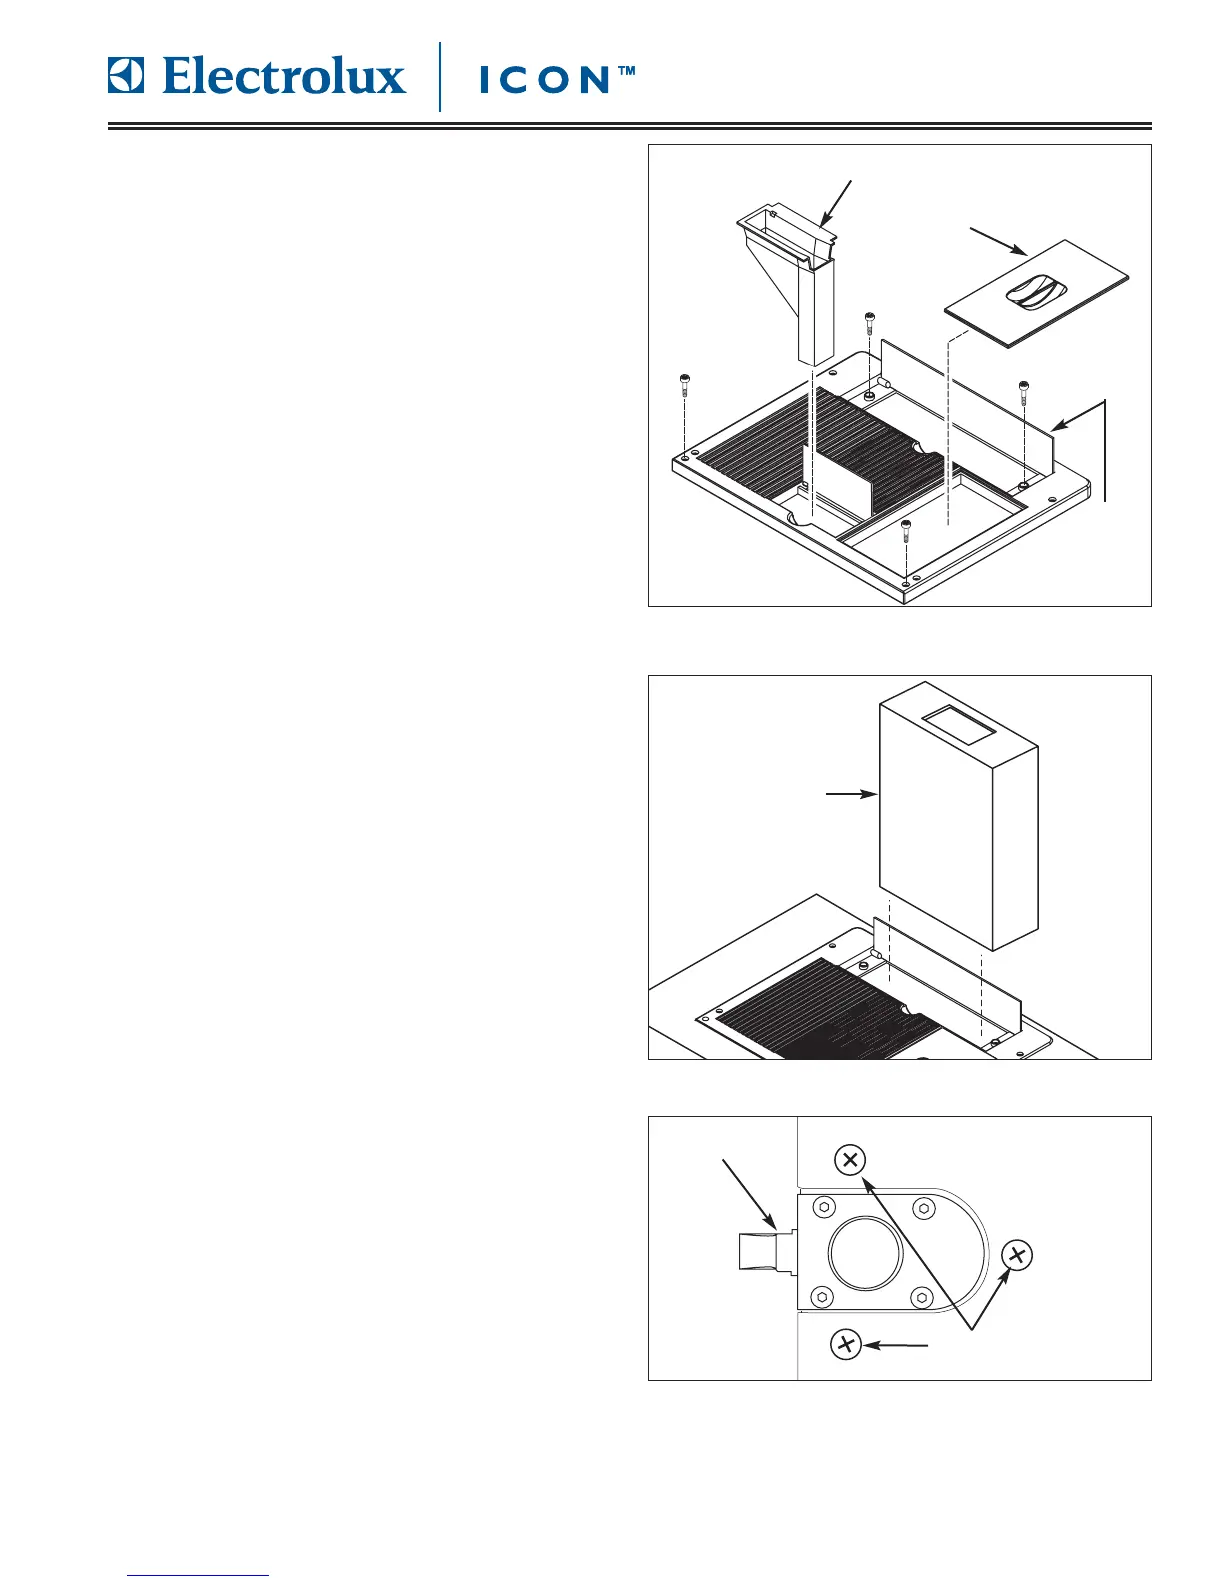
CCoovveerr PPaanneell RReemmoovvaall
The cover panel is secured with screws to the unit
frame. Coffee makers featuring a water tank have two
allen head screws located under the water tank access
door.
To remove the top cover (See Figure 4-16):
1. Pull unit out from installation until the top of the unit
is accessible.
2. Lift coffee beans container cover off of top cover.
3. Open ground coffee conveyor cover and lift ground
coffee conveyor out of unit.
4. Open water tank cover. Using a 3mm allen wrench,
extract screws securing top cover to unit frame.
Lift cover off of unit.
WWaatteerr TTaannkk ((WWaatteerr TTaannkk MMooddeellss OOnnllyy))
The water tank is removed by opening the water tank
cover and simply grabbing the water tank at the top
opening and pulling the water tank out of the unit.
(See Figure 4-17)
When installing the water tank, make sure the O-ring at
the bottom of water tank seats properly to prevent
water leakage.
DDoooorr SSpprriinngg HHooookk aanndd HHoollddeerr RRe
emmoovvaall
The door spring hook and holder secures the door to
the unit frame during normal operation. The spring
hook is secured with screws to the right side of unit
frame. The holder is mounted to the inside of the door
assembly with two screws.
To remove spring hook and holder (See Figure 4-18):
1. Remove drip tray and open door.
2. Remove the right side inner door panel.
3. Using a phillips head screwdriver, extract the three
screws securing spring hook mounting plate to the
unit frame.
4. The spring hook holder is removed by extracting
the two screws securing it to the door frame with a
2.5mm allen wrench.
FFiigguurree 44--1166.. CCoovveerr PPaanneell RReemmoovvaall
WWaatteerr TTaannkk MMooddeell SShhoowwnn
FFiigguurree 44--1177.. WWaatteerr TTaannkk RReemmoov
vaall
Water
Tank
Cover
Ground Coffee Conveyor
Bean Container Cover
Water Tank
EExxtteerrnnaall CCaabbiinneett CCoommppoonneennttss
FFiigguurree 44--1188.. DDoooorr SSpprriinngg HHooookk aanndd HHoollddeerr
Screws
Spring Hook