MX 3900 / MX 4900
Operation
16
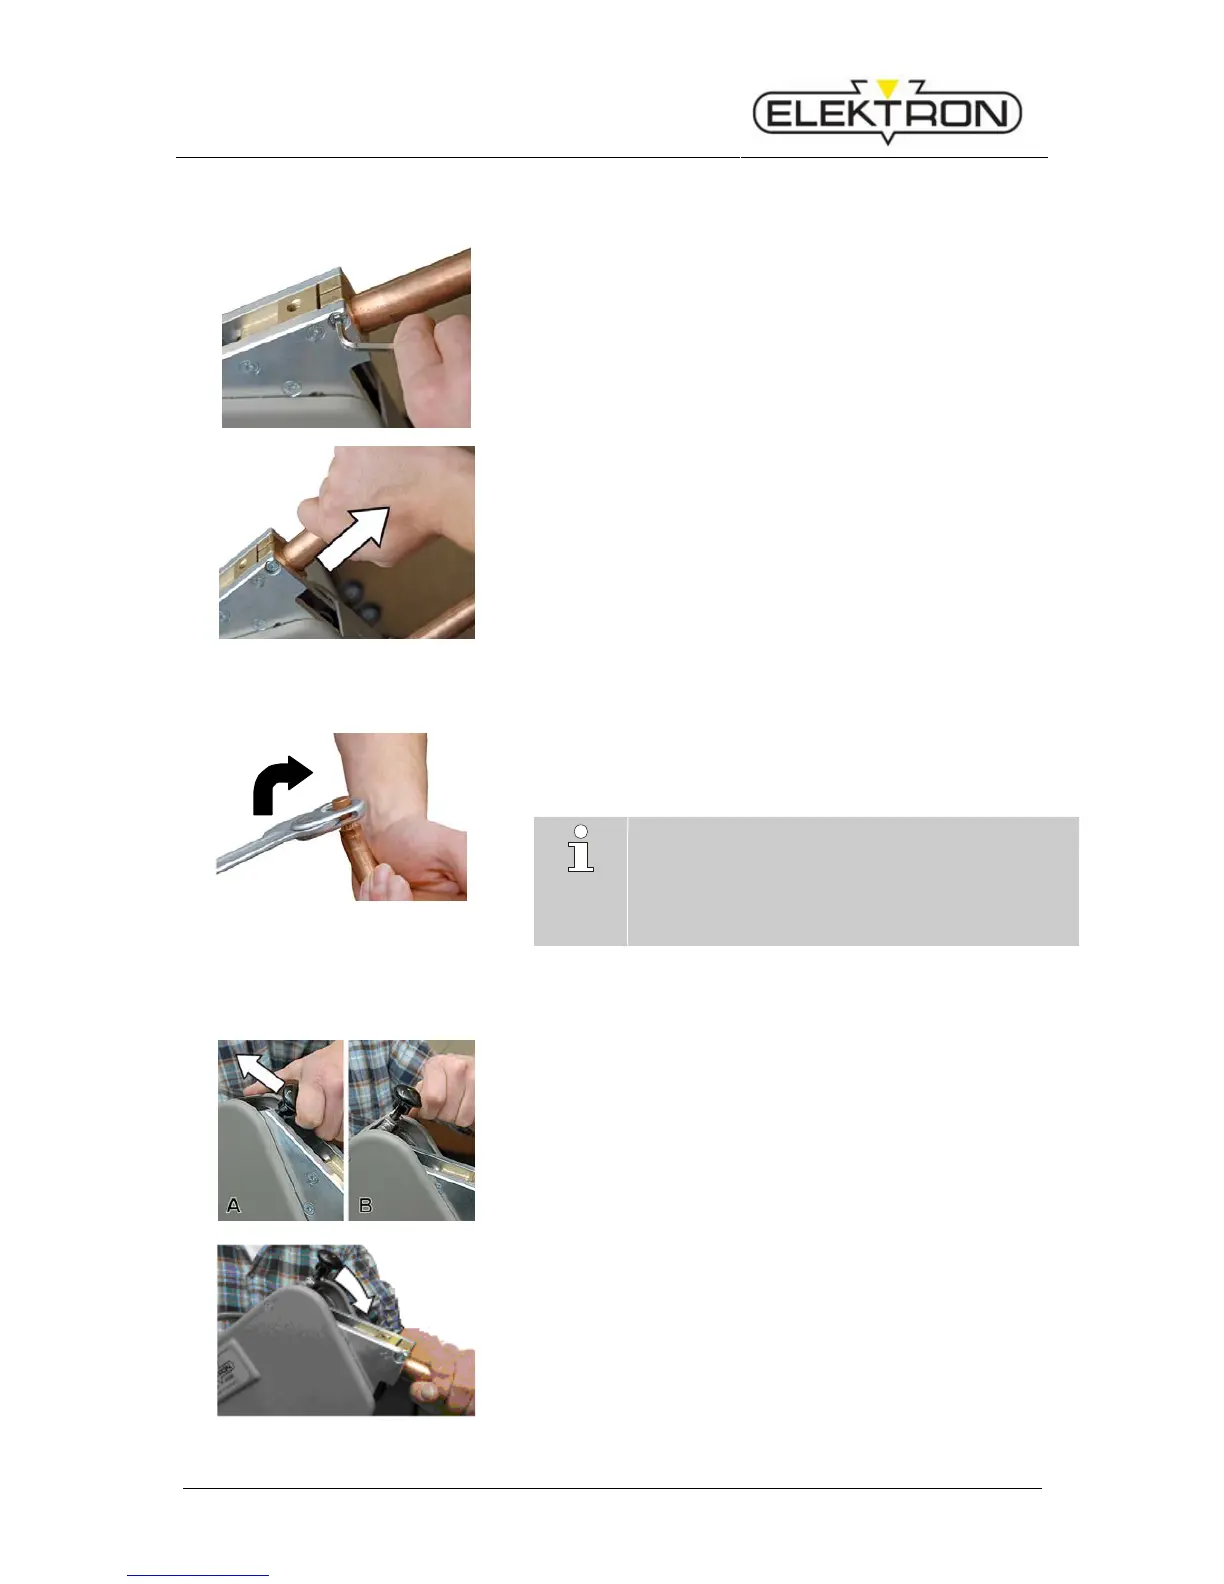
5.1.3.1 Exchanging electrode arms
Fig.6: Unbolting electrode arm
1. To unbolt the electrode arm, use the Allen key provided for that
purpose (Fig.6).
Fig.7: Removing the electrode arm.
2. Remove the electrode arm simply by pulling it out.
(Fig.7).
3. Insert the new electrode arm and bolt down.
5.1.3.2 Exchanging electrode caps
Fig.8: Exchanging electrode caps
1. To loosen the electrode caps, use the special key provided for
that purpose (or some equivalent tool) (Fig.8).
2. Turn clockwise, otherwise the cone comes loose.
3. Put the new caps on the electrode head and press in position.
NOTE!
The perfectly sound condition of the caps is es-
sential for good welding results.
Electrode caps must be milled (or replaced) latest
after 50 welding jobs, especially when working
with super speed and/or galvanised steel.
5.1.3.3 Deploying and locking the electrode arm
Fig.9: Unlocking the arm / hoop
1. Switch the locking device of the electrode arm / hoop from
position “locked” (Fig.9Fehler! Verweisquelle konnte nicht
gefunden werden./A) to position “open” (Fig.9/B) as shown in
the picture.
Fig.10: Locking the arm / hoop
2. Push the electrode arm / hoop without much force into the lock-
ing device until you feel and hear it engage (Fig.10).