5.10
Installation and operation
5.3.1 Initial start-up checks
Check whether the oil level in the tank is up to the
specified level. If not, top up oil as per the oil fill
procedure given in the maintenance section.
Open all doors and visually check the compressor for
abnormality. Make sure all connections are tight.
Open the electrical panel door of the compressor and
check that the three phases and earth cables are
connected securely. (L1, L2, L3, and PE wires)
Check the necessary earthing line in the panel/
compressor base.
Ensure that all condensate drains are connected
properly.
For water cooled compressors, ensure that the water
inlet and outlet valves are opened. Also make sure that
the inlet and outlet water drain valves are closed.
For water cooled compressors, ensure that the water
quality is maintained as specified by ELGi.
5.3.2 Initial start-up
Open the air outlet ball valve, turn on power, and press
the start button (Green). Check whether the main motor
turns clockwise (when viewed from the main motor fan
side of the compressor). The correct direction of rotation
is also shown on the motor. Ensure correct direction of
rotation. If not, stop the compressor by pressing the stop
button (Red) on the control panel. Open the isolating
switch and reverse the appropriate lines.
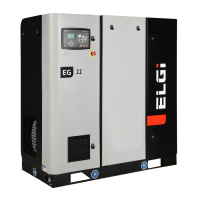
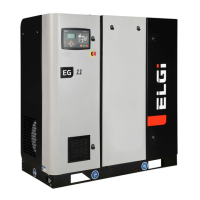
Gear models
EG 11 - All pressures
EG 15 - All pressures
EG 18 - 150, 175
EG 22 - 175
5.3.3 Daily start checks
Before using the compressor everyday, you must prepare
it by performing these tasks:
Check whether the oil level in the tank is up to the
specified level. If not, top up oil as per the oil fill
procedure given in the maintenance section.
Open all doors and visually check the compressor for
abnormality. Make sure all connections are tight.
Refer section 6.1.1 for how to perform daily
maintenance activities.
5.3.4 Starting
To prepare to start the system, perform these tasks:
Open the air discharge valve.
Turn on power.
If all the inputs from contact switches, pressure and
temperature transducers are normal, the display will
indicate "READY''.
Press the ''START'' (green) button on the controller.
Machines with an automatic star-delta starter will have
6 seconds changeover time from star to delta and
another 10-seconds delta-to-run delay.
5.3.5 During running
To ensure seamless running:
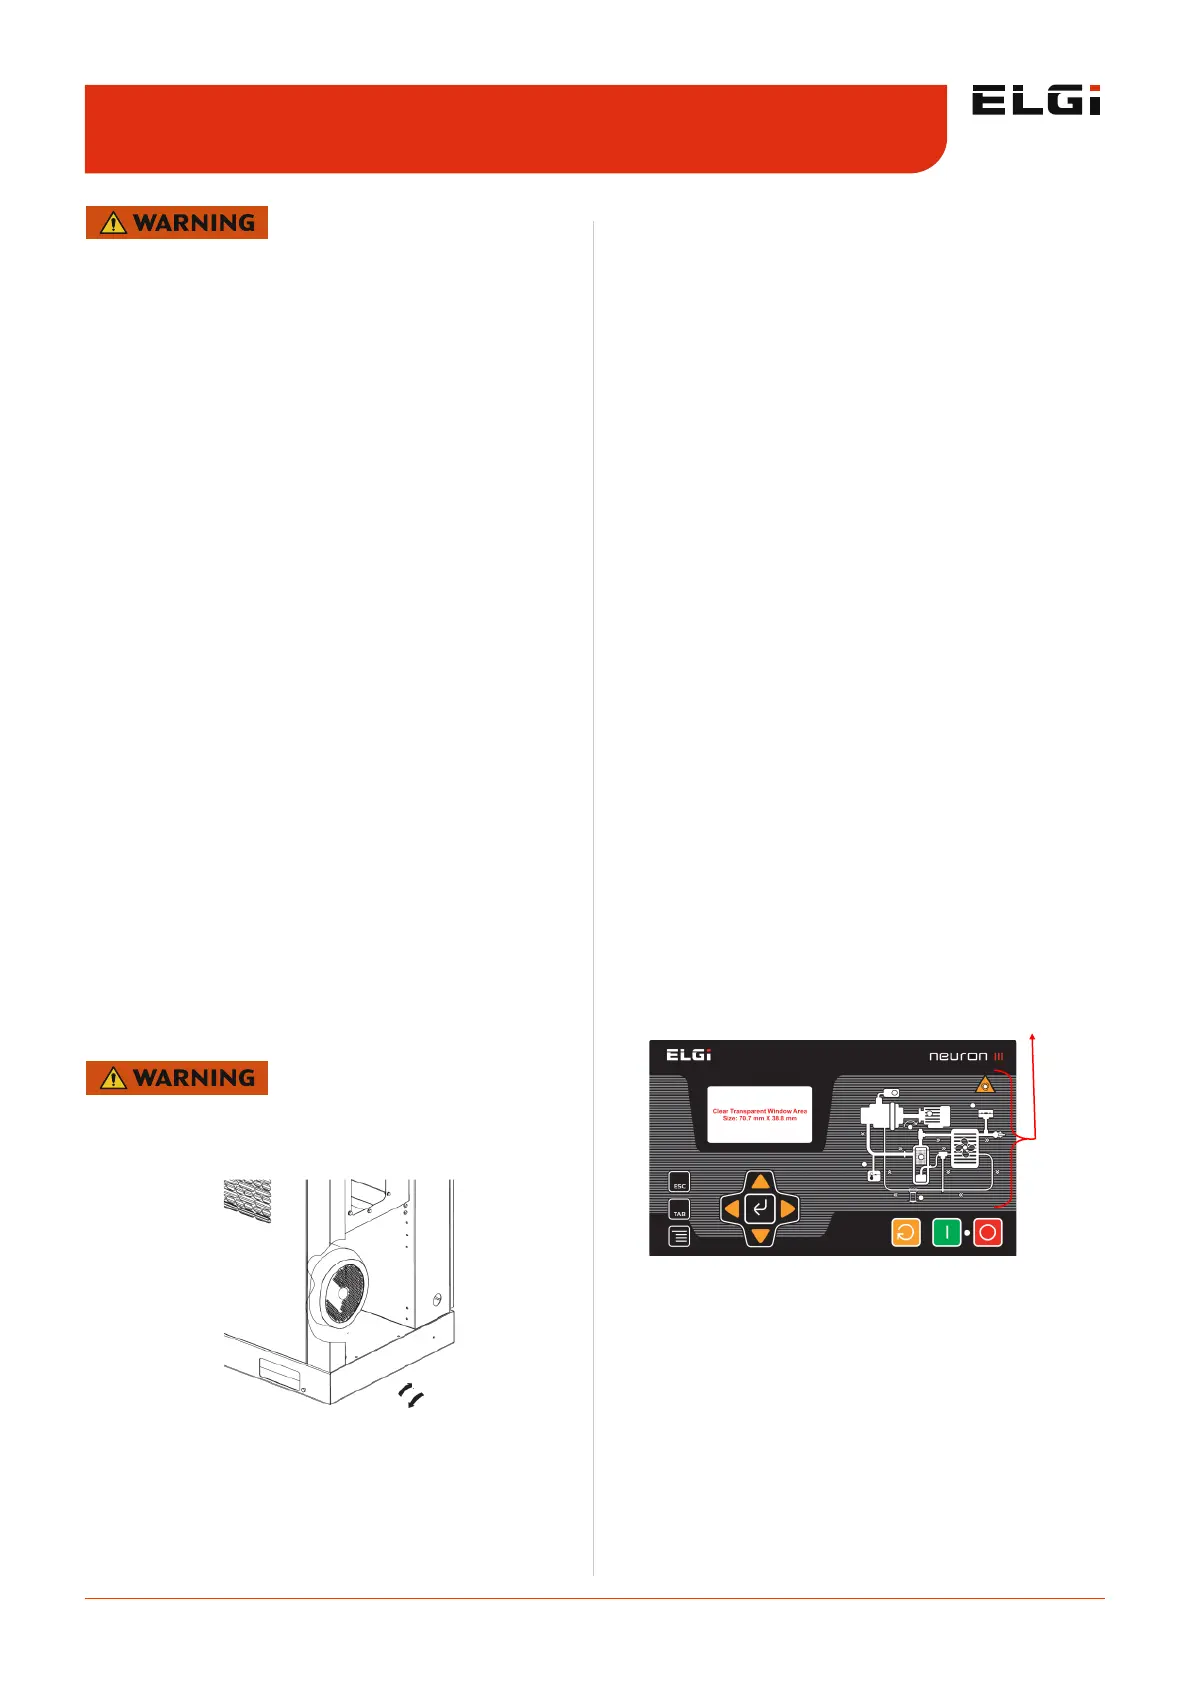
Monitor the controller display and control panel
indicators regularly when the compressor is running.
Graphic warning display: This gives graphically the
location of fault.
Discharge temperature sensor & warning: It is
fixed on the air-oil discharge pipe. It senses the
temperature of the discharge air-oil mixture. The
compressor will shutdown automatically and the
warning light on the controller will glow when the
discharge temperature exceeds the preset value of 110
± 5ºC (230 ± 9ºF).
Separator element warning: Indicates that the
separator element needs to be replaced. The
compressor will not shutdown automatically in this
situation.
Operating instructions 5.3
Figure 10. Human machine interface
GRAPHIC WARNING DISPLAY
Please adhere to the safety instructions provided at the
section 2.3.2 : Precautions during operations
Running the compressor in the wrong direction for more
than 5 seconds will damage compressor parts or even
cause total damage.
C.W
C.C.W
 Loading...