Operation Guide
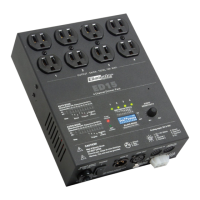
1. Dimmer/Switch Mode(dip-switch 11/12=ON)
Push the dip-switch10 to the "ON" position to make the unit into Slave mode.
5
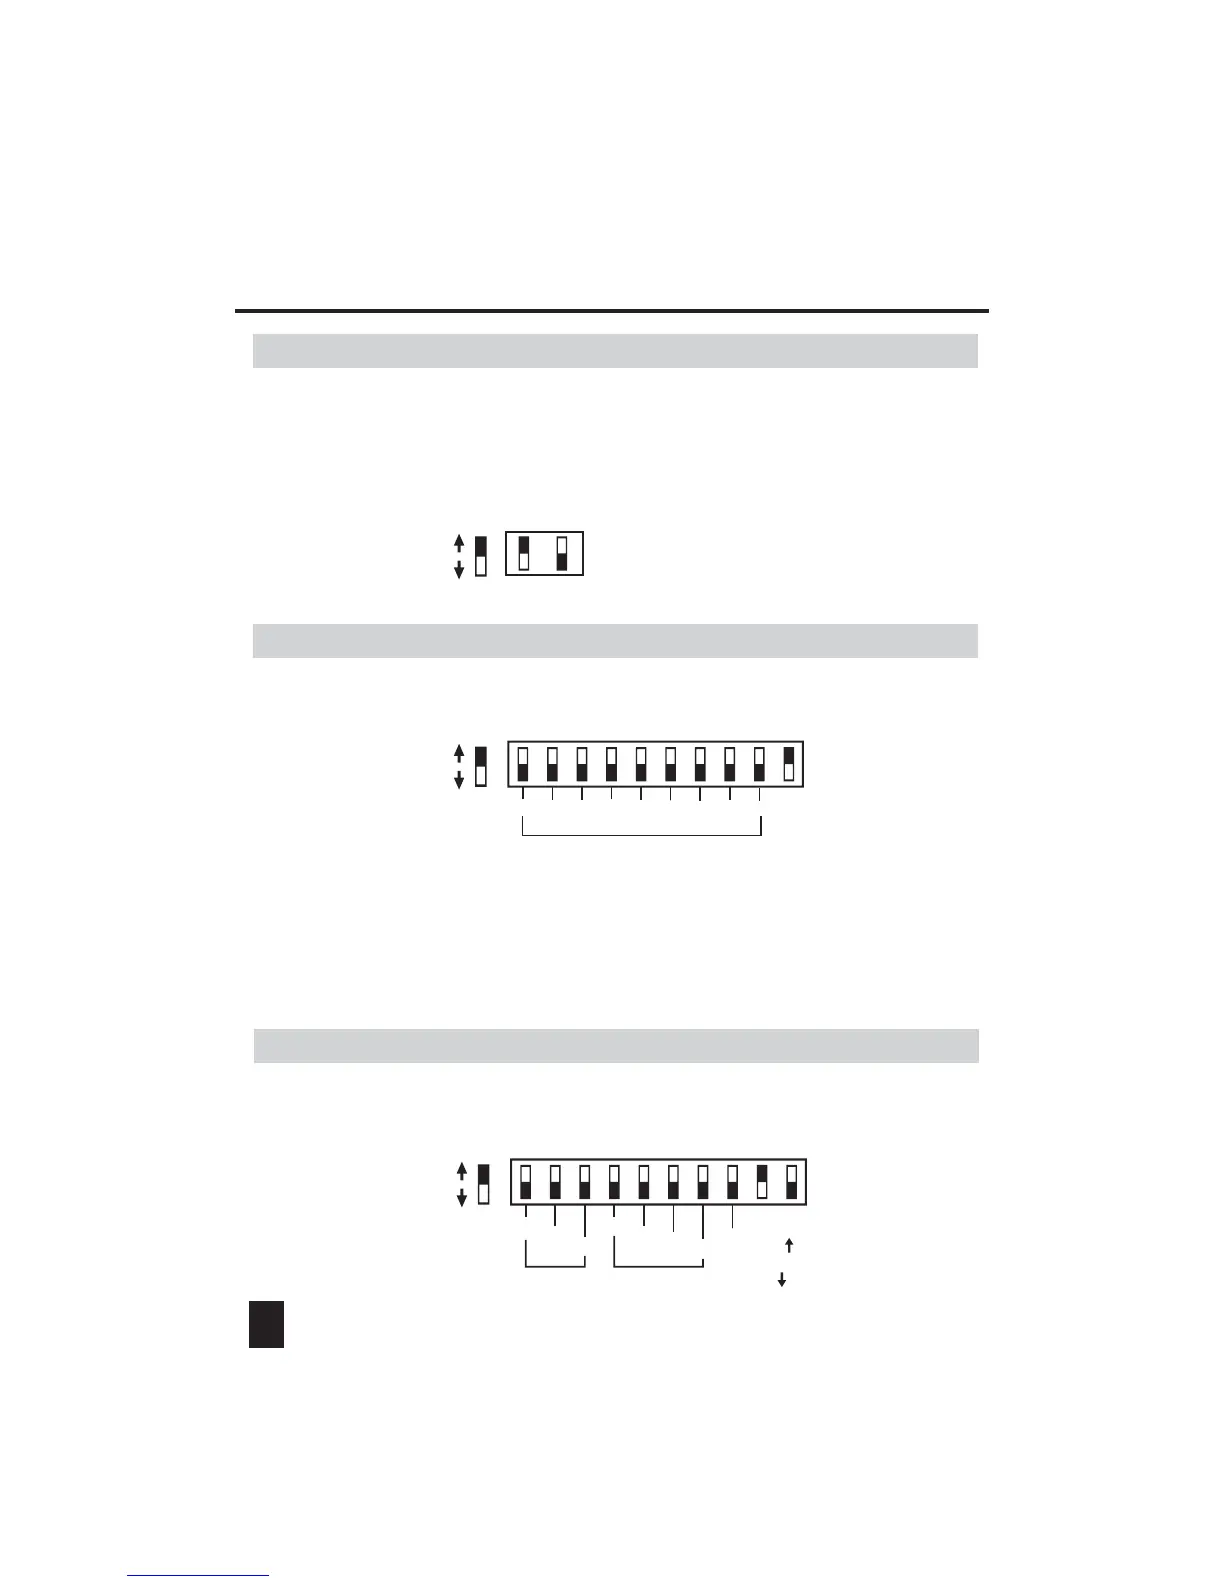
As the above illustration shows, user can use dip-switches1-9 to set relevant
DMX address. When having finished your setting, add up all the values of the
ON-switched dip-switches, the added value is the current DMX address.
For example: If you push dip-swich1, dip-swich3 and dip-swich5 to their "ON"
positions, the current DMX address level is 21(1+4+16).
Push the dip-switch10 to the "OFF" position and push the dip-switch9 to the "ON"
position to make the unit into Auto mode.
Dipswitch#
Value
11
2
4
8
Speed
Program
Single( )
or
Loop( )
2
4
On
Off
(1) (2) (3) (4) (5) (6) (7) (8) (9)(10)
DMX Address Setting
Dipswitch#
Value
On
Off
(1) (2) (3) (4) (5) (6) (7) (8) (9) (10)
1
2
4
8
16
32
64
128
256
3. Auto Mode (dip-switch9=ON & dip-switch10=OFF)
2. Slave Mode (dip-switch10=ON)
Push the dip-switch11 to the "ON" position to make the unit into Dimmer Mode
for Channel1~2, the "OFF" position into Switch Mode.(Dimmer=Dimming Enable,
Switch=Dimming Disable). And push the dip-switch12 to the "ON" position to make
the unit into Dimmer Mode for Channel 3~4, the "OFF" position into Switch Mode.
D=Dimmer Mode
S=Switch Mode
Dipswitch#
On
Off
(11) (12)