


Z
Zachary SteinSep 1, 2025
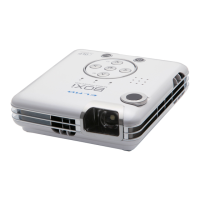
Why does my Elmo Boxi MP-350 Projector power turn off automatically?
- AAustin AndersonSep 1, 2025
If your Elmo Projector is turning off automatically, check if the warning icon is displayed, if the indicator is flashing, or if the auto power off function is enabled.