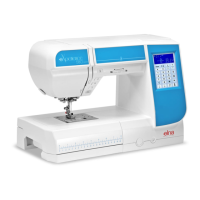
34
SECTION III
Sewing Basics
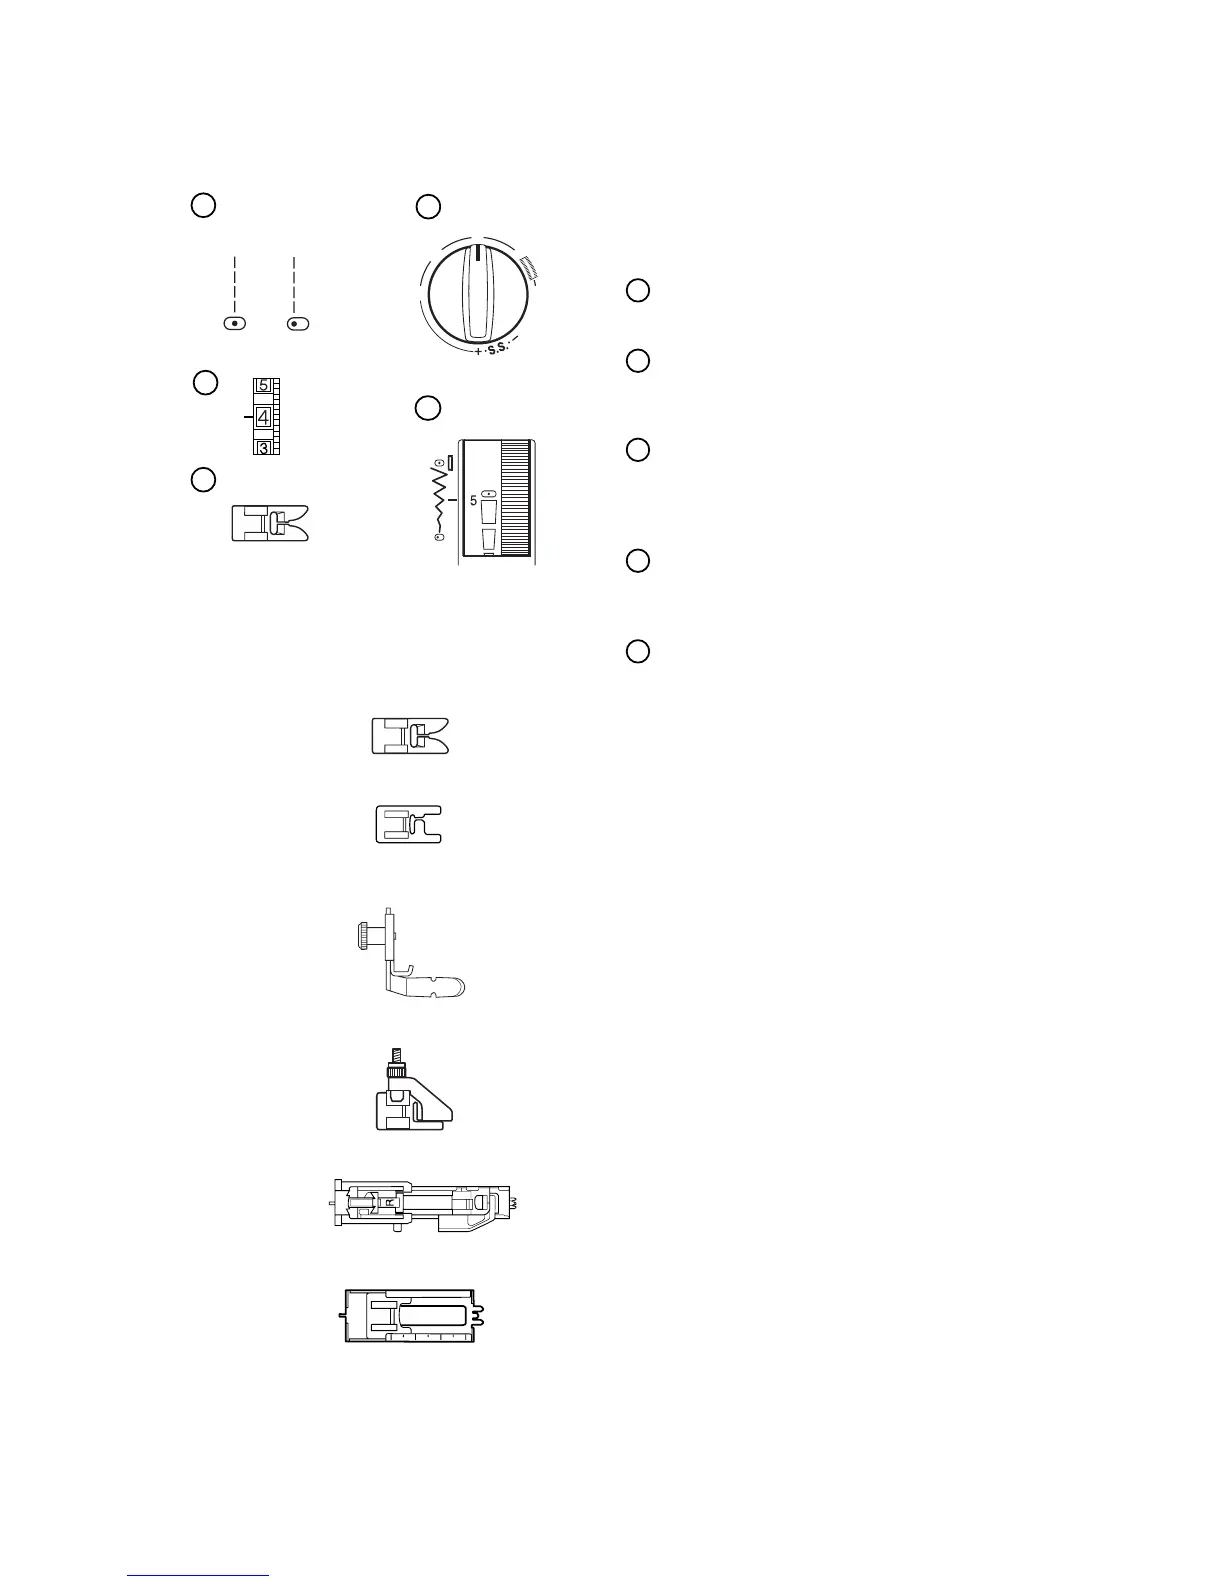
Example Of How To Read the Machine Set-
Up Information
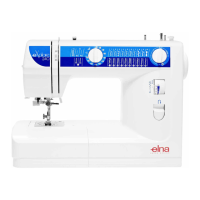
Set Stitch Selection Knob
Set stitch selection knob on straight stitch.
Set Stitch Length Knob
Set stitch length knob according to fabric weight
(see page 36).
Set Thread Tension Dial
Set thread tension to 4. The fabric, thread and
number of layers of fabric might change where
tension should be set.
Set Stitch Width/Needle Position Dial
Move the Stitch Width/Needle Position Dial to 5
for center needle position or 0 for left position.
Which Presser Foot to Use
Use presser foot shown for the best sewing re-
sult.
Metal foot – Used mainly for straight and zigzag
stitches longer than 1.0.
Satin stitch foot (Model 240 only) – The cutout
on the underside of the foot is designed for
dense stitch formation. Ideal for satin and deco-
rative stitches.
Zipper foot (Model 240 only) – Use when sew-
ing zippers into place to avoid the foot riding on
top of the zipper coil.
Blind Hem foot – The adjustable guide ensures
that the needle catches only one or two fibers of
the hem.
R: Automatic buttonhole foot (Model 240
only) – Place button in foot. The machine will
automatically sew the correct size.
4-step buttonhole foot (Model 220 only) – Use
the measurements on the foot to make a
properly sized buttonhole.
1
2
3
4
5
0
1
2
3
4
4