5. Handling
5.1 Storage
The modules must be stored in a dry, dust free environment with a storage temperature in accordance with the
specific technical data (see section 8
).
5.2 Commissioning
Note: Before commissioning the module, make sure that the input voltage corresponds to the nominal input
voltage of the unit as specified on the type plate.
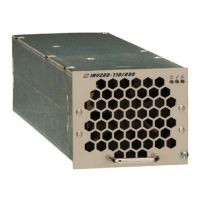
1. Carefully unpack the unit
2. Fill the rack beginning with the left slot.
3. Put the unit into an empty slot.
4. Carefully slide in the unit until the module connector touched the backplane connector.
5. Increase the force until the unit fits in completely. Avoid using too much force. If the unit does not fit in,
begin again at step 3.
6. Secure the unit using the captive screw (M4 x 12) provided with the module.
Note: Before removing a module it must be switched off by the external input fuse!
WARNING: After switching off the module the internal capacitors are still fully charged. Do not touch connector
pins as they can still be charged with dangerous voltage after disconnection.
5.3 LED indications
Functions of front panel LED indicators
LED Colour
Function
The following faults result in a collective alarm message:
• Input voltage high or low
• Output voltage high or low
• Short circuit or over load
• Internal temperature higher than specified value
*The module is equipped with an isolated signalling contact (NC). The maximum load is 60 VDC/100 mA.
For more information about the fault status and flashing patterns of the red LED see section 7
.