PREVIOUS
NEXT
SINGLE/DOUBLE
PUSH-BUTTONS
OK
END
ANSWER
TIME
OK
END
CONVERSATION
TIME
OK
END
SELF-START
TIME
OK
END
LOCK
TIME
OK
END
F1
TIME
OK
RESET
EEPROM
PROGRAMMING
EXIT
STANDARD PARAMETER PROGRAMMING
Perform the following procedure with the panels powered and after asso-
ciating the panel ID code. This procedure applies to all panels, Master or
Slave. During programming, the panel is in the engaged status and cannot
be used for normal operation in the system.
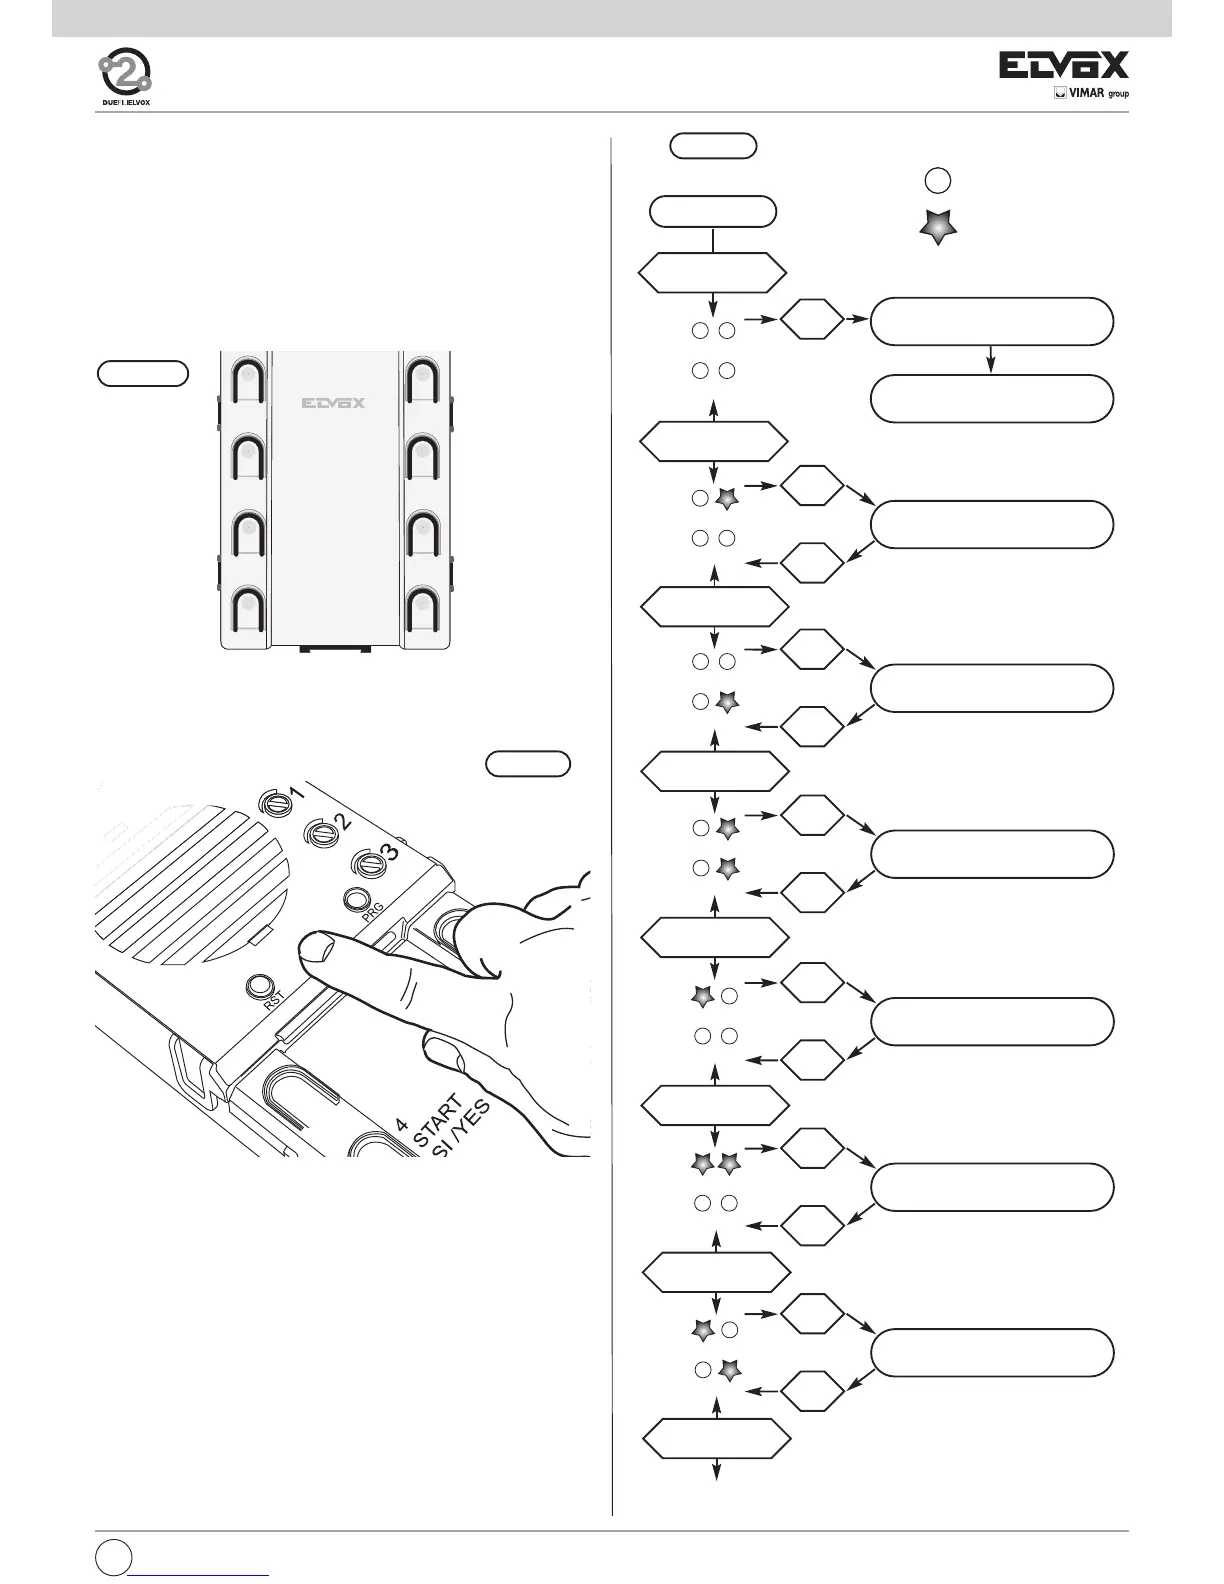
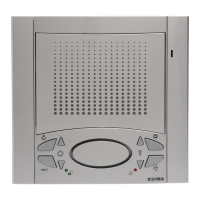
For the programming use push-button RPG, 6 push-buttons and 4 green
LEDs present on the electronic unit. In the electronic unit we have in the
whole 8 push-buttons and 6 green LEDs; for the programming the 6 push-
buttons on the lower side and 4 green LEDs on the lower side are used; the
latter serve as indicators for the basic parameter variation. To ease the pro-
cedure we call the 4 green LEDs: DL3, DL4, DL5 and DL6.
During programming the 6 push-buttons assume the following functions.
1
PREVIOUS
2
NEXT
3
OK
4
START/YES
5
STOP/NO
6
END
Fig. 15A
Standard programming procedure
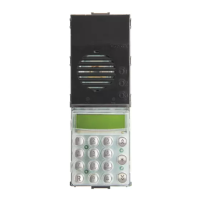
- If necessary, press the RESET pushbutton (see par. 2) and wait until the 2
red LEDs stop flashing
- Press the “PRG” push-button and then the push-button on top at the right
hand side and keep them pressed.
- After 2 seconds, the electronic unit emits a high tone for 1 second.
- Enter the Password by pressing the push-buttons 6-5-4-3-2-1 in se-
quence.
If the password is correct, the 4 LEDs switch off; otherwise it emits a low
tone and exits the programming phase.
- With reference to the following diagram (fig 15B), use the 6 electronic unit
push-buttons to scroll through and modify the parameter values. The
lower 4 LEDs indicate the current function, the push-buttons PREVIOUS
and NEXT select the parameter, the pushbutton OK enters the parameter
editing phase, the pushbutton END exits the parameter editing phase.
The unit also exits the editing phase when the output time interval (30 se-
conds) elapses, followed by the emission of a low tone for 1 s. The output
time is extended for a further 30 s. when a valid pushbutton is pressed.
For exit from the programming phases, press the RESET pushbutton at any
time.
Fig. 15C
Caution!
In order to operate on the programming (PRG) and Reset push-buttons it
is necessary to use the proper tool usually supplied with the electronic unit.
Fig. 22A
13
GB