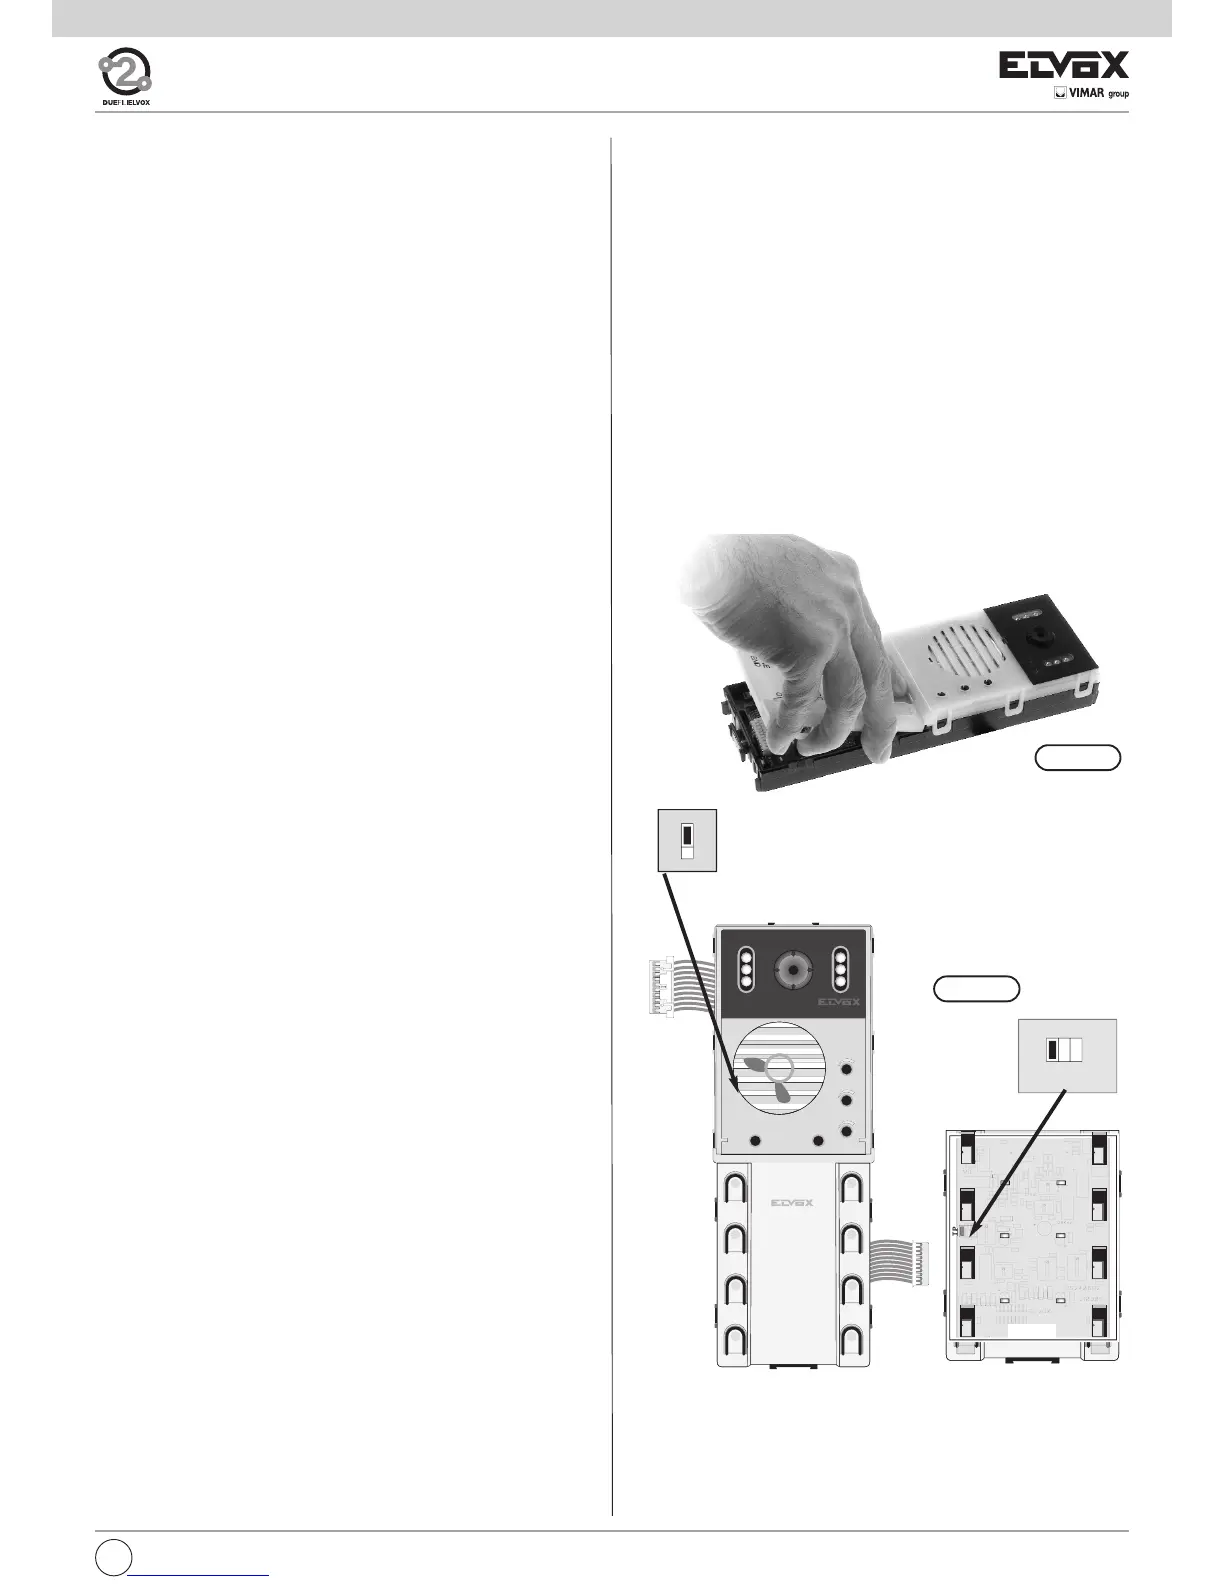
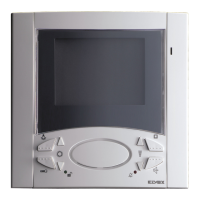
MASTER/SLAVE ASSIGNMENT
(Perform modifications with system switched off)
On systems with more than one panel, a Master panel must be defined
(one only) while the others must be defined as Slave.
This operation is performed by inserting or removing the TP jumper in the
electronic unit below the white cover of the push-buttons. The panel is
supplied as standard with the jumper inserted (Master condition).
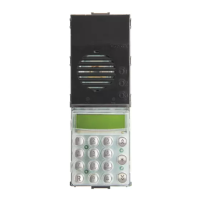
Jumper status
TP (inserted) - Master condition.
TP (removed) - Slave condition (to programming)
SV (removed) - always keep without jumper.
SA (inserted) - for audio entrance panels series 12F3
SA (removed) - for video entrance panels 89F5/... or audio
entrance panels 89F3/... but with an
external CCTV camera connected.
Fig. 13A
PATAMETERS
The panel is supplied already with a standard configuration, to be modi-
fied in the case of multiple panels in the same system and if the user wi-
shes to changes the panel operating parameters. There are two parameter
programming levels; one standard and one advanced. Standard program-
ming can be performed directly from the panel keys, while advanced pro-
gramming requires use of the programmer type 950C or the software
SaveProg Type 69CD for PC by means of interfaces Type 692I or Type
692I/U..
Standard programming parameters:
- Parameter Default value
- Panel ID 1 (Master)
- Reset EEPROM
- Single/Double push-buttons Single row
- Answer time 30 seconds
- Conversation time 120 seconds
- Self-start time 10 seconds
- Lock time 1 second
- F1 time 1 second
- F2 time 1 second
- Panel ringtone repeat Enabled
- Lock block Disabled
- Monitor/interphone ringtone cycles 2
- External volume 15
- Internal volume 3
- Pushbutton remapping Hardware
Parameters for standard and advanced programming with type 950C
or SaveProg:
- Message language Local
- panel ID 1 (Master)
- First key ID 1
- Pushbutton remapping Hardware
- Single/double push-buttons Single row
- Programming password 654321
- Answer time 30 s.
- Conversation time 120 s.
- Self-start time 10 s.
- Lock time 1 s.
- F1 time 1 s.
- F2 time 1 s.
- External volume 15
- Internal volume 3
- Lock block Disabled
- Enablings/Disablings No association
- Panel ringtone repeat Enabled
- Monitor/interphone ringtone cycles 2
- Common locks No association
- F1 common No association
- F2 common No association
- Auto-switching disabling Disabled
- Self-start sequence (Master panel only) No association
- Interphone/Monitor configuration
- Interphone/Monitor function key assignment
- Flag YES / NO
- Function key assignment
o Not Assigned
oIntercommunicating
o Self-Starting
o Auxiliary
o F1 function
o F2 function
o F1 function specific
o F2 function specific
o No Internal Call Ringtone
o No External Call Ringtone
- Call groups (4)
- Associated door call units (4)
- Volume or loudness for 6600 series appliances and derivatives
o Ringtone
o Speakerphone
o External ringtone type
o Brightness (only video door entry units)
o Contrast (only video door entry units)
o Door call ringtone type models Vimar®)
o Intercommunicating ringtone type (only for some models
Vimar®)
- Remote button module configuration.
PRELIMINARY OPERATIONS
Before programming the panels, perform the following preliminary ope-ra-
tions:
- Slave panel assignment. On systems with a single panel, this will bede-
fined Master (default setting). On systems with multiple panels of any
model (alphanumerical, push-buttons), one will be defined Master and
theothers SLAVE.
- Pushbutton hardware programming, for additional modules only.
- Panel ID, entrance panel identification code On systems with multiple-
panels, the SLAVE (alphanumerical, push-buttons, outdoor) panels will
be identified with a code.
The panel programming phases use push-buttons on the electroni-
cunit (from 1 to 6); thus performed these operations without closing
thepanel with the front plate.
Fig. 13B
Keep jumper in this position