5
INTRODUCTION/INSTALLATION
DESCRIPTION
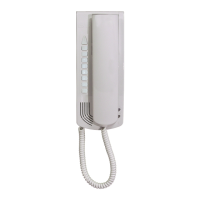
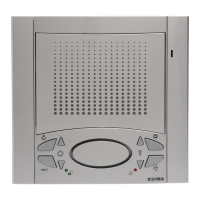
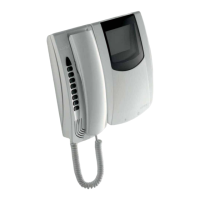
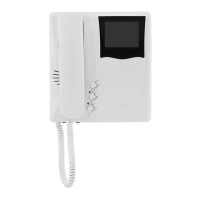
Type 6209 is an interphone in the Petrarca series for ELVOX 2-WIRE
audio and video door entry systems. It is supplied as standard with 3
pushbuttons, one for lock release, one for self-start of the interphone in
the system even when not called, and one for the auxiliary “stair light”
service. The interphone can be fitted with an additional 3 pairs of
pushbutton types 692P (or 692P/M), for auxiliary services or intercom-
municating calls, and the accessory type 6153/682 for: call volume adju-
stment, call signal mute, call denied luminous indicators, signal to indi-
cate unanswered calls, signal to indicate services not available and lumi-
nous signal for gate/door open. The interphone can be installed as a
wall-mounted version or desktop using the conversion kit type 6140 or
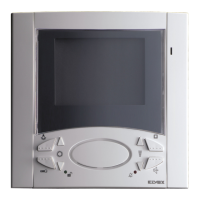
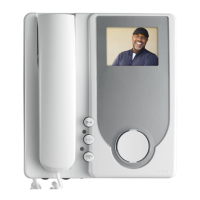
6A40, or in combination with monitors in the Petrarca series type 6009
(b/w monitor) or type 6009/C (colour monitor) by means of wall bracket
type 6145 or desktop conversion kit type 6142 or 6A42.
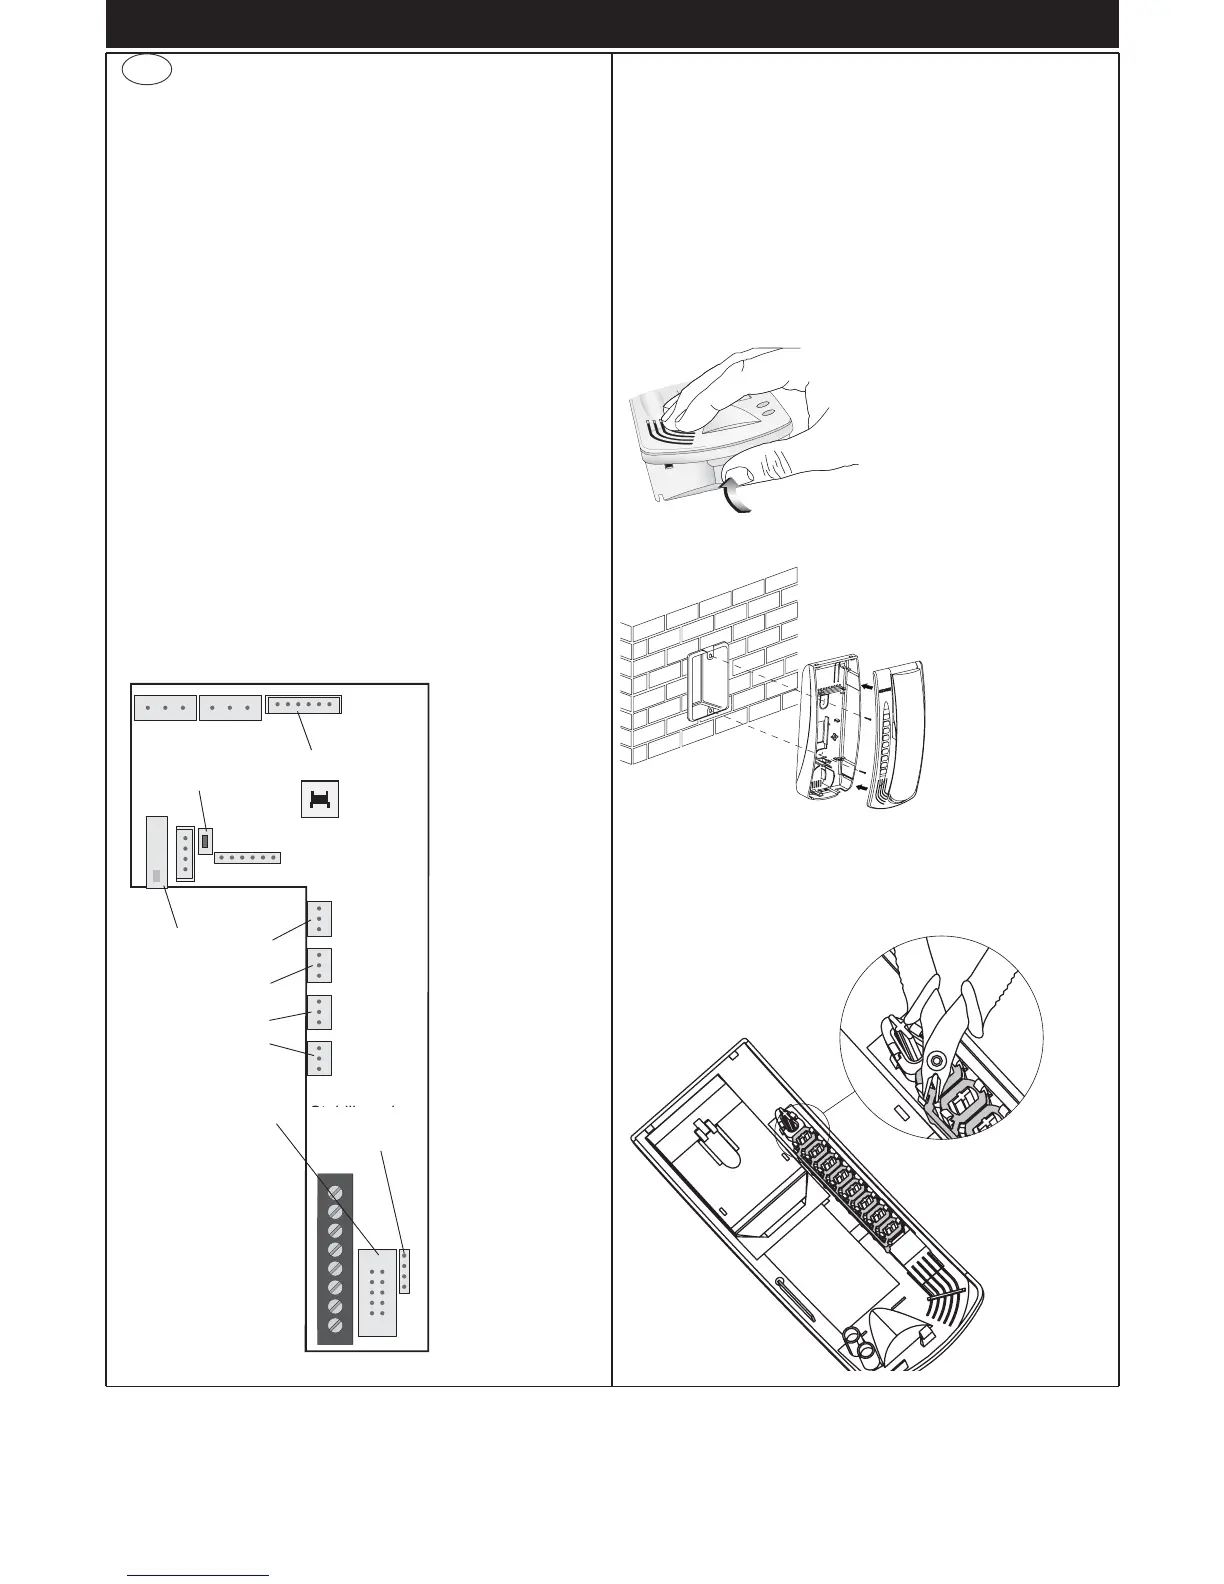
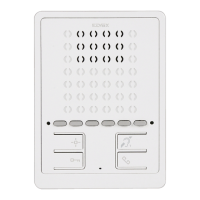
Connection and connector terminal board
1, 2) BUS line.
4, 6P) Connection for door call pushbutton.
5, 6S) Connection of additional door ringtone
-, +)
Additional power supply for monitor with power supply type 6923.
VARIAT.) Connection for module type 6153/682.
VIDEO) Connection for monitor type 6009 or 6009/C.
T1) 1st pair of pushbuttons type 692P.
T2) 2nd pair of pushbuttons type 692P.
T3) 3rd pair of pushbuttons type 692P.
T4) 4th pair of pushbuttons type 692P.
Controls
The call volume can be adjusted by moving the loudspeaker wire from
connector A+ (high) to A- (low); otherwise use accessory type 6153/682,
leaving the loudspeaker wire connected to connector A-.
INSTALLATION
Wall-mounted installations of the interphone do not require additional
accessories. However a vertical 3-module box may be used to facilitate
fixture and cable routing. For desktop installations and combinations with
monitors, refer to the respective instructions of the conversion kit or
monitor.
Surface wall-mounted intallation
Fix the interphone to
the rectangular, vertical
flush-mounted back-
box with the 2 screws
supplied, or fix the
screws with the ø5
expansion plugs.
Connect the wires to
the terminals. You are
advised to fix the top of
the interphone at a
height of about 1.5 m
above the ground.
Fitting additional pushbuttons
The insertion of additional pushbuttons type 692P, 692P/M for intercom-
municating calls or auxiliary services requires release of the interphone
keys in the location of the additional pushbuttons, by cutting the plastic
retainer as shown in figure 4.
Fig. 1
Fig. 2
Fig. 3
Fig. 4
Video signal
stabiliser
To split the interphone
bottom from the cover,
force on the interphone
lower side between the
bottom and the cover
until the snapping click.
GB