EM Test ditoControl
Short form Introduction V 2.04 11 / 15
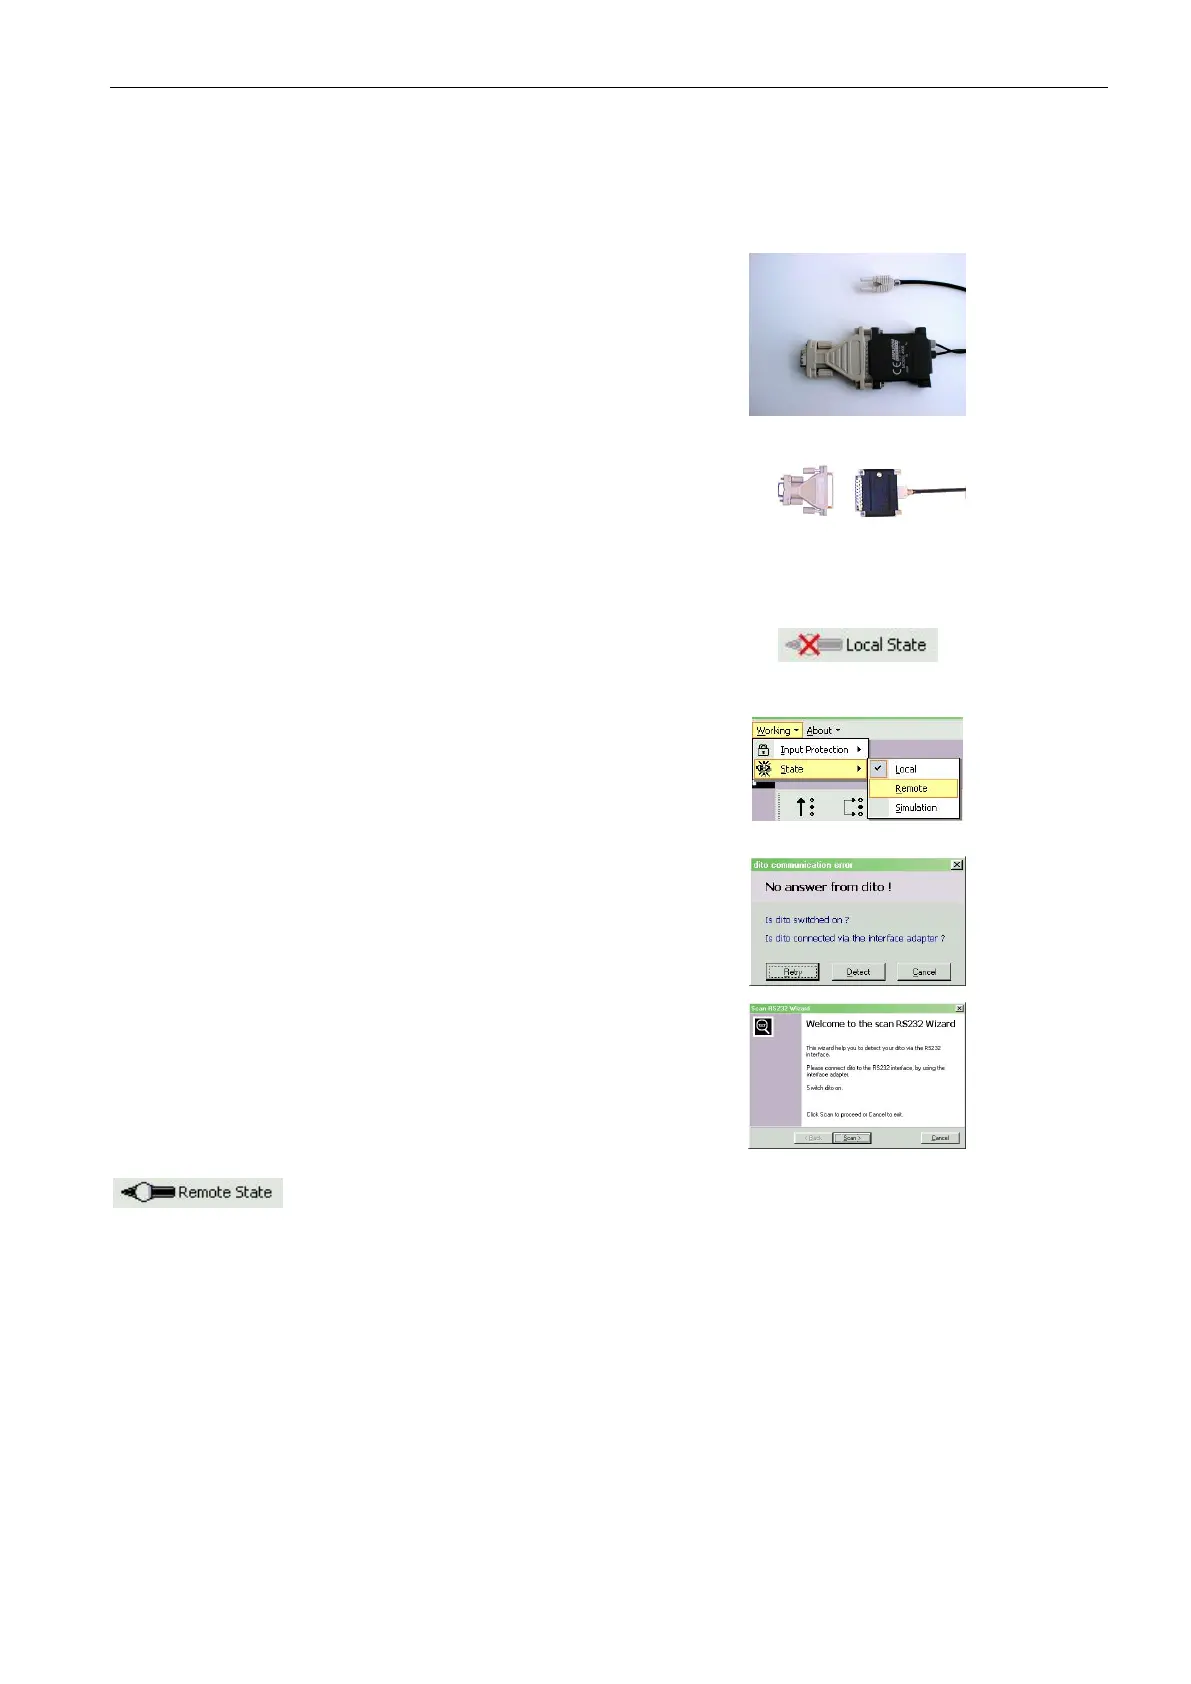
5.1 Connect the dito simulator via RS232-Interface
Connection between dito and computer is done by RS232 interface via optical link.
The following steps are necessary :
Connect the RS232 optical link to dito.
Switch dito on or go to the start menu (double
click on dito trigger button).
In case that no communication is possible it is
recommended to go back to the start menu or
switch on/off the dito. This is not a failure but
a wanted procedure.
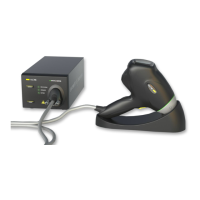
Connect the IFA interface adapter to the RS232
connector of the computer.
Start ditoControl (see above).
Set dito into remote via software.
The initial status of the dito is local. It can be set
into remote by clicking onto the state button in the
status bar and selection of Remote.
It can also be set into remote by selecting the
menu <Working><State><Remote>.
It is not necessary to set the baud rate, because ditoControl checks the RS232 parameter.
If for the first time no communication is possible
the following dialog will appear.
Select know the button Detect to start the RS232
Wizard.
The RS232 Wizard now automatically scans for
the connected dito.
At the end of the wizard dito should be detected.
If not, please check all points above.
In case that communication works, dito is in Remote and ditoControl shows the status.
ditoControl can simulate the dito simulator. For this mode please select <Working><State> <Simulation>.