8
For more information, refer to Celerra Tools on http://Powerlink.EMC.com
Remove components from shipping container
Caution: Two people are required to remove the components. Only remove the
screws holding the components in place at this time. Do not remove the screws holding
the mini-rack rails in place; this may cause damage to the components. Only remove
one component at a time.
TLA Serial Number
Model Number
DART Version
Flare Version
Unit Tested
Pre-Configured
MAC Address
SPA IP: 192.168.1.200
SPB IP: 192.168.2.201
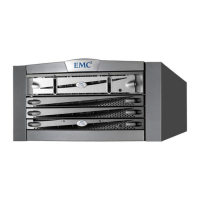
Control Station (CS)
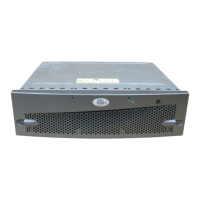
Standby power supply (SPS)
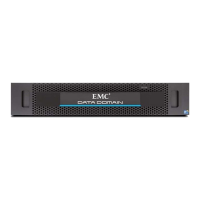
Disk processor
enclosure (DPE)
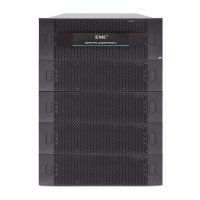
Blade enclosure
Do not remove the mini-rack
from shipping container.
CNS-001429
Remove this label and
paste it on the back of
the front cover of this
installation guide.
Disk processor
enclosure
Standby power supply
Control Station
Blade enclosure
TLA Serial Number
Model Number
DART Version
Flare Version
Unit Tested
Pre-Configured
MAC Address
SPA IP: 192.168.1.200
SPB IP: 192.168.2.201
2. Carefully set aside each component as
it is removed (1-4) from the disposable mini-rack
shipping container.
3. The ganged rails remain in the mini-rack
shipping container at this time.
1. Using a Phillips-head screwdriver, remove only
six
screws per side.
Keep the screws to install the components in your site rack.
!