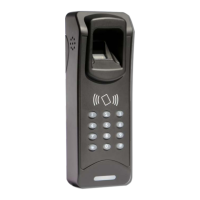
CHD200G series Fingerprint Reader
7
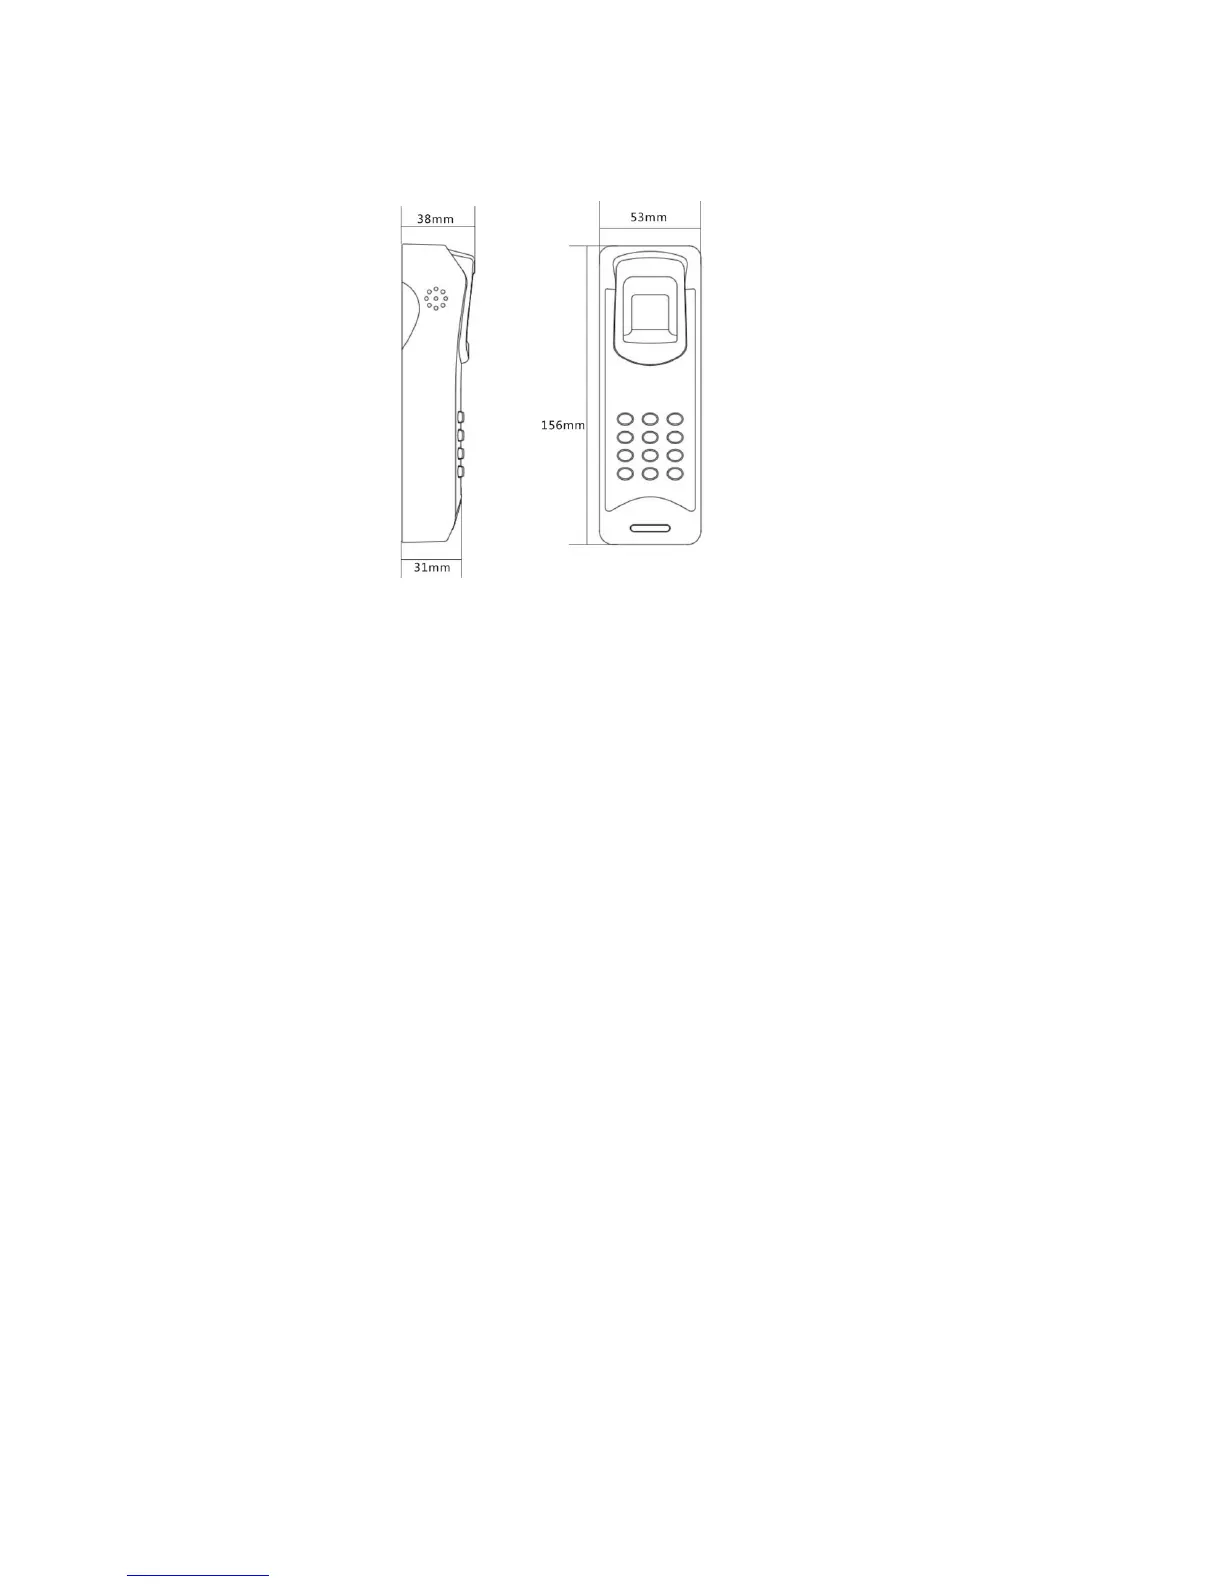
5.2 Dimension
6. Installation Defines
Attentions:
Fully consider easy for repair and maintains
Location should avoid choose high temperature site
Device can’t under straight sunlight
Device can’t be shower bath
Before installation please testing device
6.1 Installation tools and materials
Installation tools:
Electric drill, strike drill, cross screwdriver, angle grinder, wire-cutter, wire strippers, press
line pliers, the hammer, etc.
Installation material:
PVC cable tank or cable tube, screws, installation hanger, etc
6.2 Installation Steps
6.2.1 Installation station selection
Fingerprint reader along to high technical precision instrument, the installation place will
affect the products life-span and working performance, refer to above notice to choose the best
place for use.
6.2.2 Installation
When install the fingerprint reader, pay attention to the screwdriver and other edge tools
don’t destroy the shell, avoid any damage to keep good appearance.
6.2.2.1 installation wall manage
Before installation, must manage the wall, find the logical height-ness (suggest 1.4 to
1.5m), and based on the hanger (accessory of fingerprint reader) size to drill the holes on the
wall to fix the fingerprint reader, and wiring the reader, the hanger size refers to below picture: