16
Section 3
Rev. 06/15
Safety, Installation, Operations & Service Manual
DOPSM2080X012
3.5.3 Operation (Control Knob Adjustment)
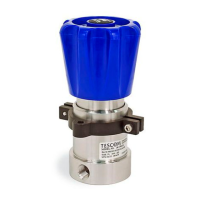
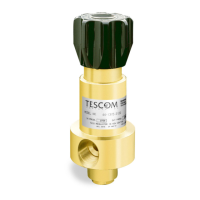
Controlled back pressure settings are obtained using TESCOM back pressure regulators
by adjusting the control knob. Rotating the knob clockwise raises the inlet pressure while
a counterclockwise rotation will lower the inlet pressure. Final adjustments should be
made in the direction of increasing pressure to obtain the most accurate back pressure set
pressure.
TESCOM regulators will operate with any liquid or gaseous media compatible with the
wetted materials. Some series/modifications come with an internal filter that only are
designed to stop random contamination resulting from the installation of the regulator.
An auxiliary upstream filter is recommended for use in all but the cleanest media. Gaseous
media should be free of excessive moisture to prevent icing of the regulator at high flow
rates.
A back pressure regulator is not intended to be used as a system safety relief device.
When the regulator is not in use, the inlet pressure should be turned off.
3.5.4 Maintenance
The following procedures are provided to enable the customer to perform all normal
maintenance and repair operations. These operations are more easily performed with the
regulator removed from the line. However, in some cases repair may be accomplished
without removal of the regulator body as long as the supply has been shut off and the inlet
and outlet pressures have been vented.
An Assembly Drawing and Bill of Material for the regulator will be needed to complete
maintenance procedures. The Assembly Drawing and Bill of Material are separate from this
manual and available by contacting TESCOM (see pg. 39 for TESCOM contact information).
The following steps outline the disassembly of back pressure regulators for maintenance
and repair:
1. Clamp the regulator in a vise by the flats on the bottom and/or side of the regulator
body.
2. Turn control knob and/or spring adjustment mechanism counterclockwise to insure
removal of all spring force on the piston.
NOTE: (Dome loaded regulators): All pressurized gas or liquid must be vented from dome before
disassembly.
3. Remove upper portion of regulator (bonnet and/or dome). Some models require the
hand knob and/or mounting bracket to be removed first.
NOTE: Upper portion of regulator may also include spring button, load spring, back-up plate, and
piston sensor, etc. Review correct drawing to ensure that all parts have been disassembled.
4. The seat parts can now be removed from the regulator body by turning the seat
retainer counter clockwise until it is free of the regulator body.
5. To disassemble sensor and valve assembly and/or valve, clamp the spring plate in a
smoothed jaw vise or hold with pliers. Clamping should be done on flats.
 Loading...


