22
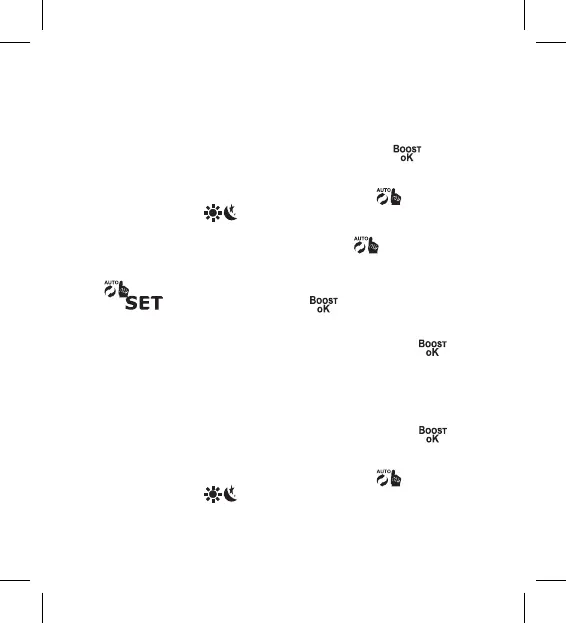
Boost interval length settings are marked by the number 6 in the top right
corner of the screen.
d. Once the number 6 appears in the top right of the screen, you can use the
rotary wheel on the thermostatic head to set the length of the interval of
the Boost function. The value can be set to between 100 and 900 seconds.
e. Conrm your chosen Boost interval length by pressing
. Conrming
redirects you to the next advanced setting (setting of the start/end of working
temperature, marked by the number 7 in the top right corner of the screen).
f. To go back to settings of the thermostatic head, press . To return to the
main screen, press
.
12. Setting the Start/End Working Temperature
a. To set the start/end working temperature, hold the
button for 5 seconds.
This opens the thermostatic head‘s settings.
b. To select the start/end working temperature settings, repeatedly press the
button. The start/end working temperature option is selected when
the
icon starts ashing. Press to conrm the selection of
the setting.
c. Conrming the previous step takes you to the advanced settings of the
thermostatic head. To navigate in the advanced settings, press
. There,
start/end working temperature settings are marked by the number 7 in the
top right corner of the screen.
d. Once the number 7 appears in the top right of the screen, you can use the
rotary wheel on the thermostatic head to set the start/end working temper-
ature. The value can be set to between 0.5 °C and 1.5 °C.
e. To conrm the start/end working temperature setting, press the
button.
Conrming redirects you to the next advanced setting (Type of Valve Control,
marked by the number 8 in the top right corner of the screen).
f. To go back to settings of the thermostatic head, press
. To return to the
main screen, press
.
 Loading...