6. Tighten the tapered bolt (7).
7. Mount the RLS RM44 encoder (3), to the
mounting flange of the encoder bracket (2).
Use the supplied M4x16 bolts (2), to mount
the encoder. Using threadlocker glue on the
threads is recommended.
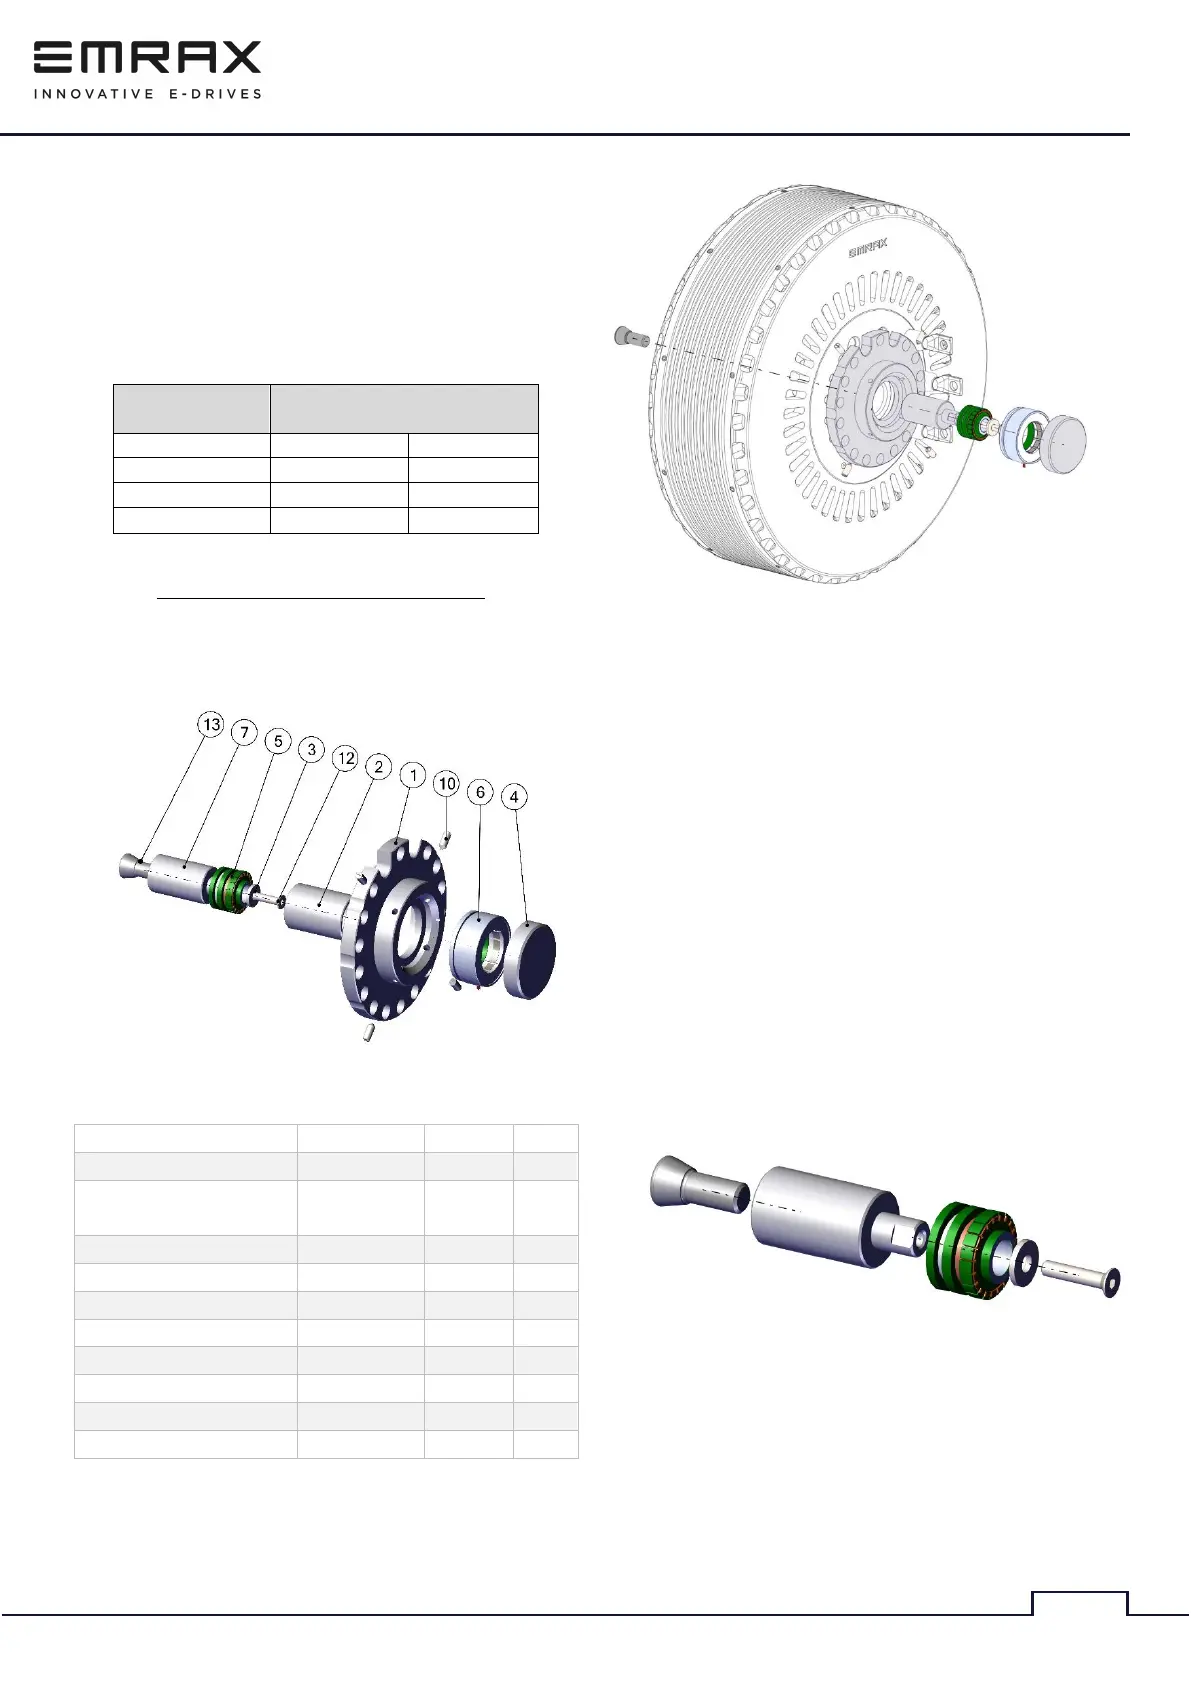
Figure 5: Resolver assembly
1. Place an adapter shaft (2) inside the motor
shaft (this step is only required for the 268
and 348 motor types). Before inserting the
part use threadlocker glue on the faces, where
the parts are mated.
2. Assemble the rotor of the resolver. Start by
applying threadlocker glue on the mating
surfaces of the resolver rotor (5) and rotor
holder (7) and pressing the parts together.
Then insert the tapered bolt (13) into the rotor
holder (5) and lightly tighten it. Using
threadlocker glue supplied with the kit on the
threads is recommended. Continue by
screwing the resolver rotor (4) onto the rotor
holder (7) by using the washer (3) and bolt
(12) supplied with the kit.
Figure 6: Rotor assembly
3. Insert the rotor assembly into the backside of
the motor, inside the motor shaft (as shown
on figure 5). Before inserting the part use
threadlocker glue on the faces, where the
parts are mated.