7
COLUMN 1
Time Zone 1
COLUMN 2
Time Zone 2
COLUMN 3
Active Time Zone
O
N at 08h00
OFF at 23h00
ON at 04h00
OFF at 09h00
ON at 04h00
OFF at 09h00
Follow the steps below to cancel the Timer Function (thus allowing the heat pump to
reheat the water as and when required during a 24 hour day):
1. Press the button.
2. Press the SET button.
3. Repeat steps 1 and 2 four times to cancel all 4 time settings (1 ON, 1 OFF, 2 ON
and 2 OFF.
NOTE:
•
It is possible to decrease your saving by setting your timers incorrectly (such as
letting the heat pump operatre during the coldest part of the day).
•
The heat pump will operate even without any timers being engaged.
•
For energy efficient timer settings please see Section 9: How to optimise energy savings.
The heat pump will therefore only run between 4 AM and 9 AM irrespective of the first
time Zone allowing it to run till 11 PM
NOTE:
Time zones in the Timer Function are NOT allowed to overlap.
The table illustrates an incorrect timer setting where time zone 1 and time zone 2
overlaps with a resulting allowed operational time in column 3
3. Press the button to acknowledge the Hour
setting and continue to the Minutes setting.
(The Minutes and the “1 ON” sign will flash.)
4. Make use of the buttons to set the Minutes
parameter. (Set to the first start-up Minutes)
5. Press the button to acknowledge the Minutes
setting and continue to the “1 OFF” Hour setting.
(The Hours and the “1 OFF” sign will flash.)
6. Make use of the buttons to set the Hour.
(Set to the first shutdown Hour)
7. Press the button to acknowledge the Hour setting and continue to the
Minutes setting.
(The Minutes and the “1 OFF” sign will flash.)
8. Make use of the buttons to set the Minutes.
(Set to the first shutdown Minutes)
9. Press the button to acknowledge the Minutes setting and continue to the
“2 ON” Hour setting.
(The Hours and the “2 ON” sign will flash.)
10. To set up the second time zone, repeat steps 2 to 7 above for “2 ON” and “2 OFF”.
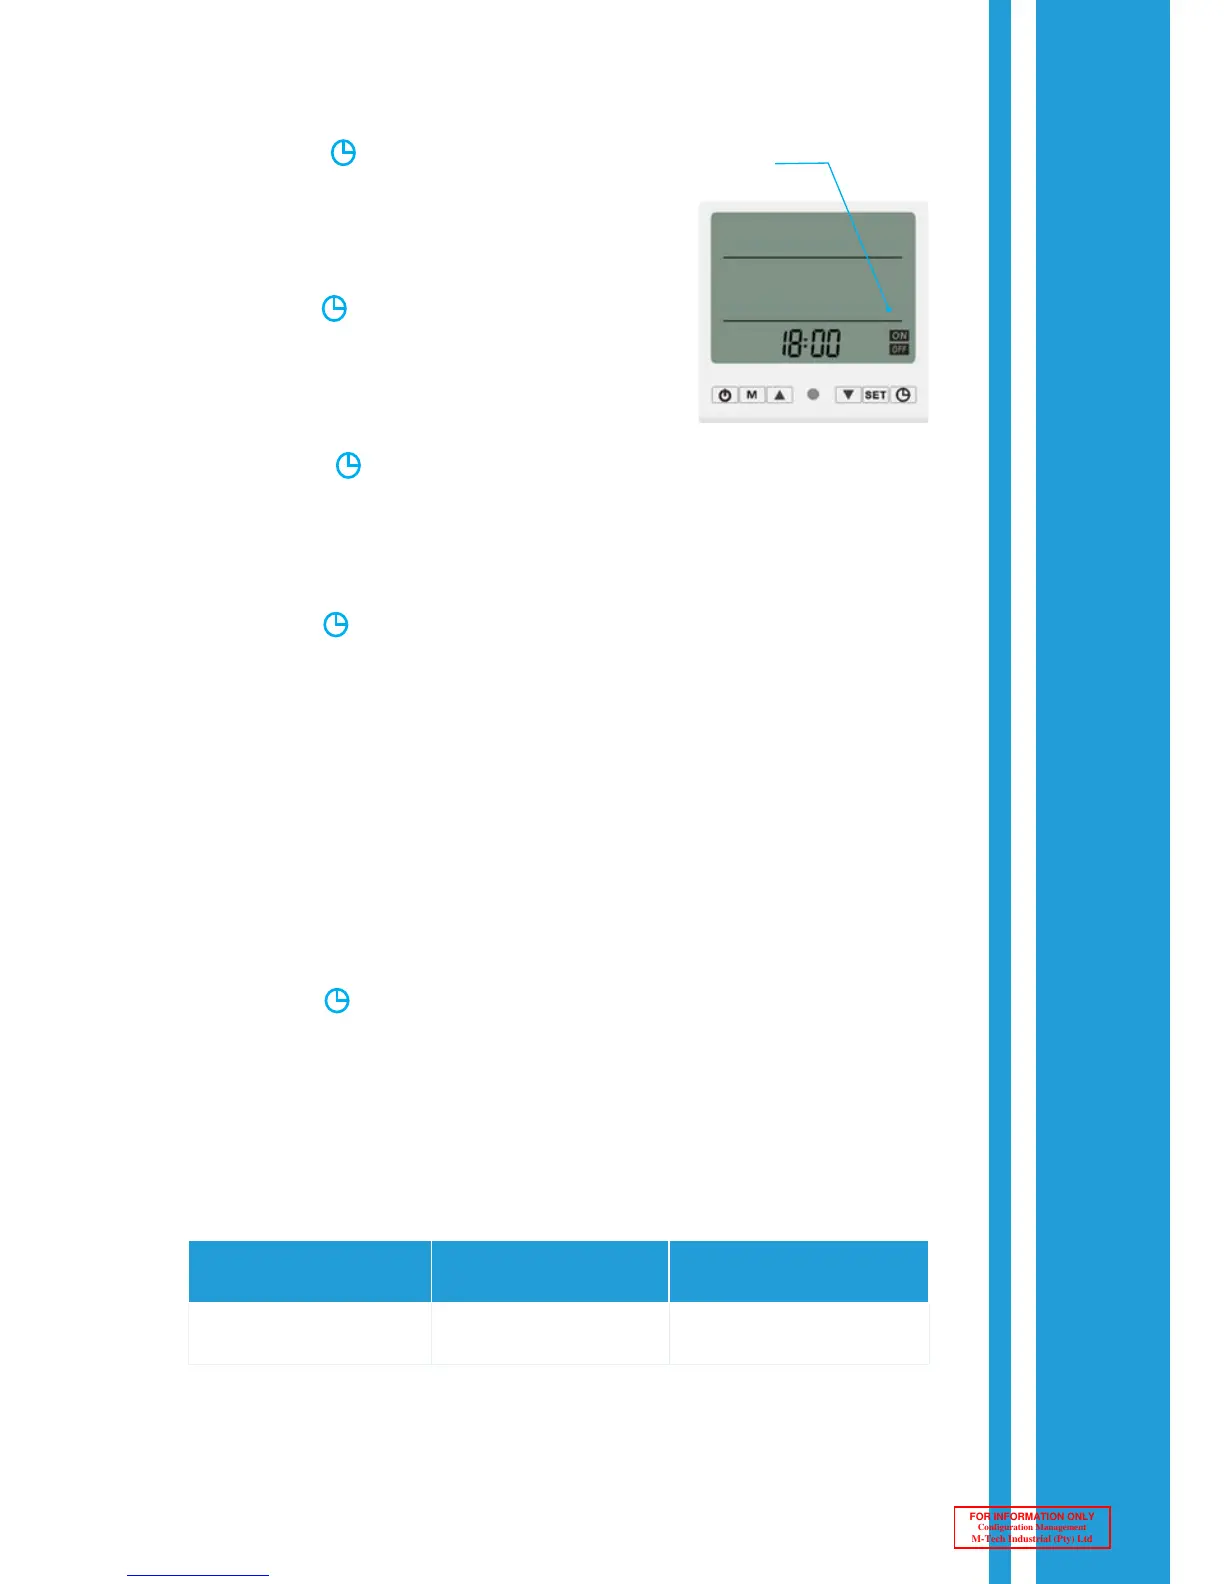
Timer
Active