Things to be checked after installation
15
Operational Check
1.
Open mains water supply (Applicable only when closed).
2. Open water feed stop valve.
Check if water leaks from pipe, water tank hose or water feed hose joints.
If water leaks, close the water feed valve, separate the valve and check if rubber packing is
Check if there are any loose connections or joints
before turning on the water valve.
inserted. If not, insert the packing and reassemble the water feed valve.
3. Connect the power plug to the wall outlet.
Nozzle extends and retracts once, and the control panel lamps keep blinking (at initial operation.)
4.
Press button on the remote control.
Water pressure/Dry Air lamp goes off when the tank is full of water, and Seat Temperature, Water
Temperature and Water Pressure are set to Low, respectively.
Wait until cleansing water gets warm (takes about 5 minutes).
Check if the seat gets warm, too.
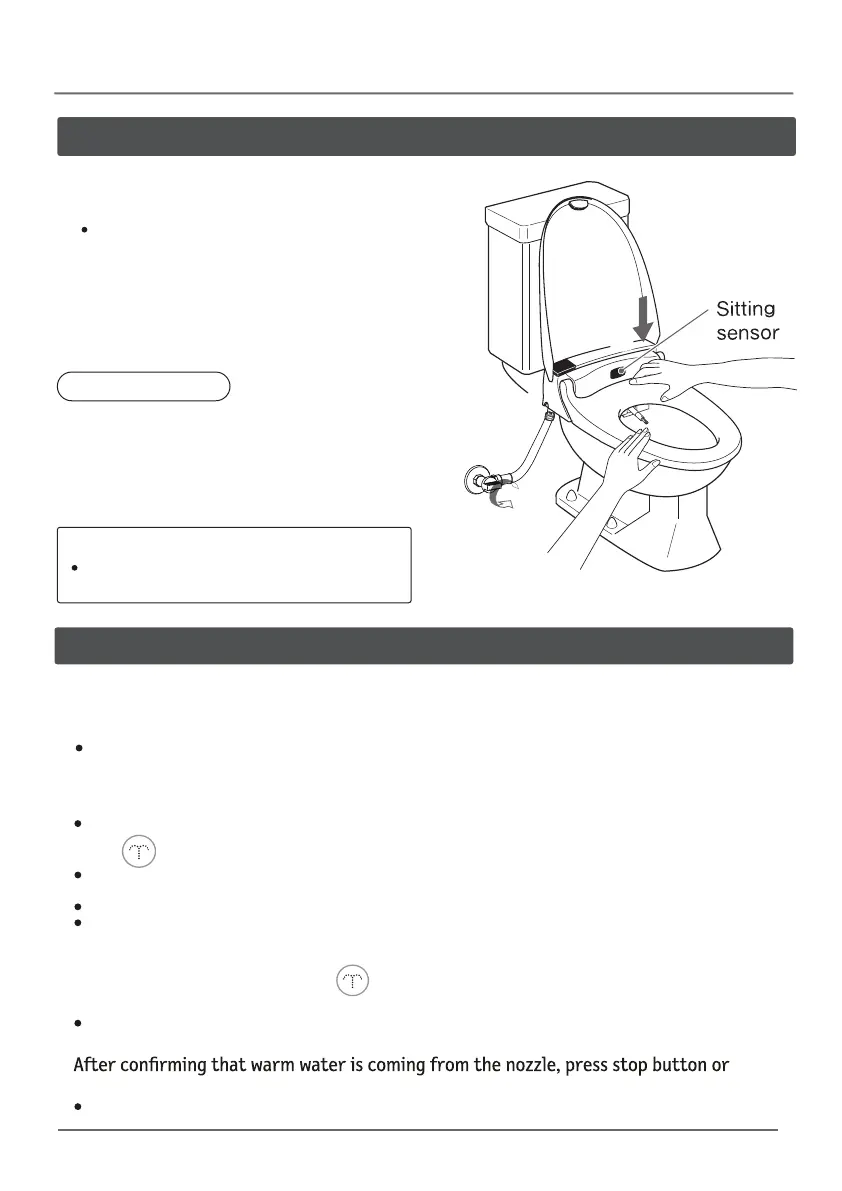
5.
Approach hands to sitting sensor (within 5 cm) so that it may be activated.
6. If the tank is full of water, press button one more time and check if the posterior
cleansing system is operating correctly.
Check if nozzle extends and discharges warm water.
(Cover up the nozzle to prevent water from spraying outside.)
7.
deactivate the sitting sensor so that the operation may be stopped.
Cleansing operation stops and nozzle retracts.
Note
If water leaks
Inspection points
1. Open water supply.
1. Close water supply.
2. Open water feed valve and check
2. Disassemble the joint where water is
leaking and connect properly again.
if water leaks from any pipe joints.
If water continues leaking, close water valve and
contact your nearest authorised service center.
Check for water leakage
Check for water leakage from any of the pipe connections after installation.
5