info.ditec.ca@entrematic.com
www.ditecentrematic.ca
info.ditec.us@entrematic.com
www.ditecentrematic.us
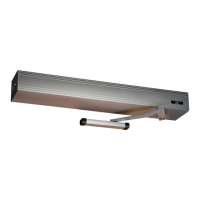
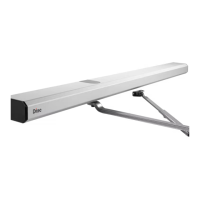
DITEC HA8-LP LOW ENERGY
SWING OPERATOR
Installation & Instruction Manual
READ AND FOLLOW ALL INSTALL
A
ATION INSTRUCTIONS CAREFULLY!
FAILURE TO DO SO MAY RESULT IN PERSONAL INJURY OR PROPERTY DAMAGE!
• Install only on a properly operating and balanced door. A door that is operating improperly could cause severe
injury. Before installing the operator, have qualified service personnel make repairs to cables, and other hardware.
• Before installing the operator, remove or make inoperative, all locks (unless mechanically and/or electrically
interlocked to the power unit), all activation units and accessories that may be connected to the door.
• A commercial/industrial door operator that has exposed moving parts capable of causing injury to persons or
employs a motor deemed indirectly accessible by virtue of its location above the floor shall include:
- Install the door operator at least 2.4 m (8ft) or more above the floor, and/or
- If the operator must be installed less than 2.4 m (8ft) above the floor, then exposed moving parts must be
protected by covers or guarding provided by the operator manufacturer.
• The control unit MUST be located: (1) within the sight of the door, and (2) at a minimum height of 1.5 m (5ft) above
the floors, landings, steps, or any other adjacent walking surface and (3) away from all moving parts of the door.
• Install the Entrapment Warning Placard next to the control station in a prominent location if applicable.
• To reduce the risk of injury to persons - Use this system only with pedestrian doors.
• Do not connect the operator to a power supply until instructed to do so. Connection of the high voltage supply
should be done by a qualified professional and within the guidelines of the enforced local electrical codes.
• HIGH VOLTAGE (INCOMING 115 VAC) WIRES AND LOW VOLTAGE WIRES CANNOT SHARE THE SAME
ACCESS HOLE. HIGH VOLTAGE WIRES MUST BE ROUTED AND SECURED AWAY FROM ALL LOW
VOLTAGE WIRES.
Entrematic Canada Inc. Entrematic USA Inc.
Toll Free: 1-877-348-6837 Toll Free: 1-866-901-4284
