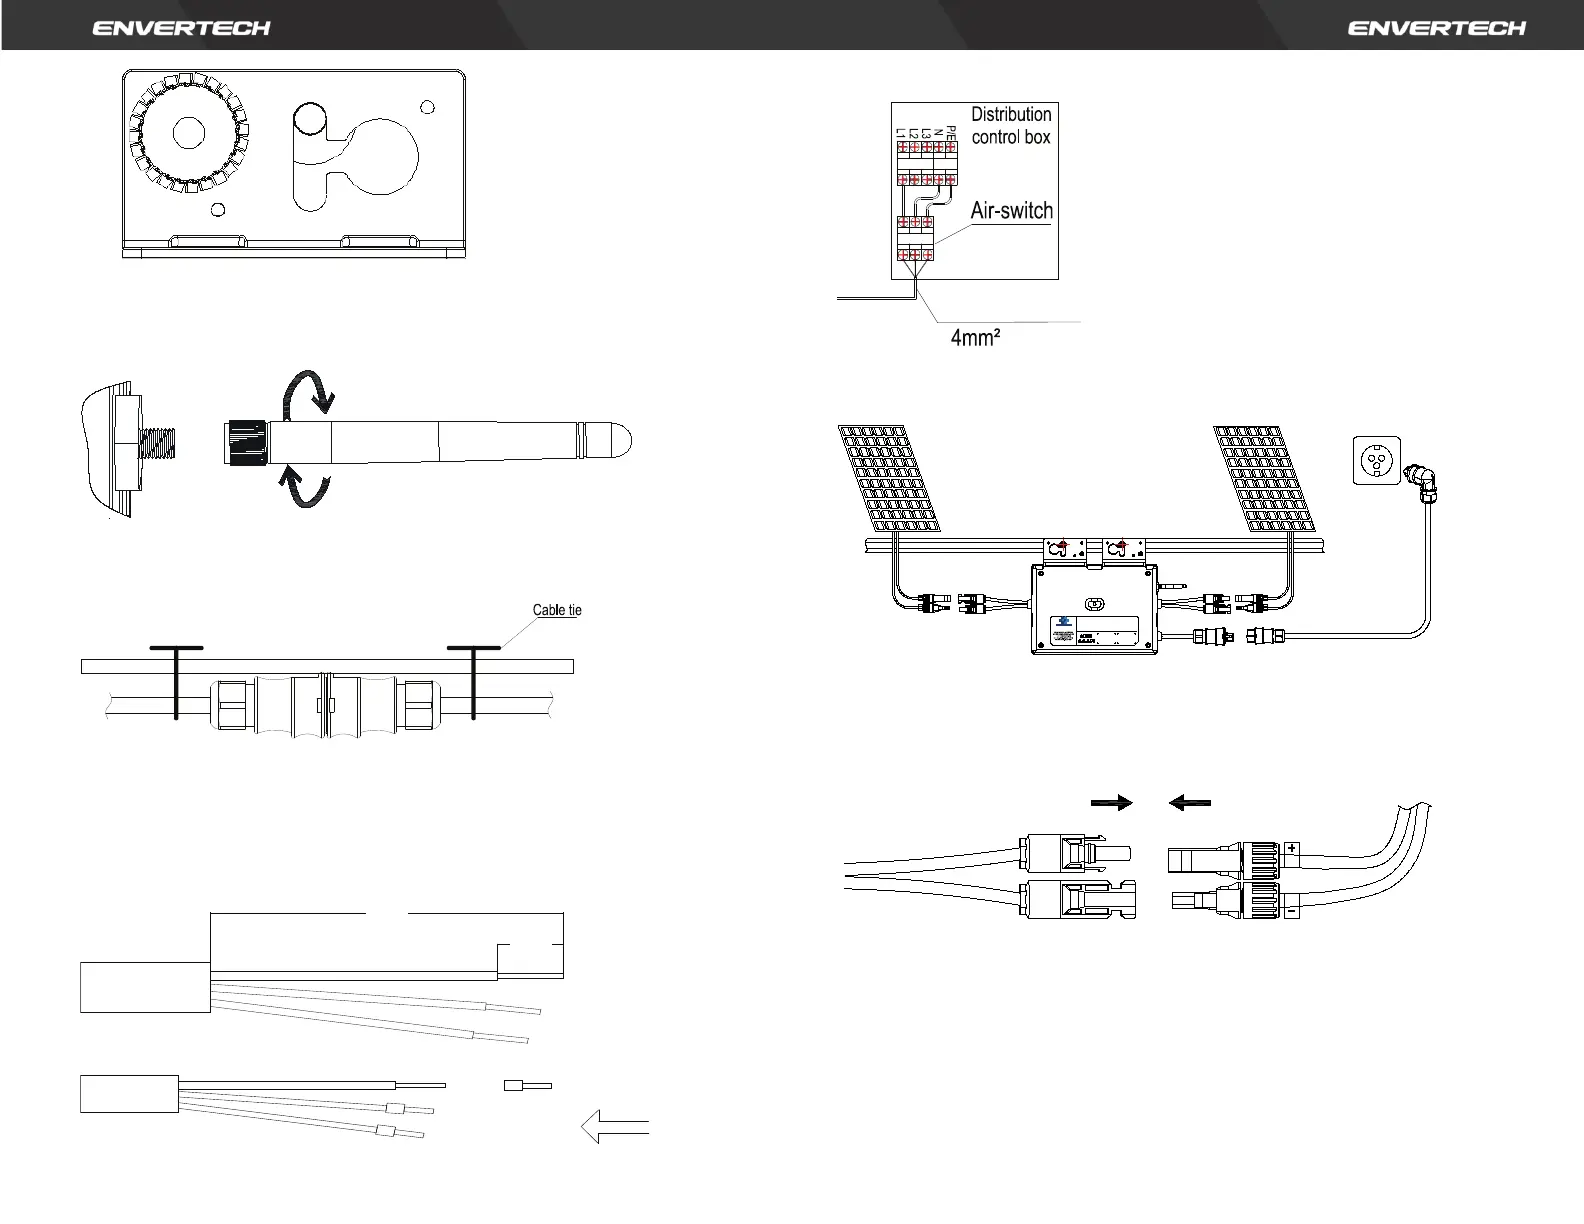
Step 4. Install a Wi-Fi antenna
For better Wi-Fi signal, rotate the antenna clockwise until it is firmly secured
to the EVT800.
Step 5. Fasten AC cables
Fasten AC cables and grounding cables to the rack with cable ties.
Step 6. Connect to the grid
Option a. Connect to air switch
Remove the skin of the two ends of the ex-tension cable by y=40mm and
remove the skin of internal wires by x=14mm. Set the metal terminals onto
the open parts and clamp them to tighten the connection;
Connect the other side of the extension cable to the air switch.
Option b. Put the open parts of the extension cable into the plug and use
the plug to connect to the socket
Step 7. Connect PV modules to microinverters
Mount the PV modules on top of the microinverters; Connect each PV
module with the DC input cables of the microinverter.
Step 8. Switch on the PV system
Ensure all connection is completed and then turn on the air switch.
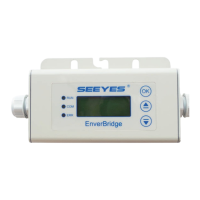
For the monitoring system (EnverBridge) installation please scan this
QR
code
.
12
User Identification Number
-40
℃
to +65
℃
Temperature(
℃
):
Operating Range (Vdc):
16V~60V
Normal Voltage?(Vac):
220/230V
MPPT Voltage Range (Vdc):
22V~50V
Current (Max. Continuous) (A):
3.63A
Max. DC Input (Vdc):
60V
Frequency?(Hz):
50Hz/60Hz
Max. Input Continuous Current?(A):
14Ax2
Power Factor Range:
+/-0.90
Max. Input Short-Circuit Current (A):
25A Maximum Units Per Branch: 6
Power (Max. Continuous) (W):
800W
Overvoltage Category: OVC III (AC Main), OVC II ( PV)
Ingress Protection (IP):
IP67 Protective Class: Class I
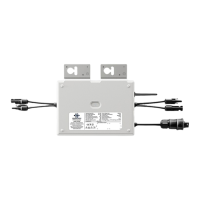
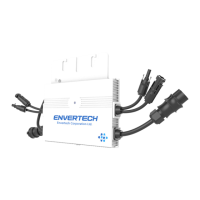
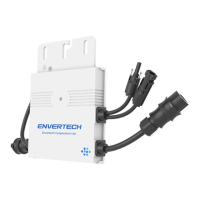
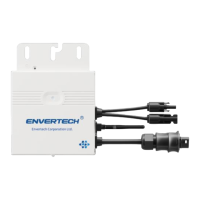
Model: EVT800
www.envertec.com
Envertech(Shanghai)Corporation LTD.
PV Microinverter