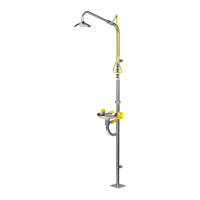
10. (For Foot-Operated Models Only) Back o the two
rear shower mounng bolts. Slide the bracket under
the washers of the shower mounng bolts and
reghten. Reaach foot pedal plate to bracket using
bolts supplied. Do not over ghten. SEE IMAGE 8
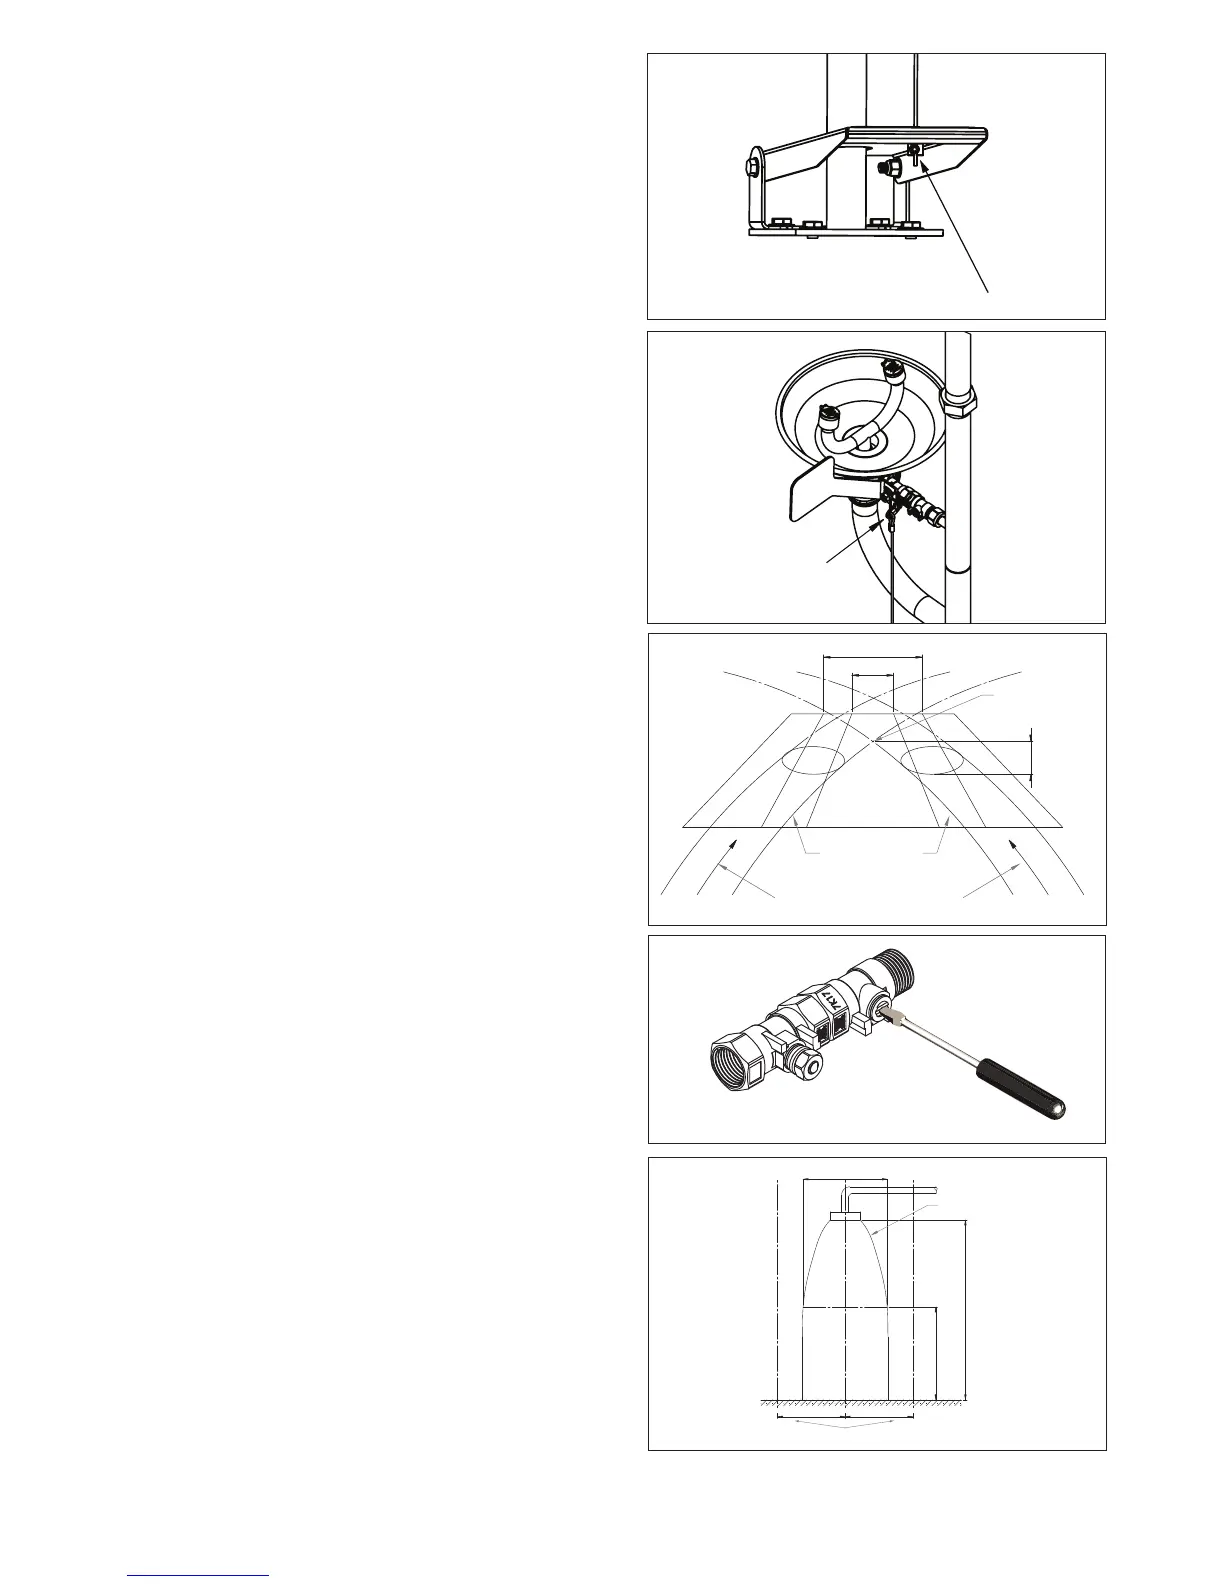
Aach cable to push handle and set the cable length.
To do this, turn the push handle to the full on posion
and lower the foot pedal to approximately 3mm
from the ground. Loosen the locking nut using the
4mm Allen key, pull excess cable through and re-
ghten nut. Return push handle to the o posion.
SEE IMAGE 9
11. Before turning on the water supply to the unit make
sure both the shower and Eye (Eye/Face) wash valves
are closed.
Push up the shower pull rod so the valve arm is
poinng back up and pull forward the Eye (Eye/Face)
wash “PUSH” handle back up to ensure the valves are
in the closed posion.
12. Turn water supply on. Check for leaks before
proceeding.
13. Slowly push the Eye (Eye/Face) wash valve handle
forward to start the water ow.
Flush unl the water runs clean then pull back
on the push handle to stop ow. Replace aerator
assemblies.
Remove internal strainer by un screwing the strainer
cap with a at head screw driver.
Clean strainer and re t.
14. With the aerators reinstalled, use a at screwdriver
to turn o the Ball Valve before Eye (Eye/Face) Wash
Acvaon Ball Valve. Turn the push handle to the full
open posion and adjust the second ball valve with
screwdriver unl the correct ow is achieved. SEE
IMAGE 10 and 11.
15. To acvate the shower, pull down on the triangular
pull rod. A large amount of water will ow from the
showerhead on to the oor. The spray paern should
be 508mm in diameter at a height of 1524mm from
the oor. SEE IMAGE 12.
The shower should also deliver at a minimum ow
rate of 75.7 lpm.
16. Once correct operaon has been checked, turn o
the valves by posioning the handles to the fully o
posion.
Note: Water will drain through the 2mm hole near
the shower head/ball valve connecon. This is a self-
draining feature designed to drain water remaining
in shower head to reduce Legionella risk.
Place dust covers over Eye (Eye/Face) wash outlets.
Mount appropriate Shower and Eye (Eye/Face) wash
signage as required - refer to Enware’s Product Guide
or call Customer Service on 1300 369 279.
Foot pedal adjustment
IMAGE 8
Split ring
IMAGE 9
IMAGE 12
2438 max.
2083 min.
1524
ø 508 min.
Fluid Stream
R 406 min. Free from obstructions
IMAGE 11
32
83
38
max
Point of fluid
stream interaction
Fluid stream
Required
coverage widths
Fluid stream
IMAGE 10
 Loading...