3.01
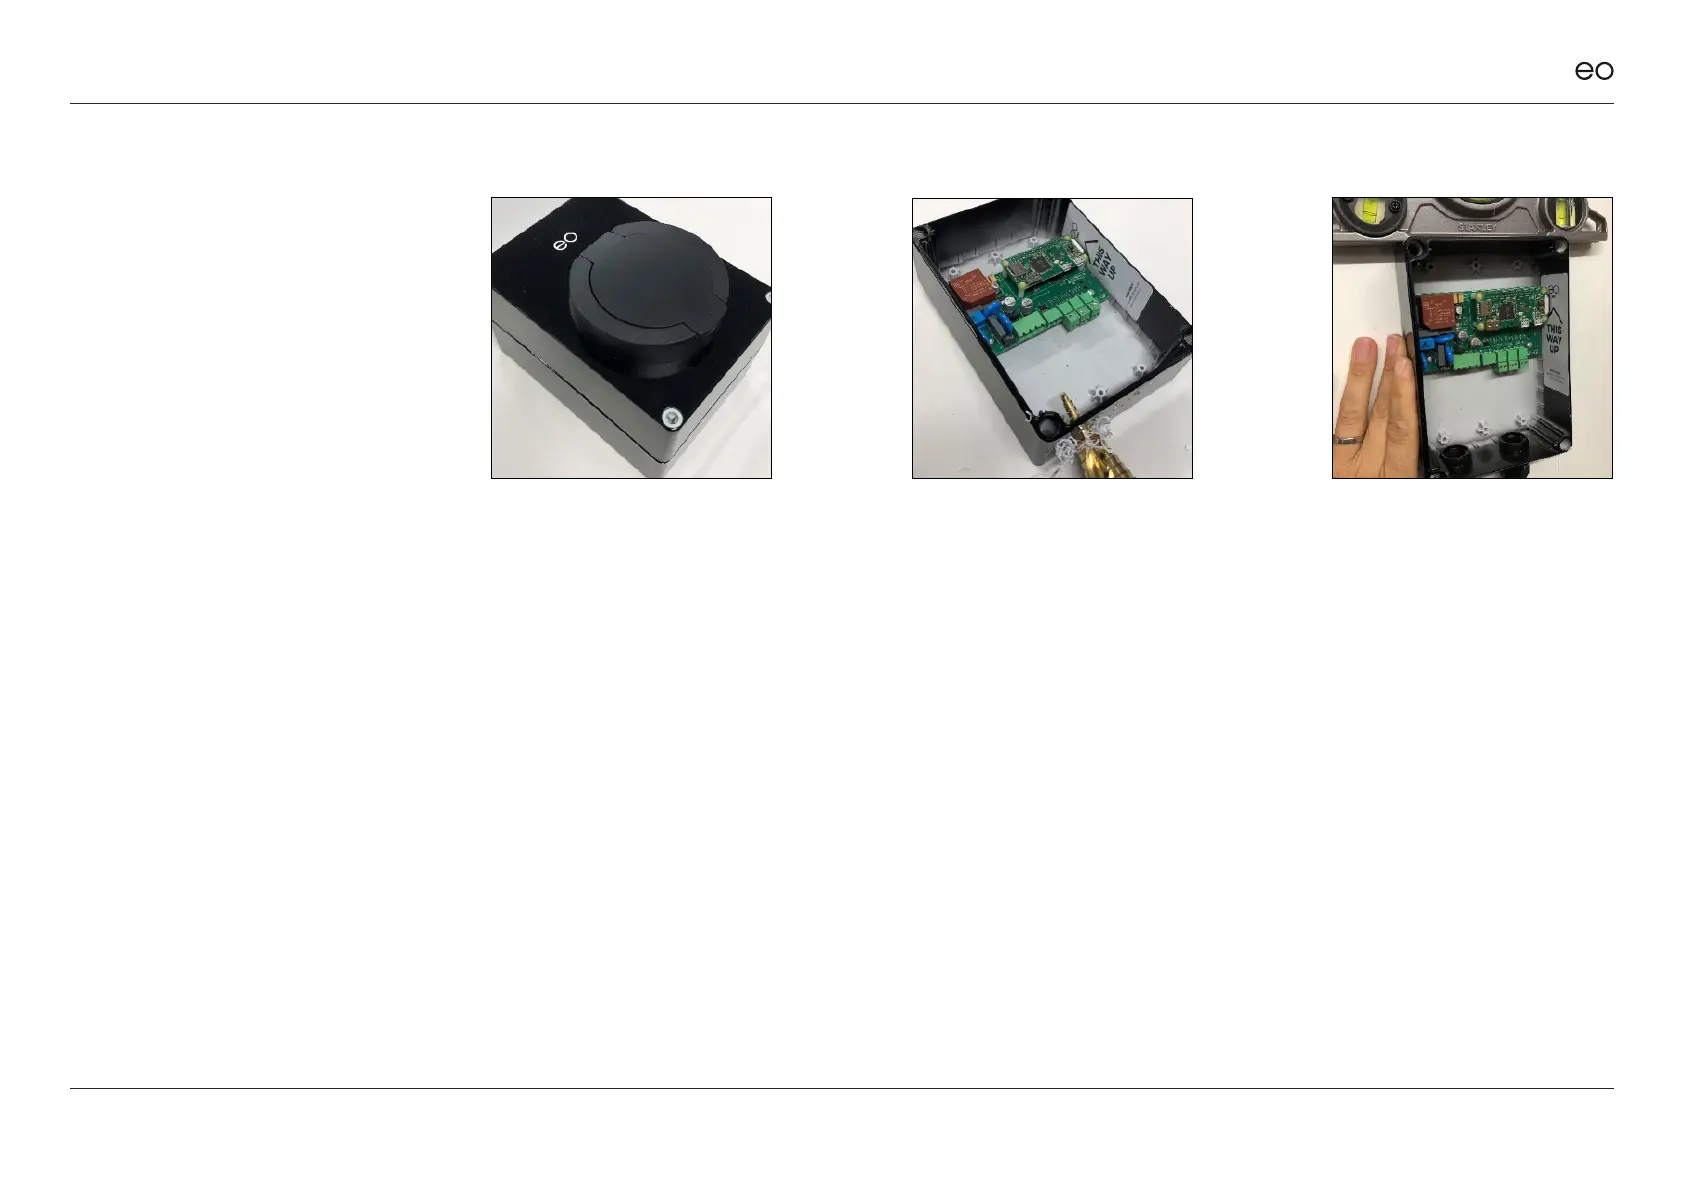
Remove the EO Mini Pro 2
from the packaging. Undo the
4 screws in the corners, then
remove the front faceplate of
the EO Mini Pro 2 and keep
in a safe place (along with the
plastic bungs for the front plate
screws).
3.02
Drill the correct size hole in
the bottom of the EO Mini
Pro 2 base to take the cable
glands. If Load Management
or solar is to be used, then it is
recommended that two cable
glands are used – one for the
power cable and one for the CT
Clamps.
NOTE:
Cable entry must be from below to
ensure weathertightness of the
enclosure. Use either a cone drill or a
hole saw to cut the hole to the right
diameter.
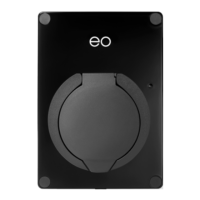
3.03
Oer the back plate of the EO
Mini Pro 2 up to the installation
location; make sure the surface
is at and level. Level the EO
Mini Pro 2 base and mark the
position of the 4 holes. Take
the EO Mini Pro 2 base away
and drill the four holes. Do NOT
drill through the EO Mini Pro 2
base or base screw holes. We
suggest using a 6mm masonry
drill bit if axing to brickwork.
3.0
Physical installation
instructions.
EO Mini Pro 2 Installation & User Guide
© EO Charging 2020 6
3.0