3.04
Clean out the EO Mini Pro 2
base for dust and attach the EO
Mini Pro 2 base to the wall using
four screws. Ensure that the
base is the correct way up and
that it is ush against the wall.
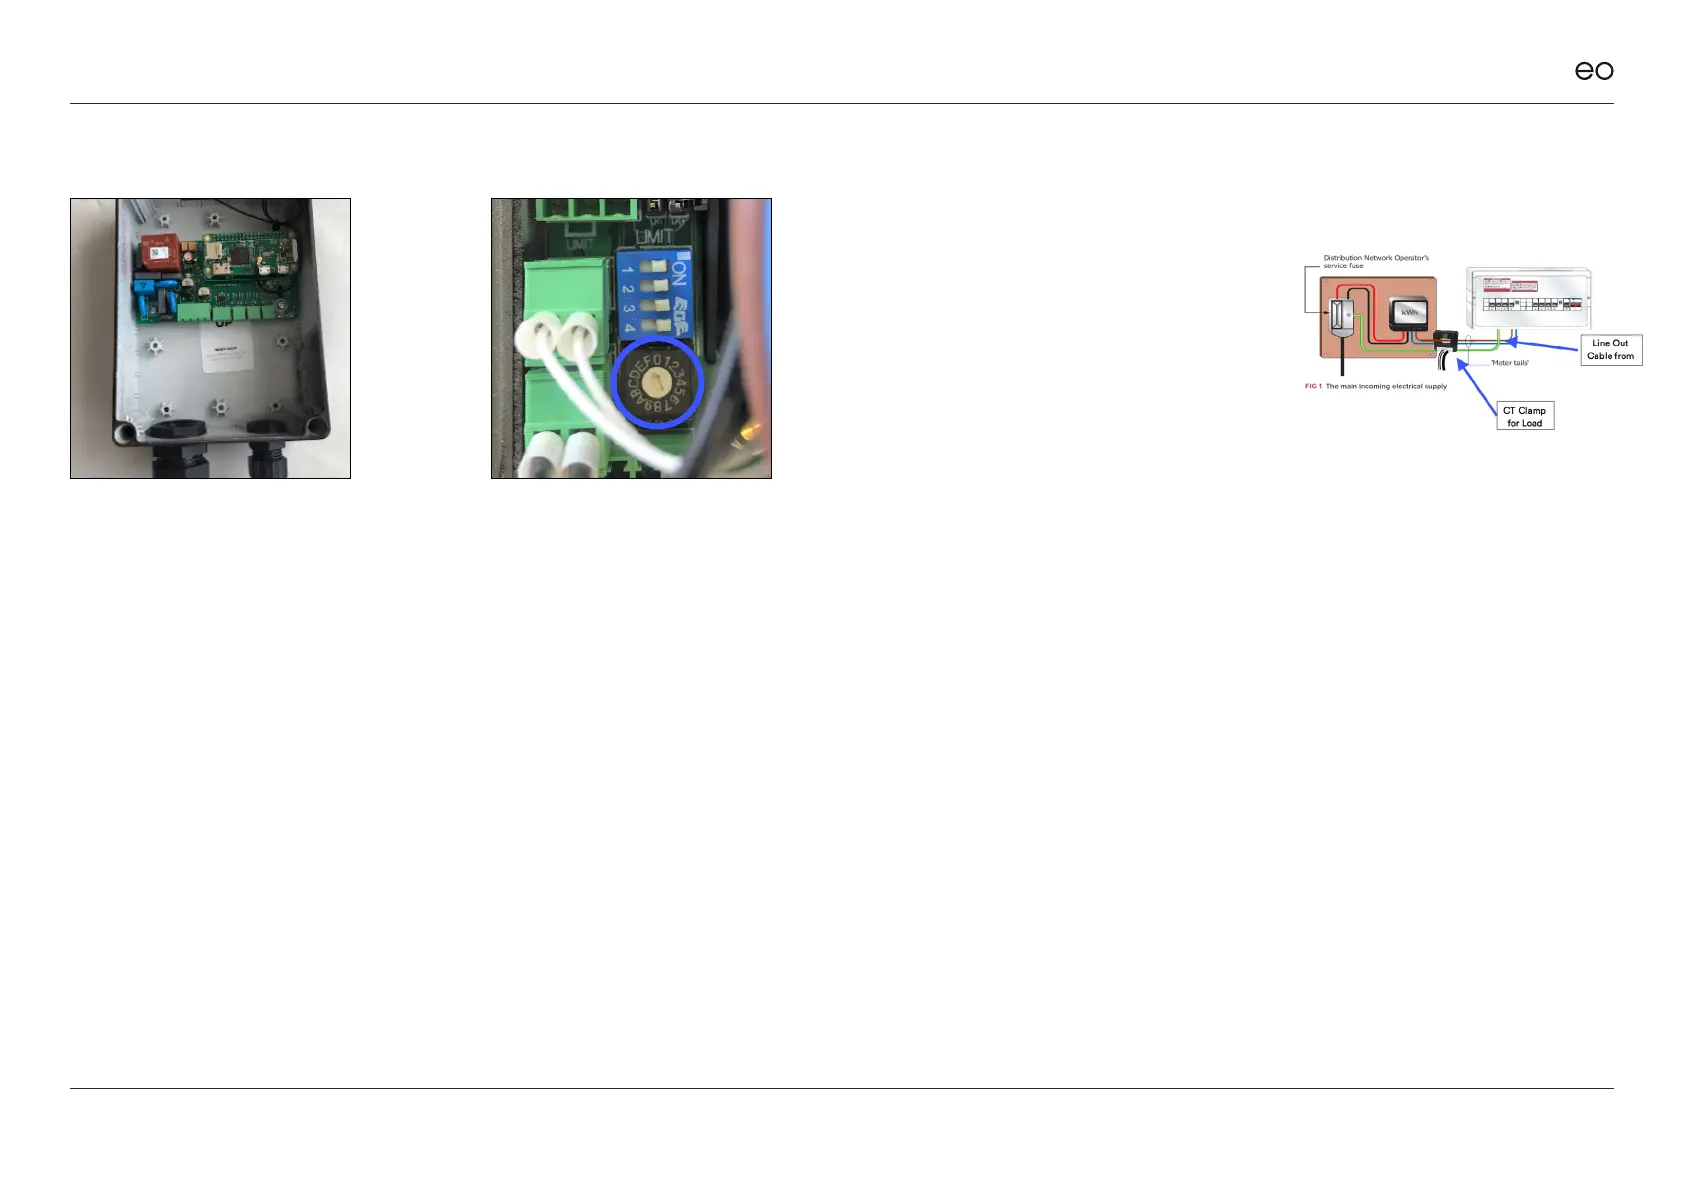
3.05
Use the rotary switch on the
EO Mini Pro 2 to select the
correct current rating as per
the enclosed instructions and
section 6.3.
3.06
Strip and prepare the power
cable – EO recommends
crimping ferrules onto the
ends of the prepared power
cable wire.
EO Mini Pro 2 Installation & User Guide
© EO Charging 2020
3.07
Mount the CT Clamps around
the relevant supply cables.
Note – only the live cable ows
through the CT Clamp and the
Source Arrow points to the
source / input of the current
(not the ow of current).
7