PRO 32 & 48 X-AXIS ASSEMBLY
15
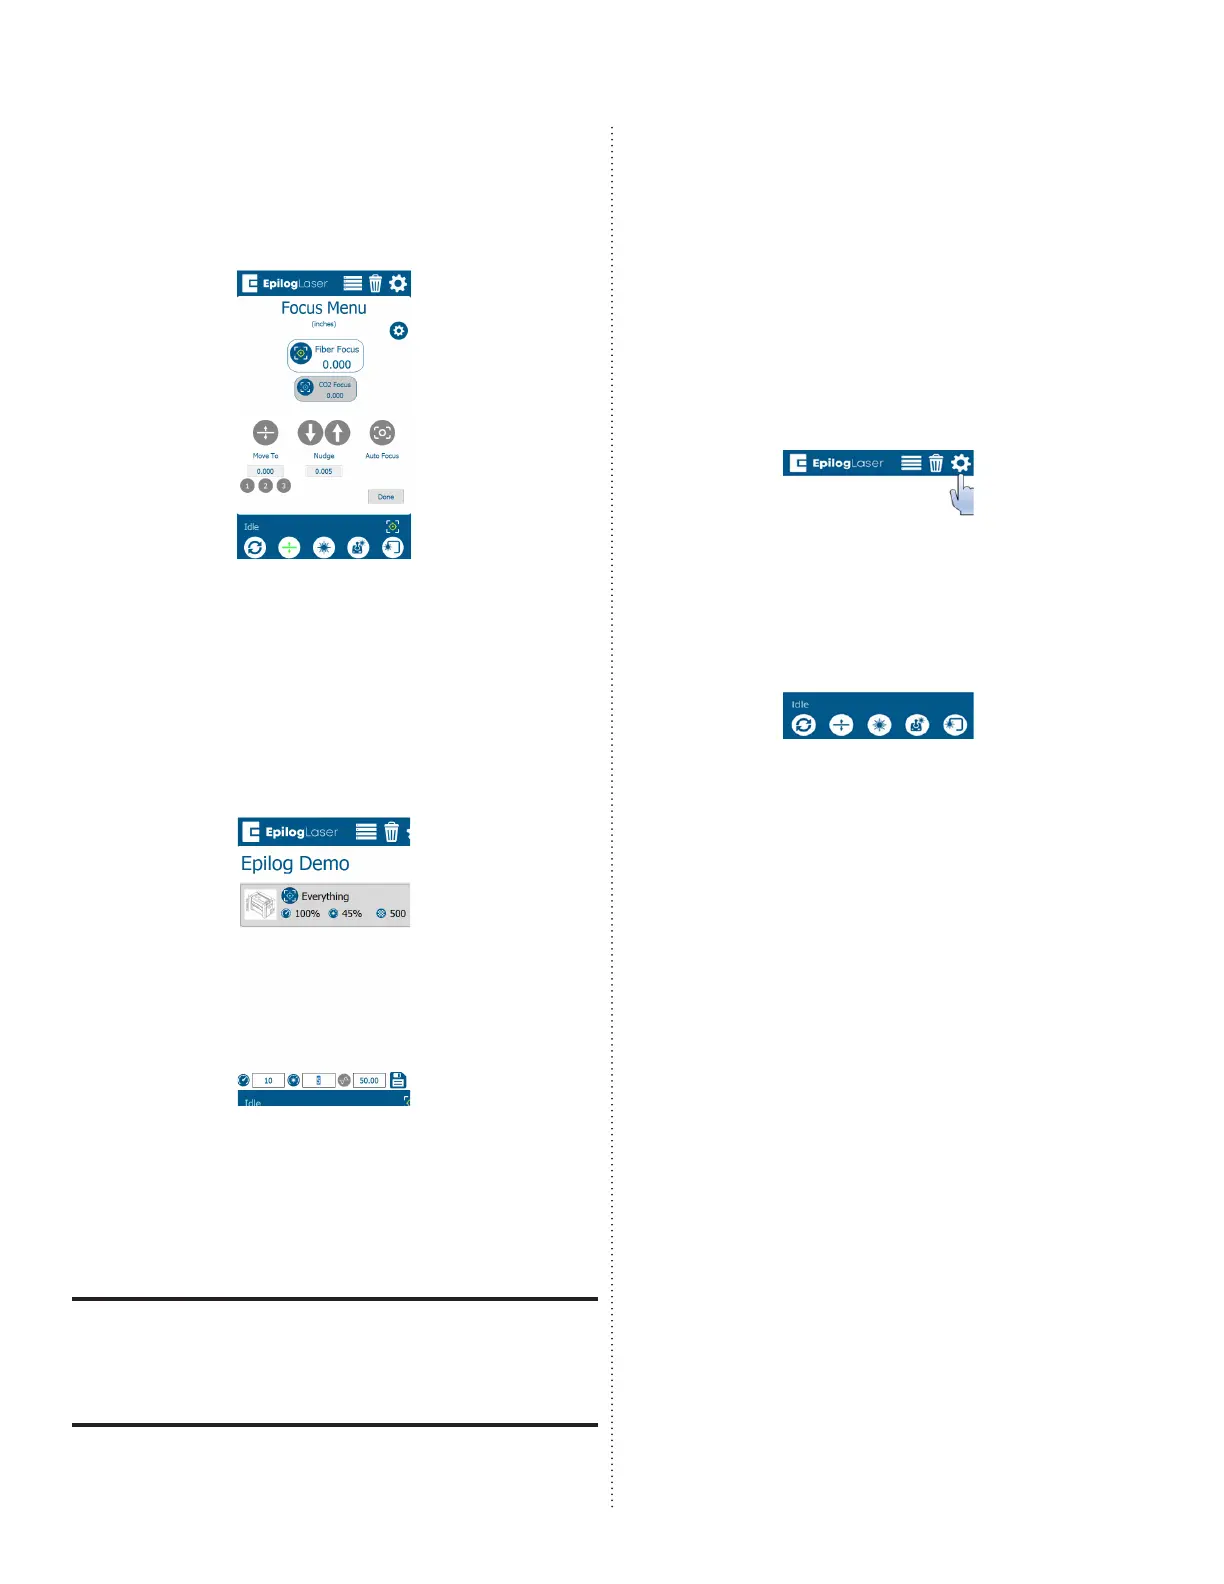
5. Once the job is running, press the Focus
button and slightly raise and lower the
table with the joystick while observing
the spark coming from the laser hitting
the anodized aluminum:
6. While raising and lowering the table,
find the height where the spark appears
the brightest. If it is diicult to determine,
turn o any overhead lights in the room.
7. Once the appropriate table height is
found, use the touchpad to lower the
power to 3-5%:
8. Continue to raise and lower the table
height with the lower power setting to
find the height where the spark appears
the brightest.
Using the lower power setting allows you to
more finely dial in the correct focal height
as the spark fades very quickly when the
material becomes out of focus.
9. Once the correct focal height has been
found, let go of the joystick and press
the Go/Stop button to stop the job. Then
press the Reset button to return the
laser head back to the home position.
10. Remove the anodized aluminum from
the engraver.
11. On the display, press the gear icon to
enter the Settings menu:
12. Ensure that the material thickness used
during the previous step is entered in
the Thickness box. If using anodized
aluminum provided by Epilog Laser, the
default value of 0.025” corresponds to
the material.
13. Press the Start button. This calibration is
very fast as the engraver simply notes
and saves the current position of the
table.
14. Press Done.
Move to the Autofocus Calibration
procedure.
 Loading...


