Using the Product Safely
5
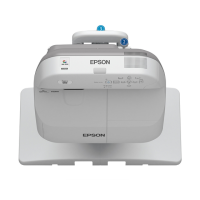
Choosing an Installation Location
Projector installation location
•
Carry out power supply wiring work for the installation location of the setting plate in advance.
•
Install the projector away from other electric devices such as fluorescent lights or air conditioners. Some kinds of
fluorescent lights could interfere with the remote control of the projector.
•
It is recommended to keep connection cable length less than 20 meters to reduce external noise.
•
We recommend using stick-on screens or board screens.
•
Make sure the projector is installed under the following conditions.
•
The projected image is a rectangular shape without any distortion.
•
The projector is tilted at an angle of no more than ±3° vertically and horizontally in relation to the screen.
•
When using the interactive function (Easy Interactive Function), install so that the projected image is within reach.
•
Do not install the projector or the screen in a location subject to direct sunlight. If the projector or the screen are
subject to direct sunlight, the interactive function may not operate correctly.
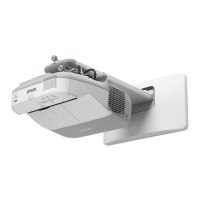
Touch Unit installation location
•
When using the Touch Unit, install the projector using one of the following methods. The Touch Unit cannot be used
if another installation method is used.
•
Mount the projector on a wall or suspend it from a ceiling and project images from in front of the screen.
•
Install vertically on a table and project from the front of the desk. (When installing vertically on a table, you need
the optional Interactive Table Mount (ELPMB29).)
•
Before installing the Touch Unit, make sure that the installation location meets the following conditions.
•
The Touch Unit can be secured with magnets or with screws.
•
A flat, smooth, unwarped surface with no unevenness on the screen surface of more than 5 mm.
•
When installing on a whiteboard, install the Touch Unit within the frame of the whiteboard.

 Loading...