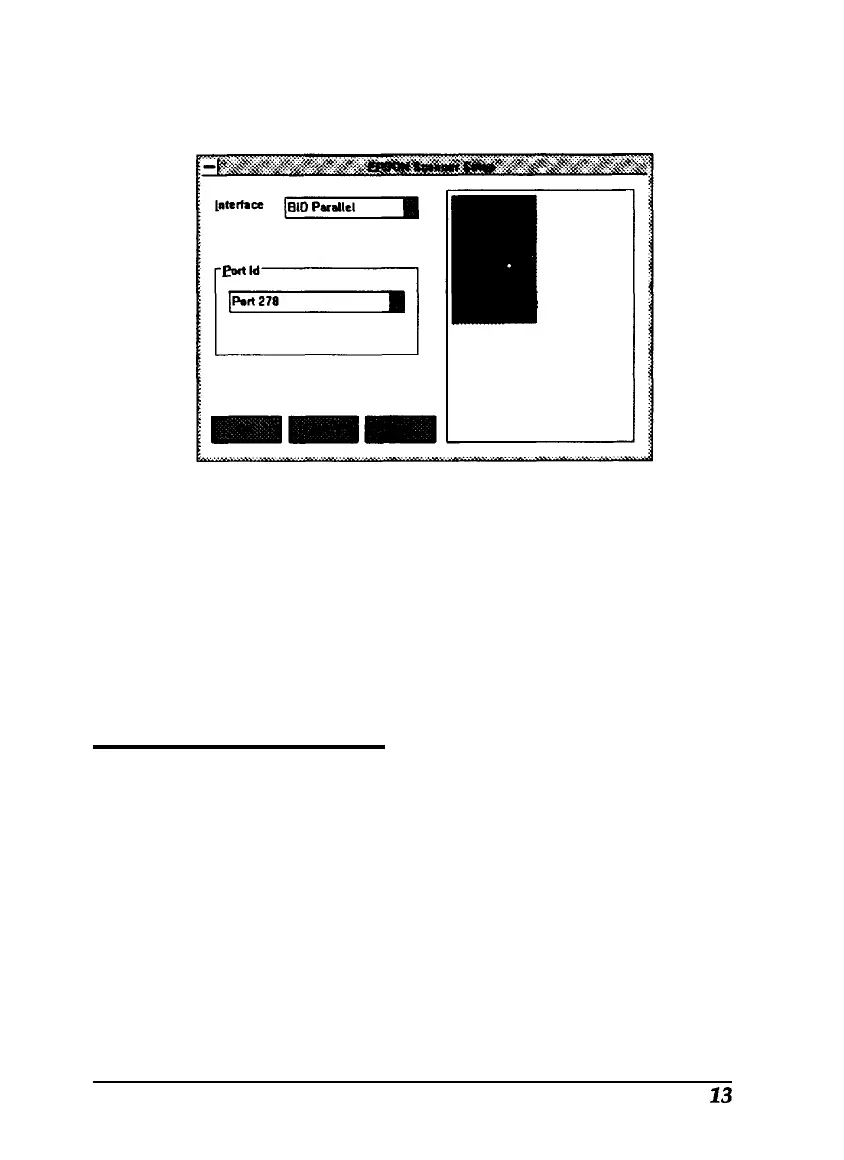
After a few moments, the scanned image appears in the
EPSON Scanner Setup dialog box, as shown below.
If the image does not appear, choose
Cancel
and repeat all
the scanner setup steps, beginning on page 9.
10. Choose OK to close the EPSON Scanner Setup dialog box.
11. Remove the EPSON scanning Utilities diskette.
12. Exit and
then restart Windows.
Installing Image-In
Follow these steps to install the Image-In software for
Windows 3.1 or Windows 95:
1.
Start Windows 3.1 or Windows 95, if necessary.
2.
If you have a CD-ROM drive, load the Image-In Easy Pack
CD in the drive. If you are installing from a diskette, insert
the Image-In Easy Pack Disk 1 in the drive.
23