Fig. 2-4 Fig. 2-5 Fig. 2-6
3. Cartridge Installation
a. Turn on your printer and push the ink, cartridge replacement button on the front of the printer and the cartridge
carrier should move into the replacement position. Once the carrier is in place unplug the printer from the wall.
Gently move the cartridge carrier back and forth right to left in the printer assuring that it moves smoothly.
b. Open the cartridge carrier cover ensuring that the colors correspond, push the cartridges all the way down in
compartment just as you would be the original cartridges (Fig.3-1 & 3-2).
Fig. 3-1 Fig. 3-2
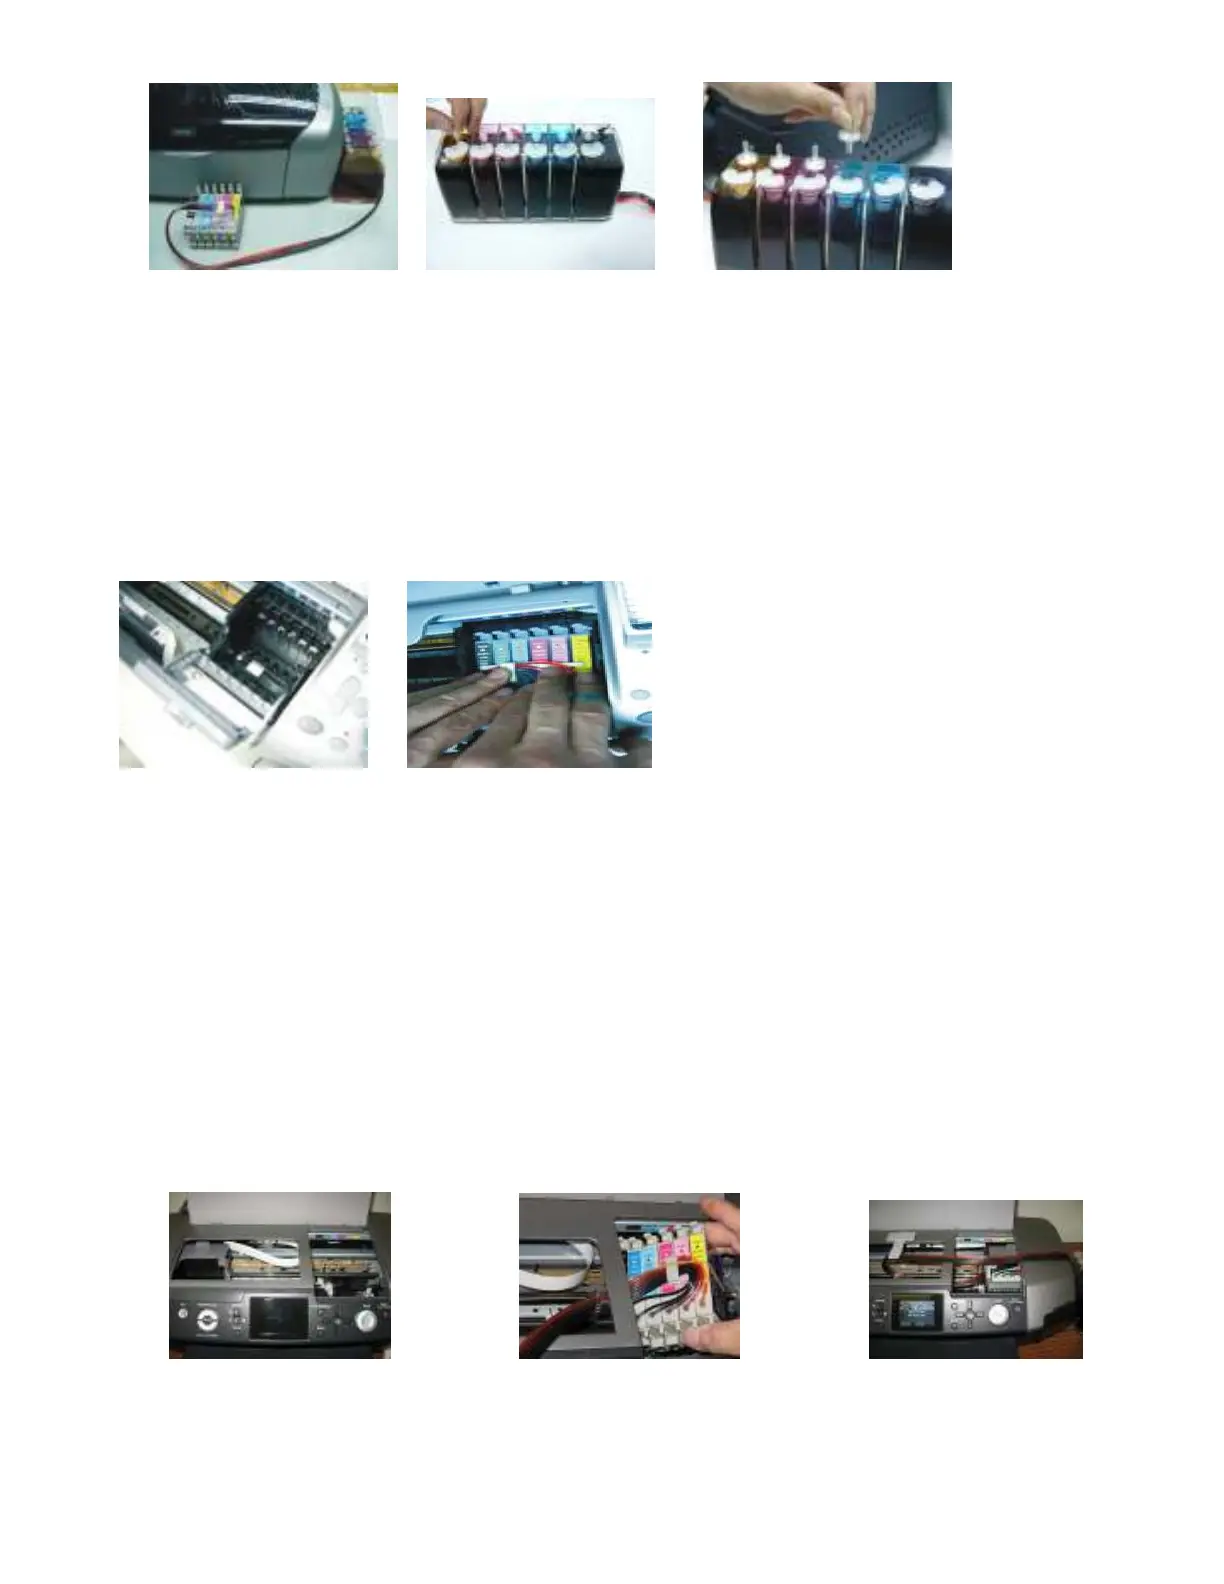
Installation for R340
a. Turn on your printer and push the ink, cartridge replacement button on the front of the printer and the cartridge carrier should move into
the replacement position. Once the carrier is in place unplug the printer from the wall. Gently move the cartridge carrier back and forth
right to left in the printer assuring that it moves smoothly.
b. Gently push the carriage all the way over to the left hand side of the printer. Holding the entire cartridges together insert them into the
printer on the left side of the over bar and pull them out threw the right side of the bar (Fig. 3-2 & 3-3).
c. While holding the cartridges on the right side of the bar, gently pull the cartridge carrier over to the right hand side in the cartridge
installation location. Insert the cartridges into the carrier assuring that each is in the correct location and gently push them down until
they snap into place (Fig. 3-3).
d.
When closing the cartridge cover, make sure the tubing isn’t getting pinched or crimped.
Fig 3.1 Fig. 3.2 Fig 3.3
4. Tube Adjustment and Positioning
a. Place the tubing line with 45°degree angle as shown (Fig. 4-1 & 4-2), and close the cartridge carrier cover.