1-14 Product Overview Rev. A
Confidential
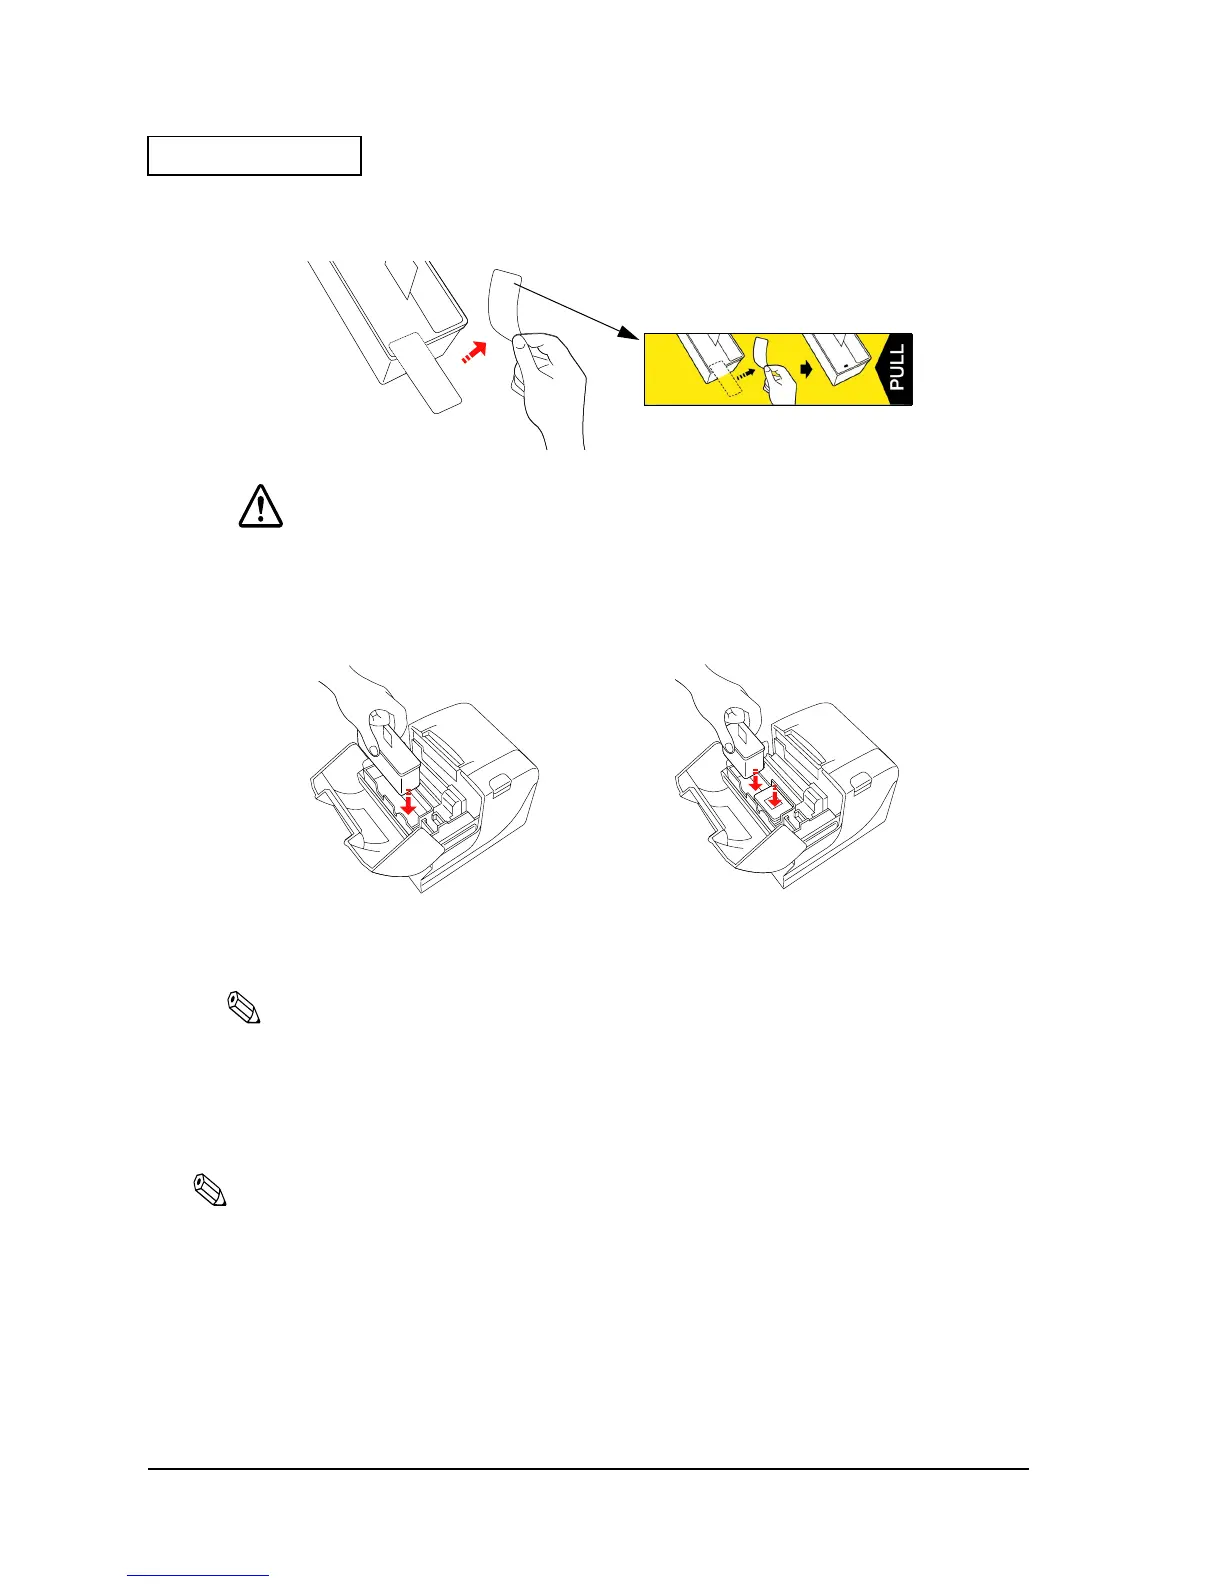
6. Take a new ink cartridge out of its packing and remove the yellow tape.
CAUTION:
You must not remove any tape on which the EPSON logo is printed.
7. Carefully insert a new ink cartridge from the top and push it firmly but gently until it clicks
into place. Be sure the inserting direction is correct, as shown in the illustrations below.
8. Close the ink cartridge cover completely.
Note:
The INK OUT LED will now be off.
The POWER LED flashes for approximately 1 minute as the ink delivery system is charged. To
save ink, this sequence will not be executed every time you replace an ink cartridge. The time to
execute the sequence is controlled by the printer.
Note:
Do not turn off the power while the POWER LED is flashing. This will waste ink because the printer has
to re-start the ink charging process. Be sure not to open the printer cover while the POWER LED is
flashing.
When the POWER LED quits flashing and stays on, the printer is ready for printing.
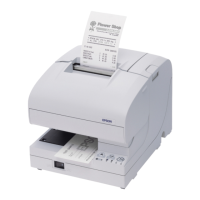
TM-J7000
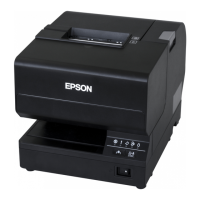
TM-J7100
 Loading...