Setup
Installing the Printer Horizontally or Vertically
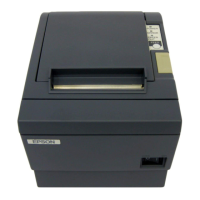
You can install the printer horizontally on a flat surface (with the paper exit on top) or vertically on
a wall (with the paper exit at the front). For the vertical installation, the optional WH-10 hanging
bracket set is necessary.
!WARNING:
When hanging the printer on the wall with the hanging bracket set, be sure to attach a
connector cover to the printer.
Setting Up the Printer
To set up the printer, follow the steps below.
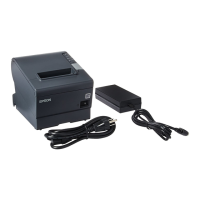
1. Connect the cables.
2. Attach the connector cover.
3. Arrange the cables.
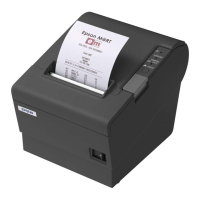
4. Install the roll paper.
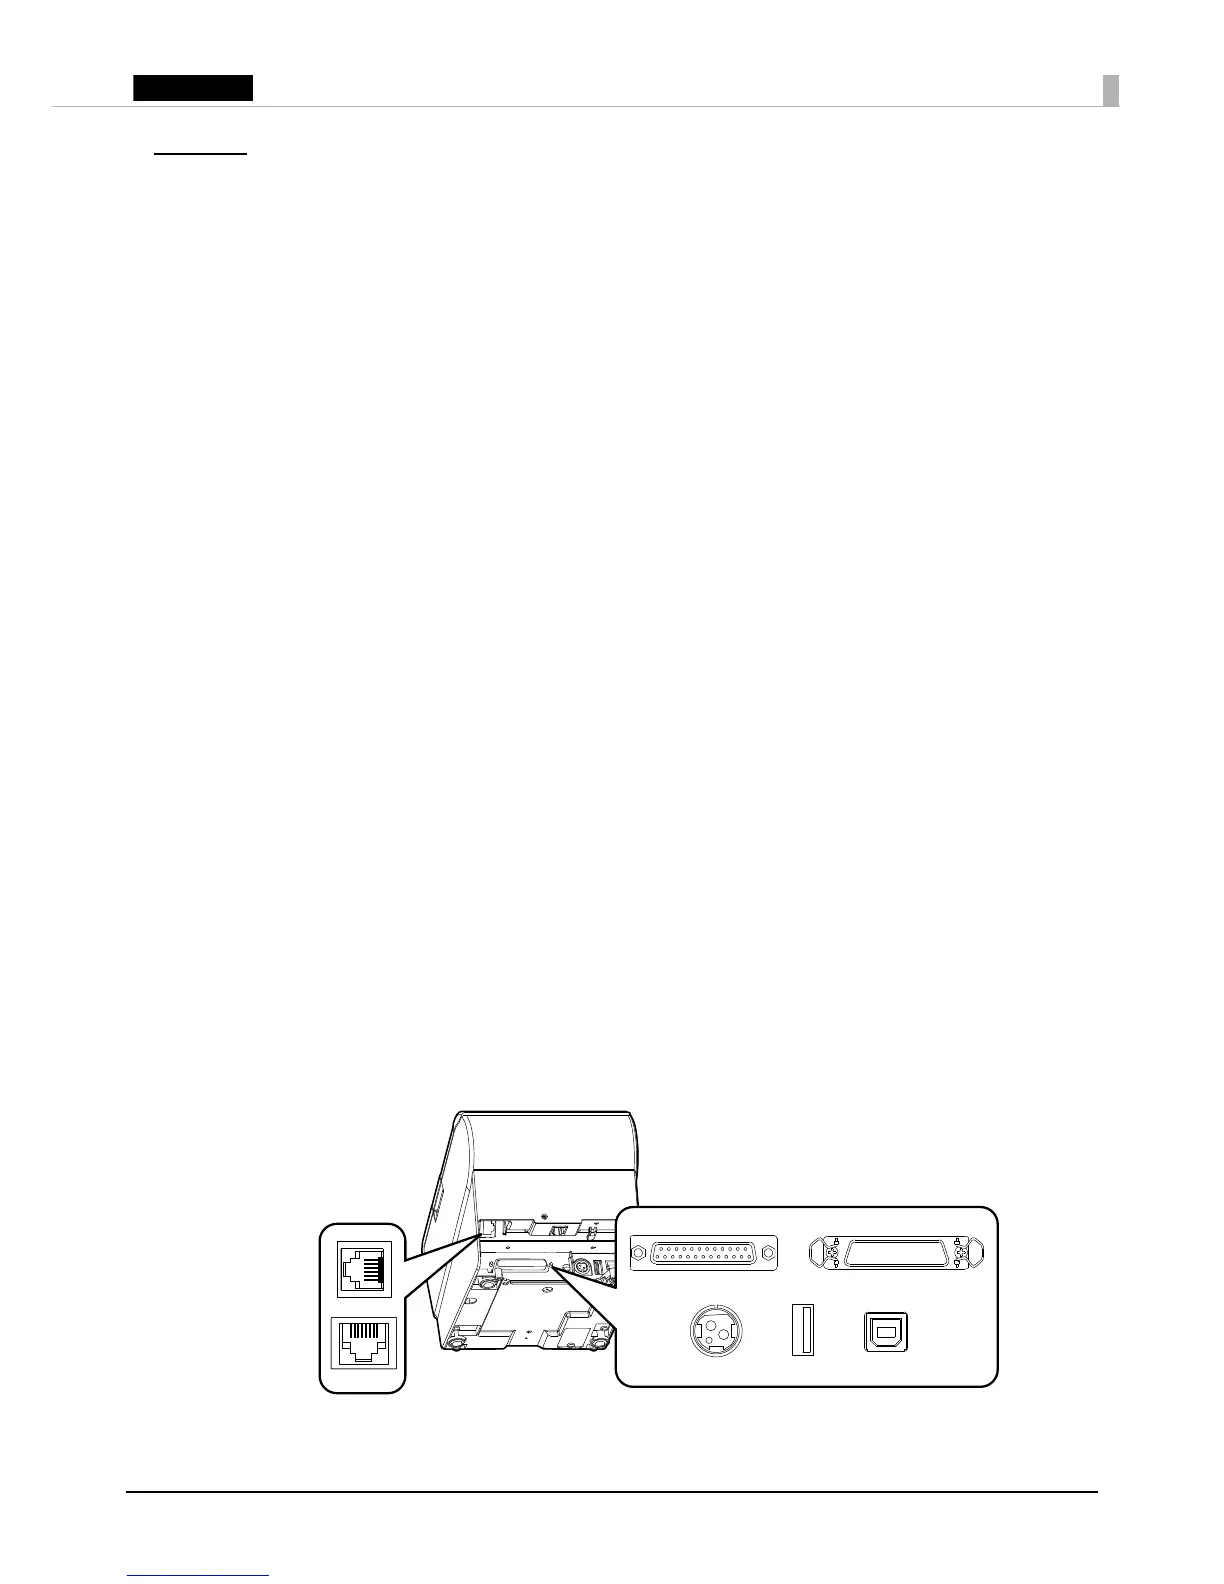
Connecting the Cables
!CAUTION:
❏ For a serial interface, use a null modem cable.
❏ For a parallel interface, use an IEEE 1284 cable.
QNote:
The available interfaces vary by the printer model.
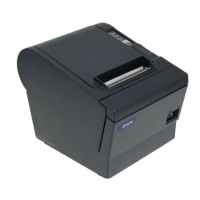
1. Make sure the printer is turned off.
2. Connect the AC adapter and each interface cable to the connectors on the printer back. For the
shape of each connector, see the illustration below.