B
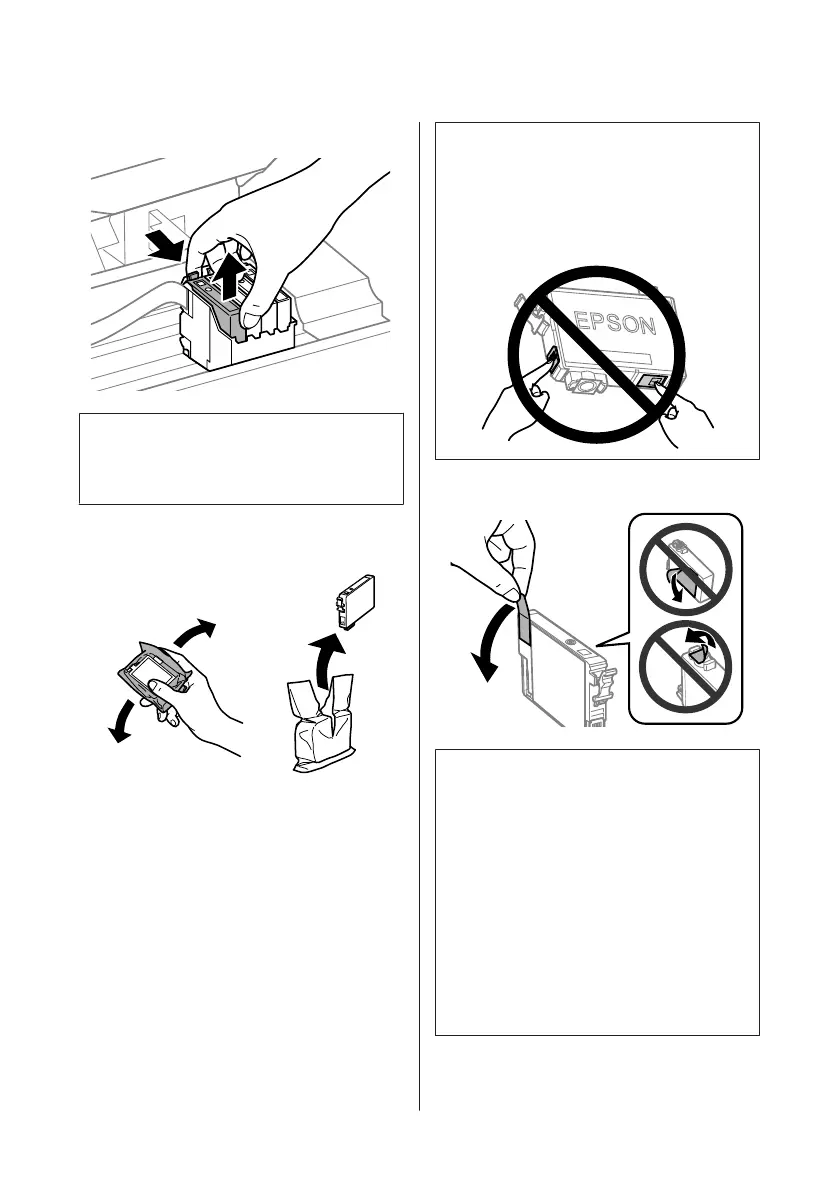
Pinch and remove the ink cartridge.
Note:
Removed ink cartridges may have ink around the ink
supply port, so be careful not to get any ink on the
surrounding area when removing the cartridges.
C
Gently shake new replacement cartridges four or
five times and then unpack.
c
Important:
❏ Be careful not to break the hooks on the side of
the ink cartridge when you remove it from the
package.
❏ Do not touch the green IC chip or the small
window on the side of the cartridge. Doing so
may prevent normal operation and printing.
D
Remove only the yellow tape.
c
Important:
❏ You must remove the yellow tape from the
cartridge before installing it; otherwise, print
quality may decline or you may not be able to
print.
❏ If you have installed an ink cartridge without
removing the yellow tape, take the cartridge
out of the product, remove the yellow tape, and
then reinstall it.
❏ Do not remove the transparent seal from the
bottom of the cartridge; otherwise, the
cartridge may become unusable.
❏ Do not remove or tear the label on the
cartridge; otherwise, ink will leak.
Basic Guide
Replacing Ink Cartridges
15
 Loading...